
rough shaping
Outer Bending
Bending for bigger workpieces (far wider than a hammer head or longer than a hammer handle) I do from the outside over a round surface like a bending stock or the anvilhorn.
If needed and possible I use a softface hammer to reduce the grindingwork.
As a bending stock I use tubes or roundstock welded to a shaft.

Bending from the outside
There are different ways to use a bending stock:
- you can work without a hammer by drawing your piece from one side to the other over the bending stock. For this you hold the workpiece with your hands at the very ends of it and push it on the bending stock while drawing over the stock. Increase your force every cycle until you reached the desired curvature. This work good for longer thinner pieces and result in an even curve that will not reach the very ends of the workpiece
- the next method works for flatter curves. Laying your workpiece on the bending stock you hit the spot where the workpiece touches the stock with a very soft hammer. By repeating this over the hole surface of the workpiece you can produce an even curved piece. This works best with bending stocks of a smaller diameter
- the last method works for I think every piece. Again laying your workpiece on the stock you hit the workpiece just beside the point of touch and press it down. You need to use a bending stock with a diameter near the wanted shape of the workpiece. Otherwise it is hard to get an even surface
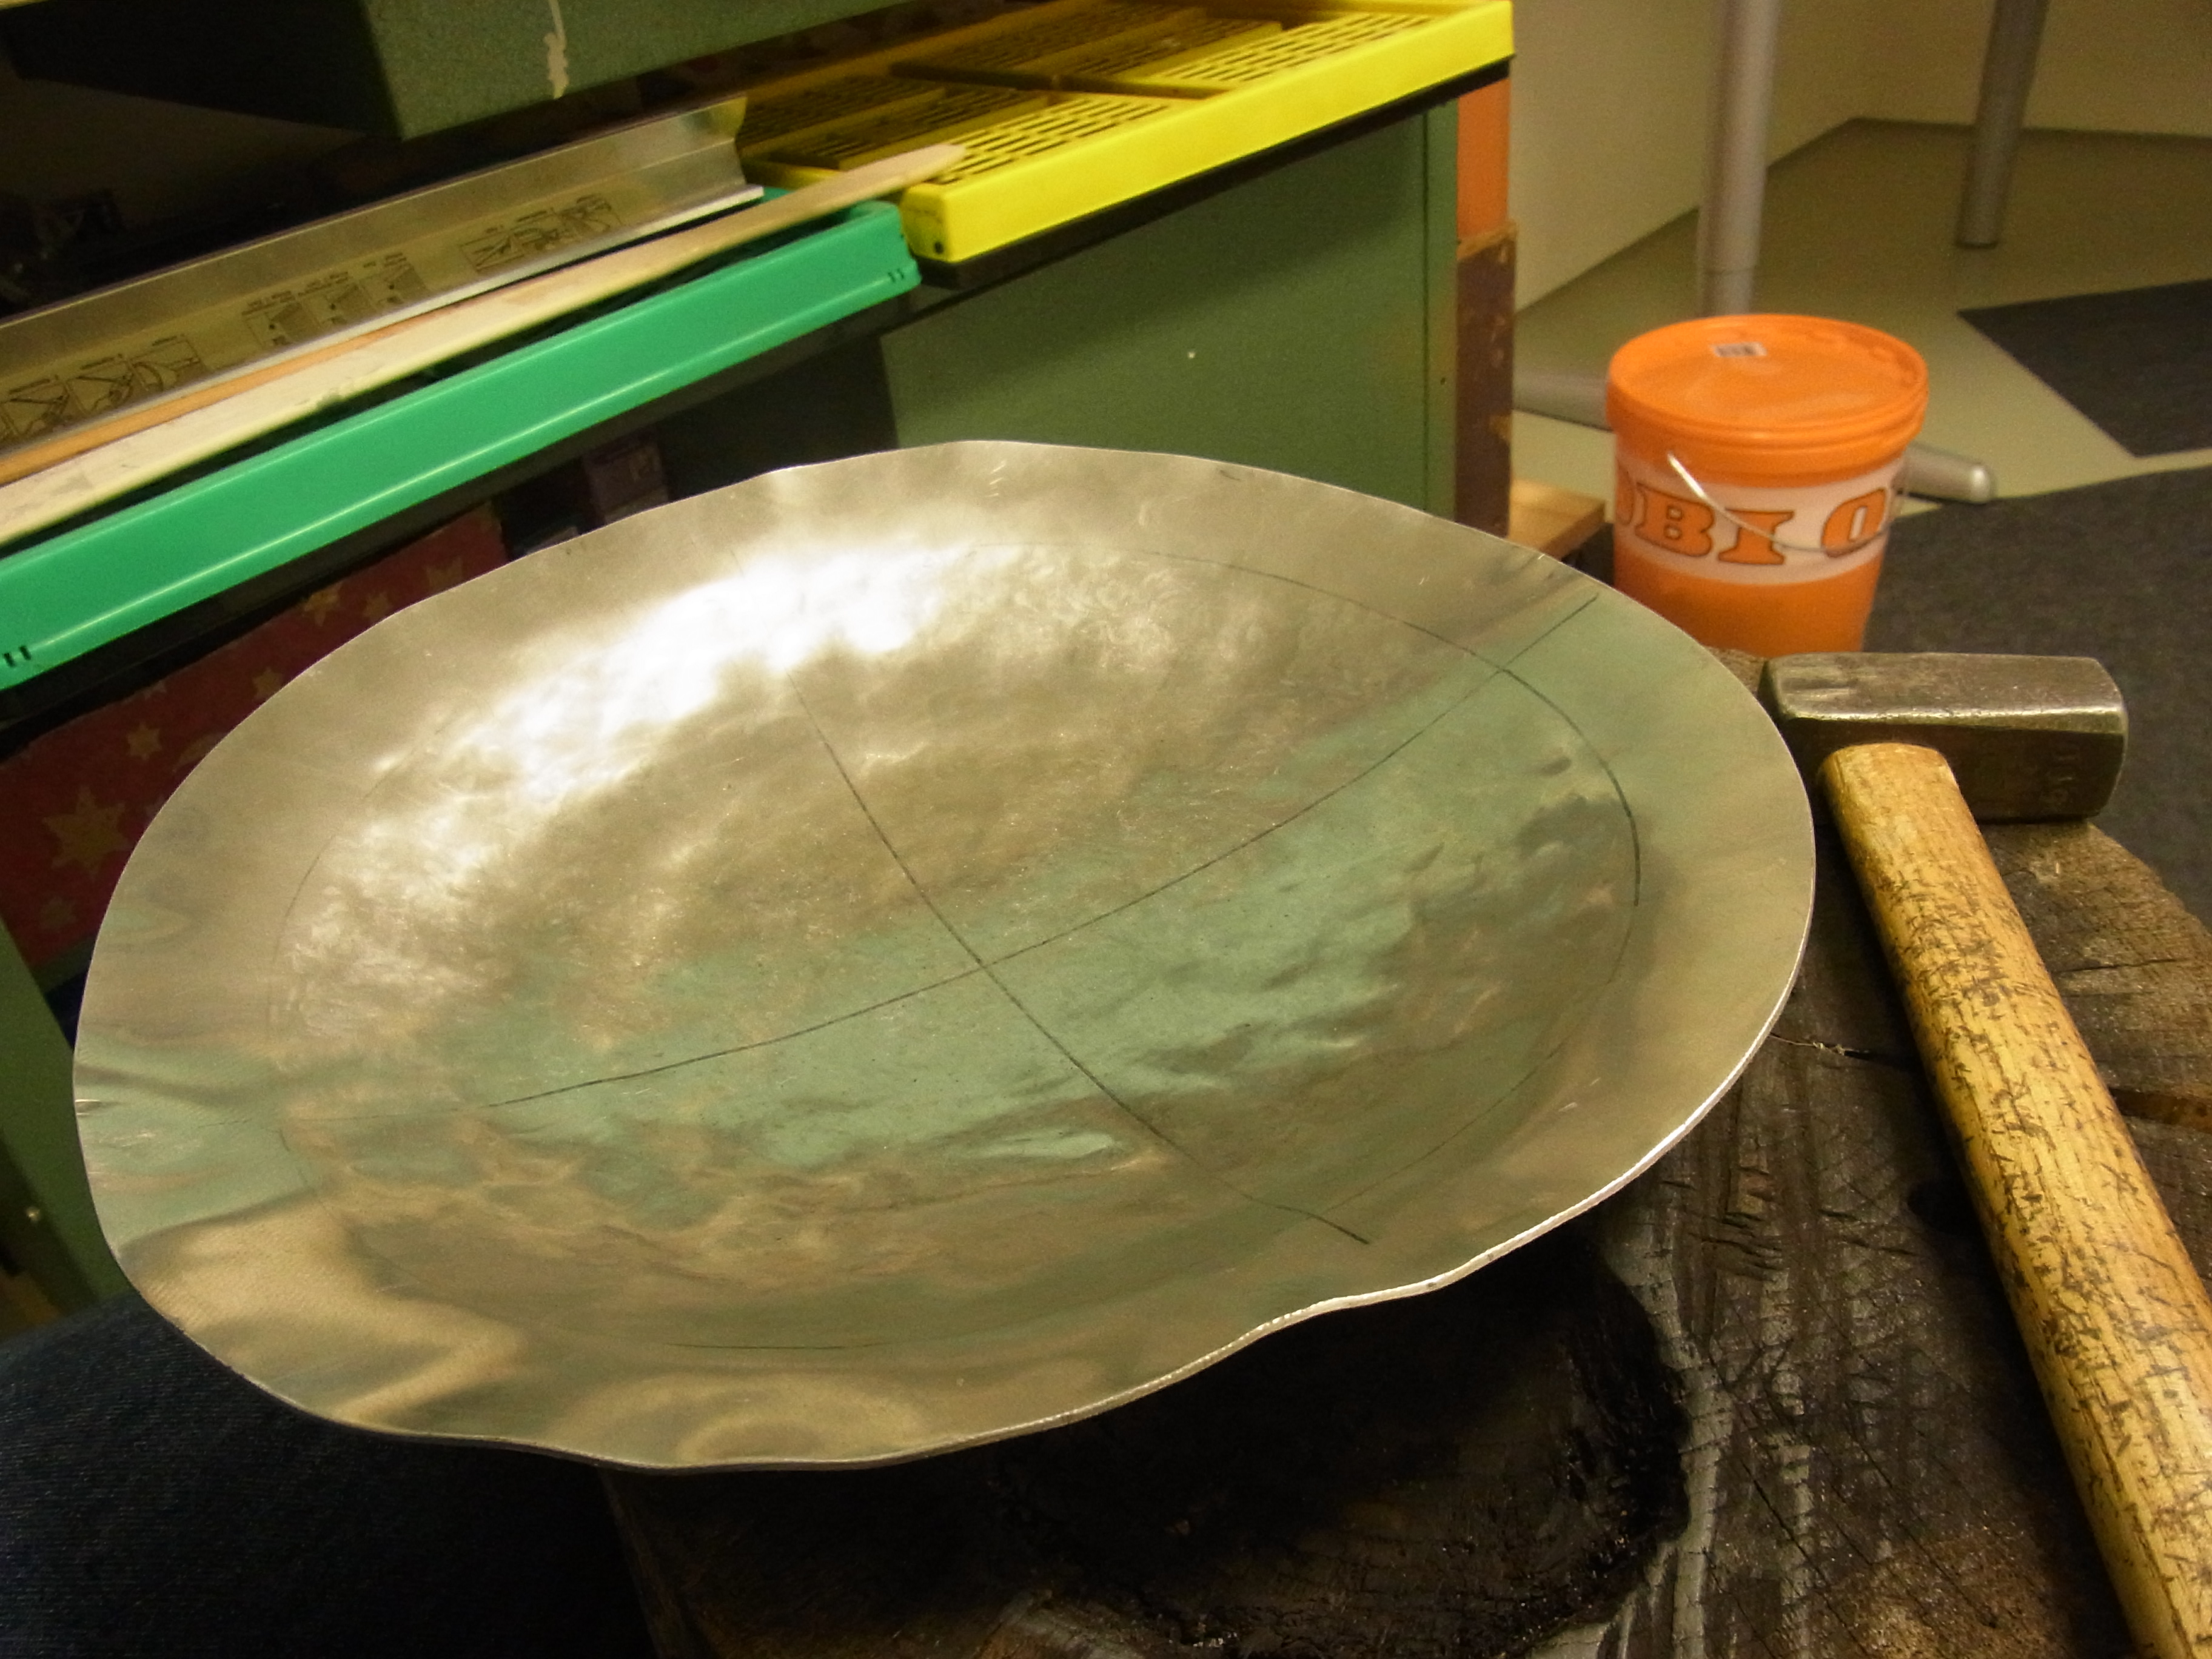
Doming
Doming is a method to deform sheet metal into a 3D form by which the center of the workpiece is stretched. This stretching thins out the center of the workpiece and thats why I just use for pieces that need a smaller degree of deformation.
For Doming I use a round faced hammer or dominghammer and an anvil or a recess in a wooden block or an embossing pad.

Recess in a wooden block for doming
Doming is done in multiple circular passes from the inside of the workpiece. There are two ways to do it:
- on a flat surface working from the outside to the center. Pro on this method is that I can get an even planished surface but the reachable deformation per pass is smaller
- into a Recess/Form or into an embossing pad from the center outwards to the outer perrimeter. The reachable deformation is far bigger in the before mentioned method
In both methods you can soften the material between each pass by annealing.
Depending on the used material (for example aluminum) the workpiece will likely try to form a banana because the material acts different in the direction it was rolled than lateral to that. In this situation you just have to adjust the form by bending it after each pass.
I do the first pass very lightly just to give the material the right direction. After this first pass I increase the force to achieve the desired form.

1.Pass

2. Pass

3. Pass
4. Pass

5. Pass

Finished after 6. Pass
All the deformation was achieved by thinning out the material. So the outer diameter remained the same.

Hi, does the metal even touch the ground of the dishing hole? Or does it only touch the circular border of it? Thanks!
How deep is it?
Hi, the shown dish is just 2,5 cm deep with a diameter of about 12cm.
The workpiece will touch the ground of the dish while it is forced down by the hammer….but according to the elastic deformation it will spring back after the force is released.
Greetings
Thanks for the fast reply!
I really like your blog and hope you will add even more content in the future 😀