
restoring an old upper tigh armour
For a friend of mine I want to restore an old pair of cuisses with attached knee that I had made some years ago.
They are based on a pair of articulated knees that I had bought on ebay. To that I had added a trim to the lower edge and a two part cuisse.
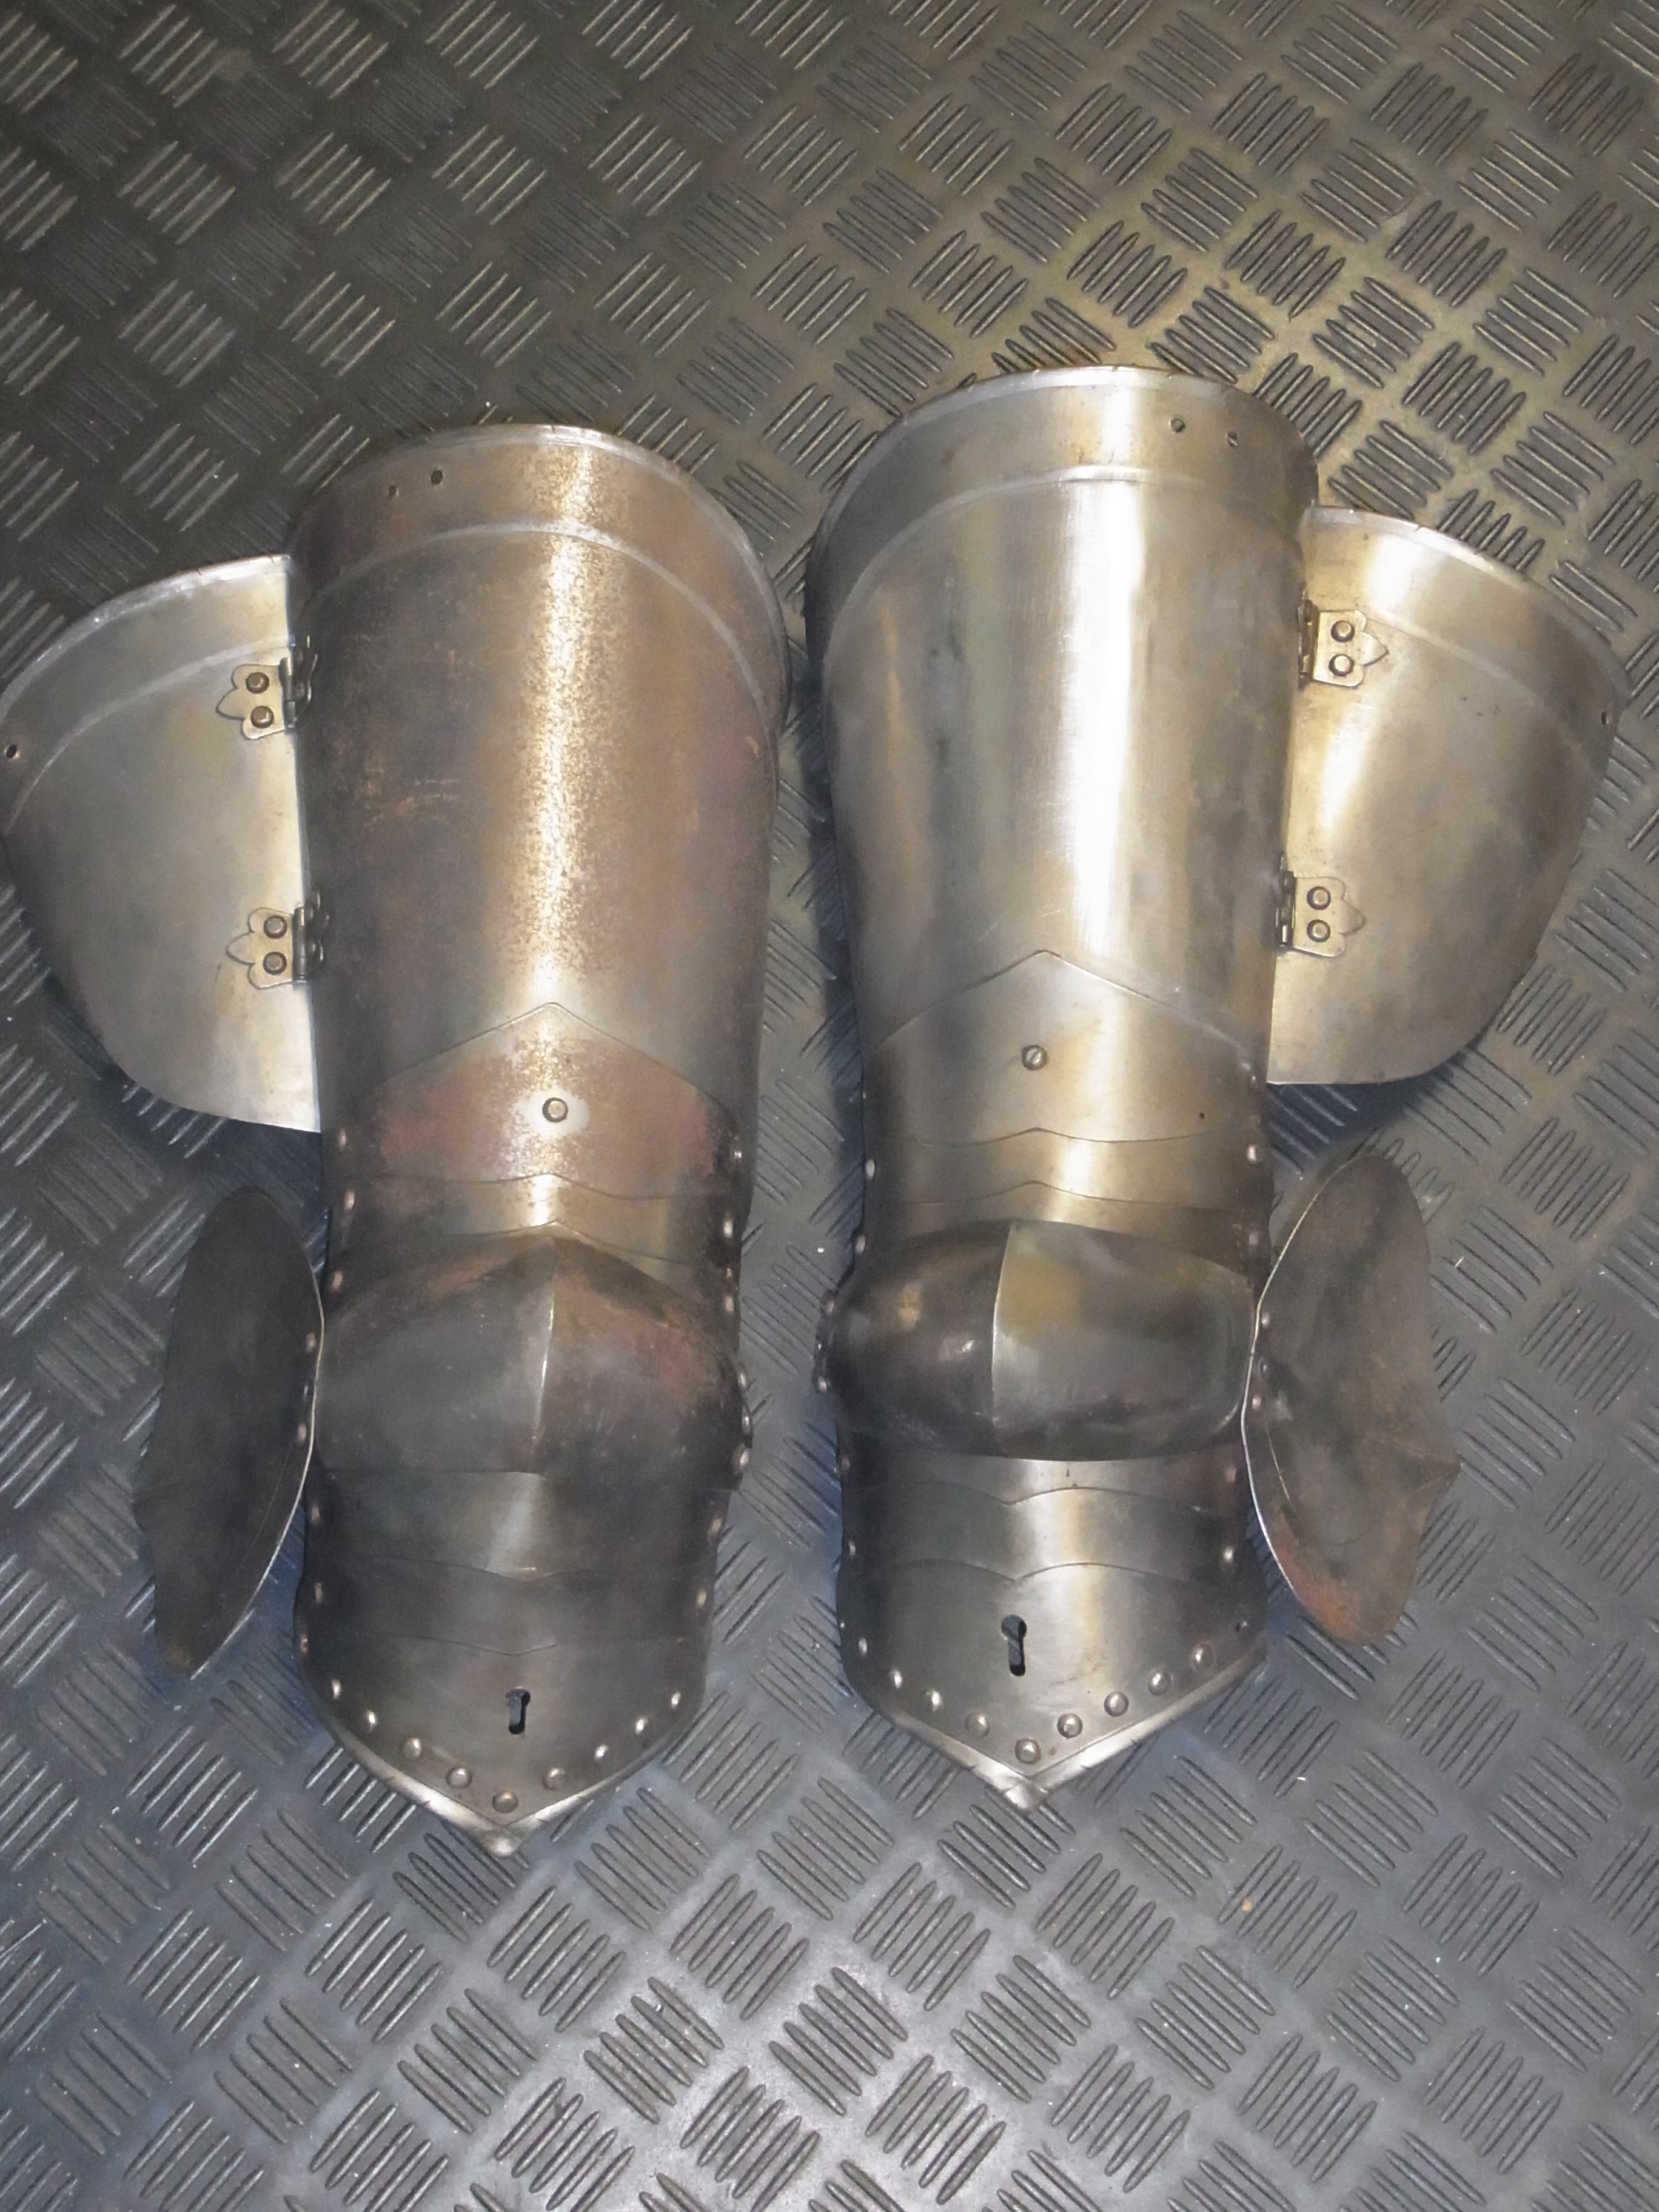
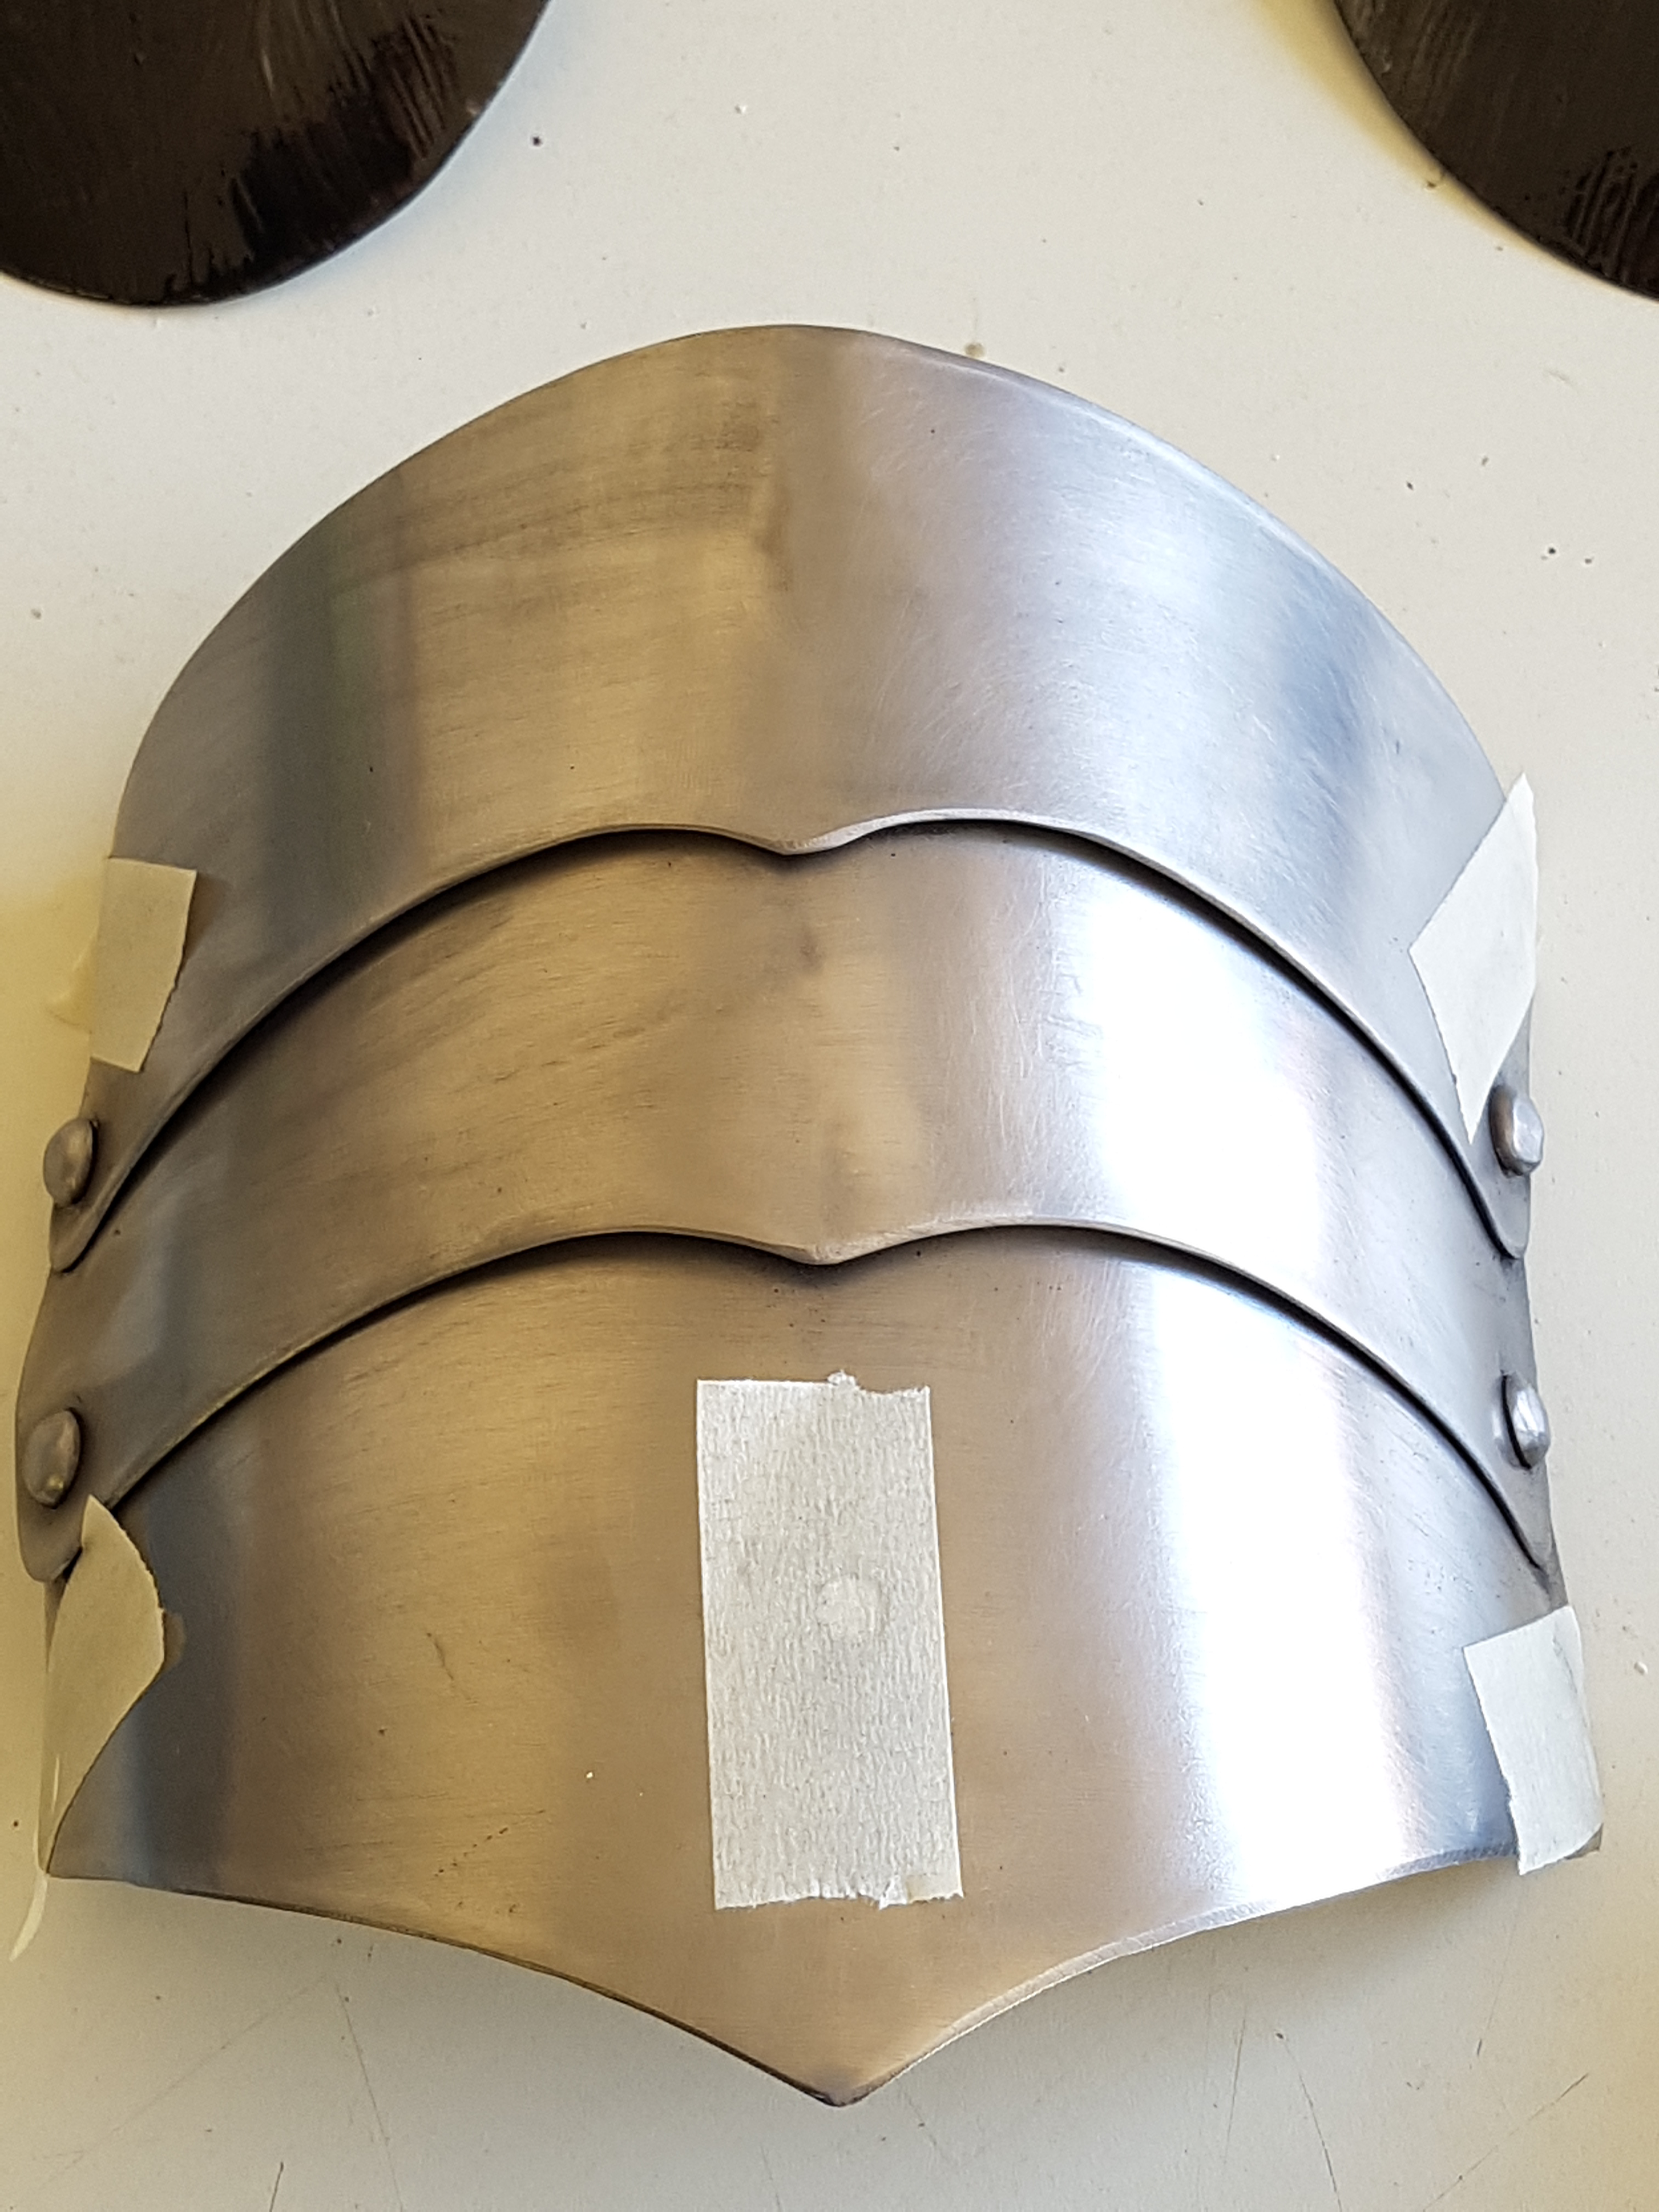
Upper tigh armour to be restored
Replacing the leather straps
First step is to replace the old and ripped of leather straps. For this I grind down all the old rivets with an angle grinder and a flap disc till they are flush with the washer. After that the rivet is loose or can easily be pushed out with a drift.

Rivet to be replaced before grinding
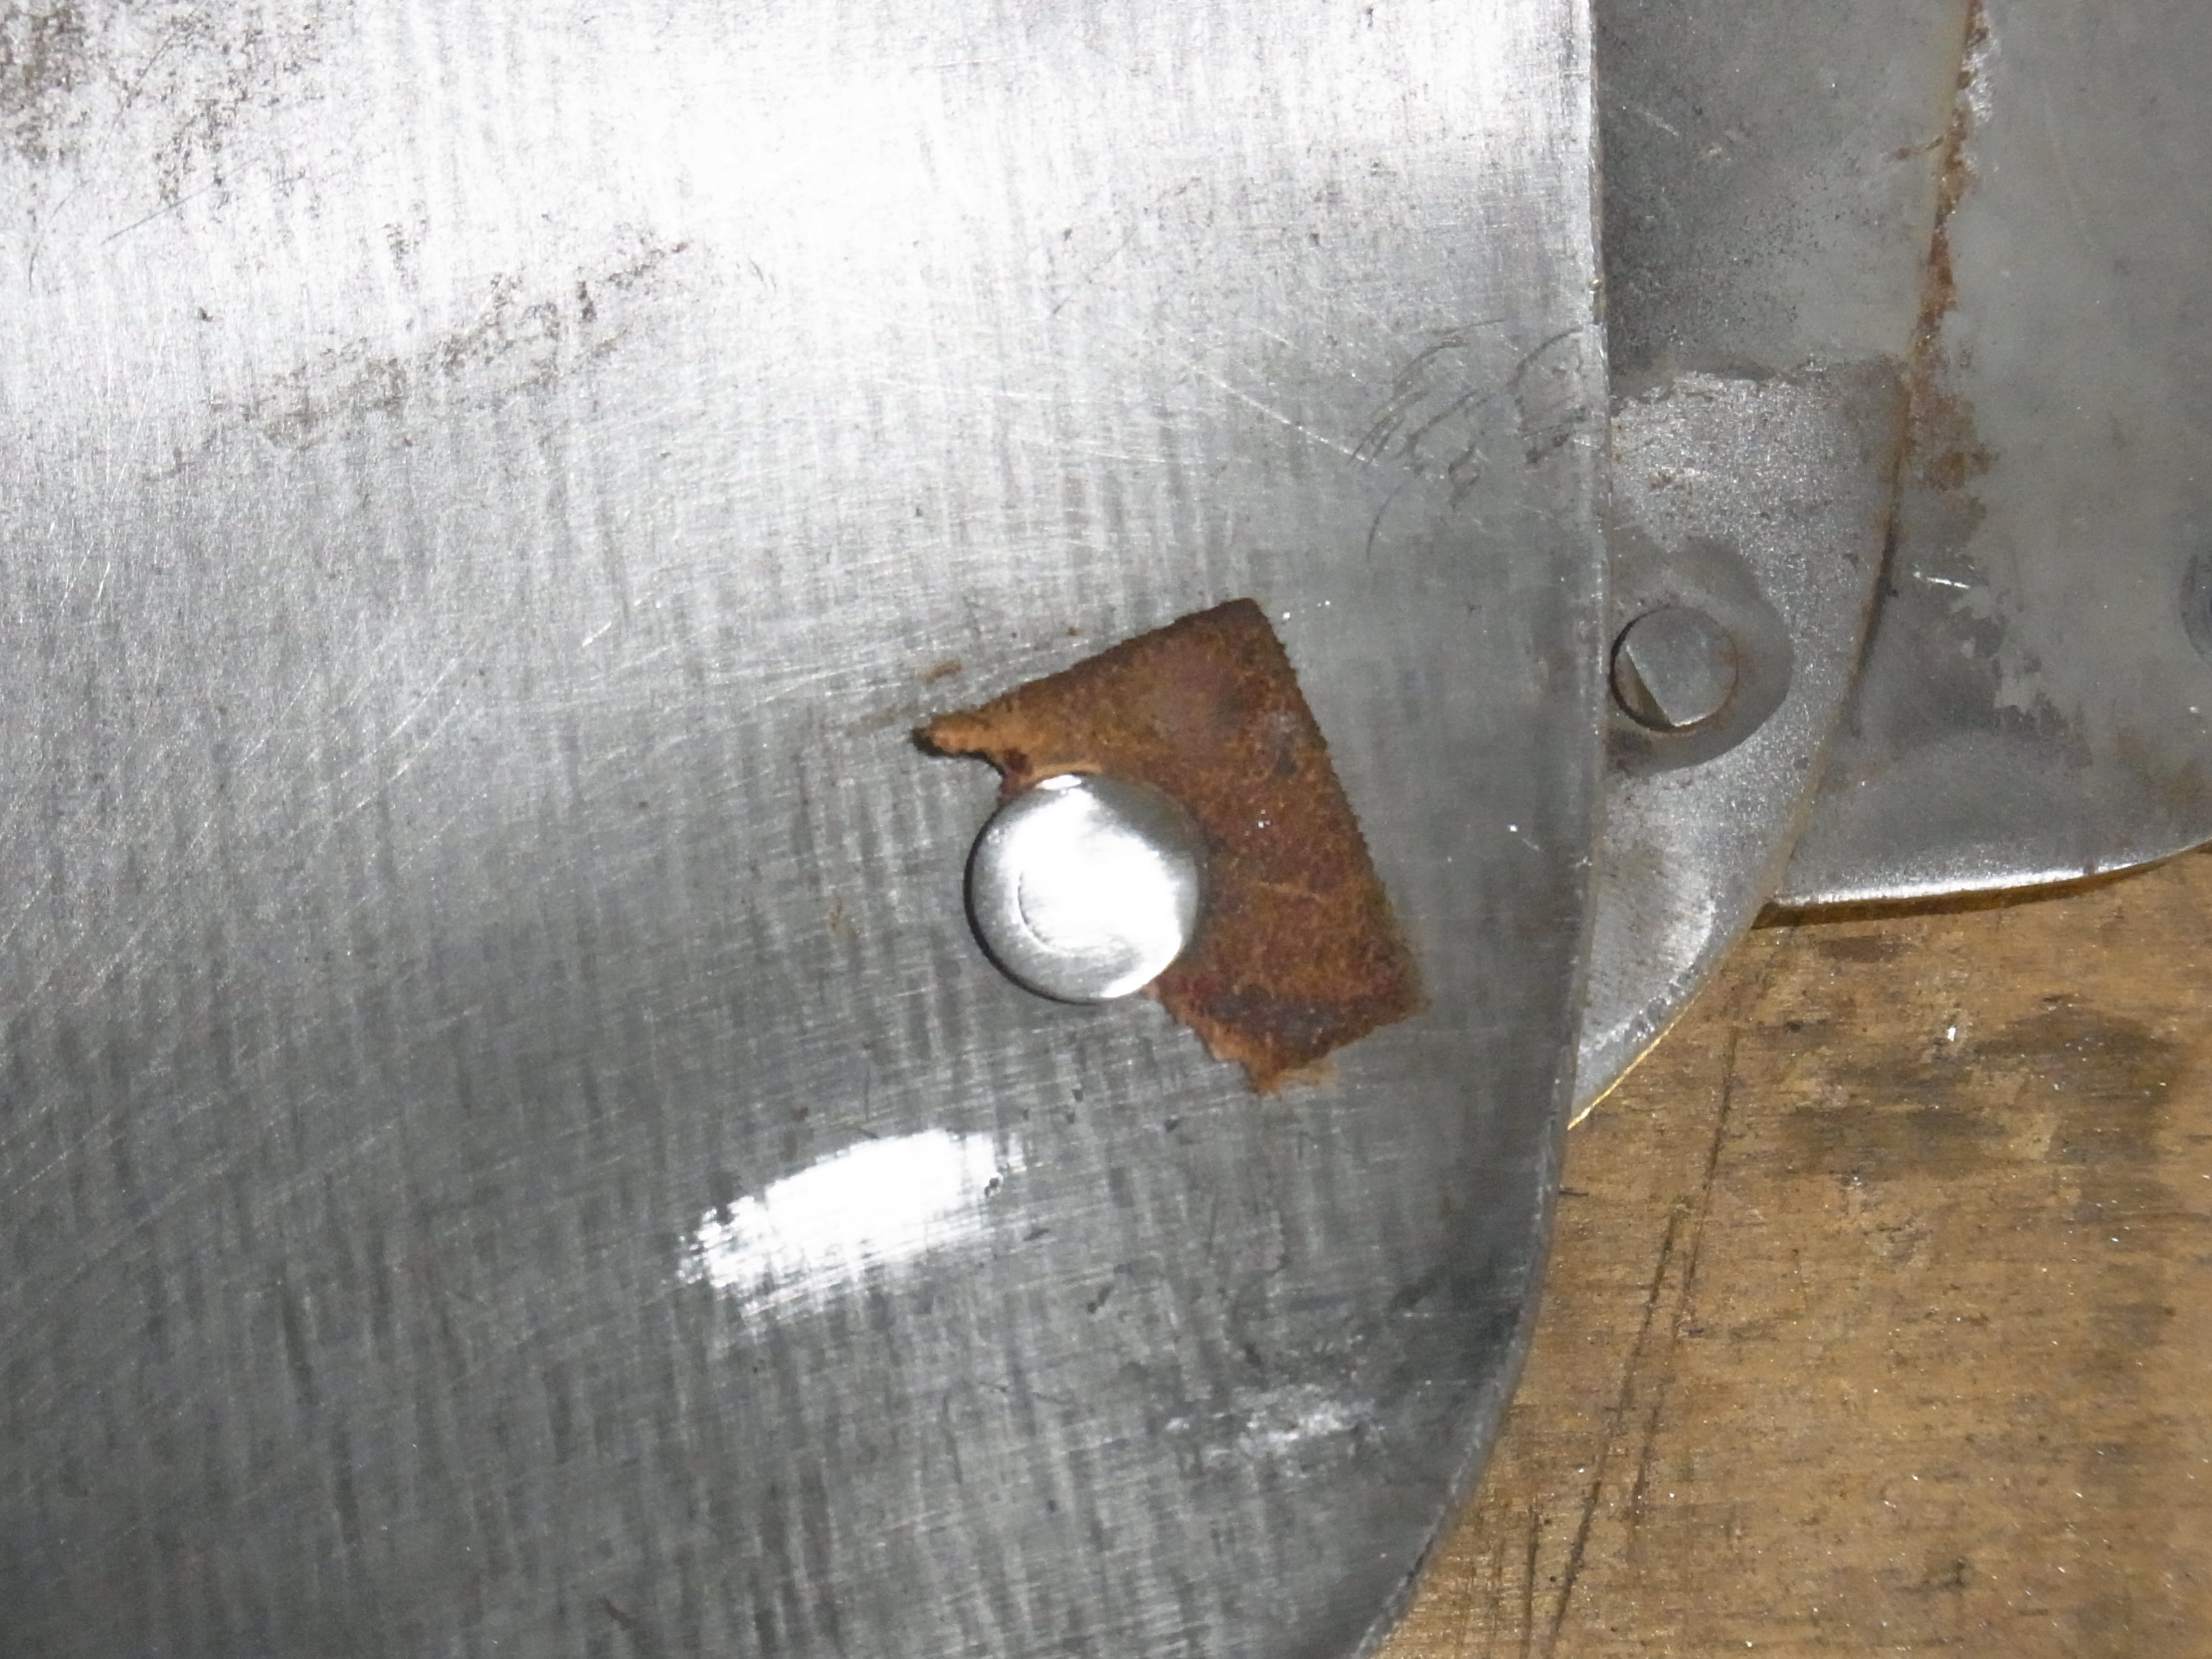
Rivet to be replaced after grinding
For the new straps I use elk leather and buckles from Zeughaus.

Comparison between old and new straps
Already looking a lot better. I oiled and stretched the leather before cutting it to size.
Polish it up
Before polishing I disassemble the tigh armour into 5 parts to better reach every surface.

Disassembled for polishing
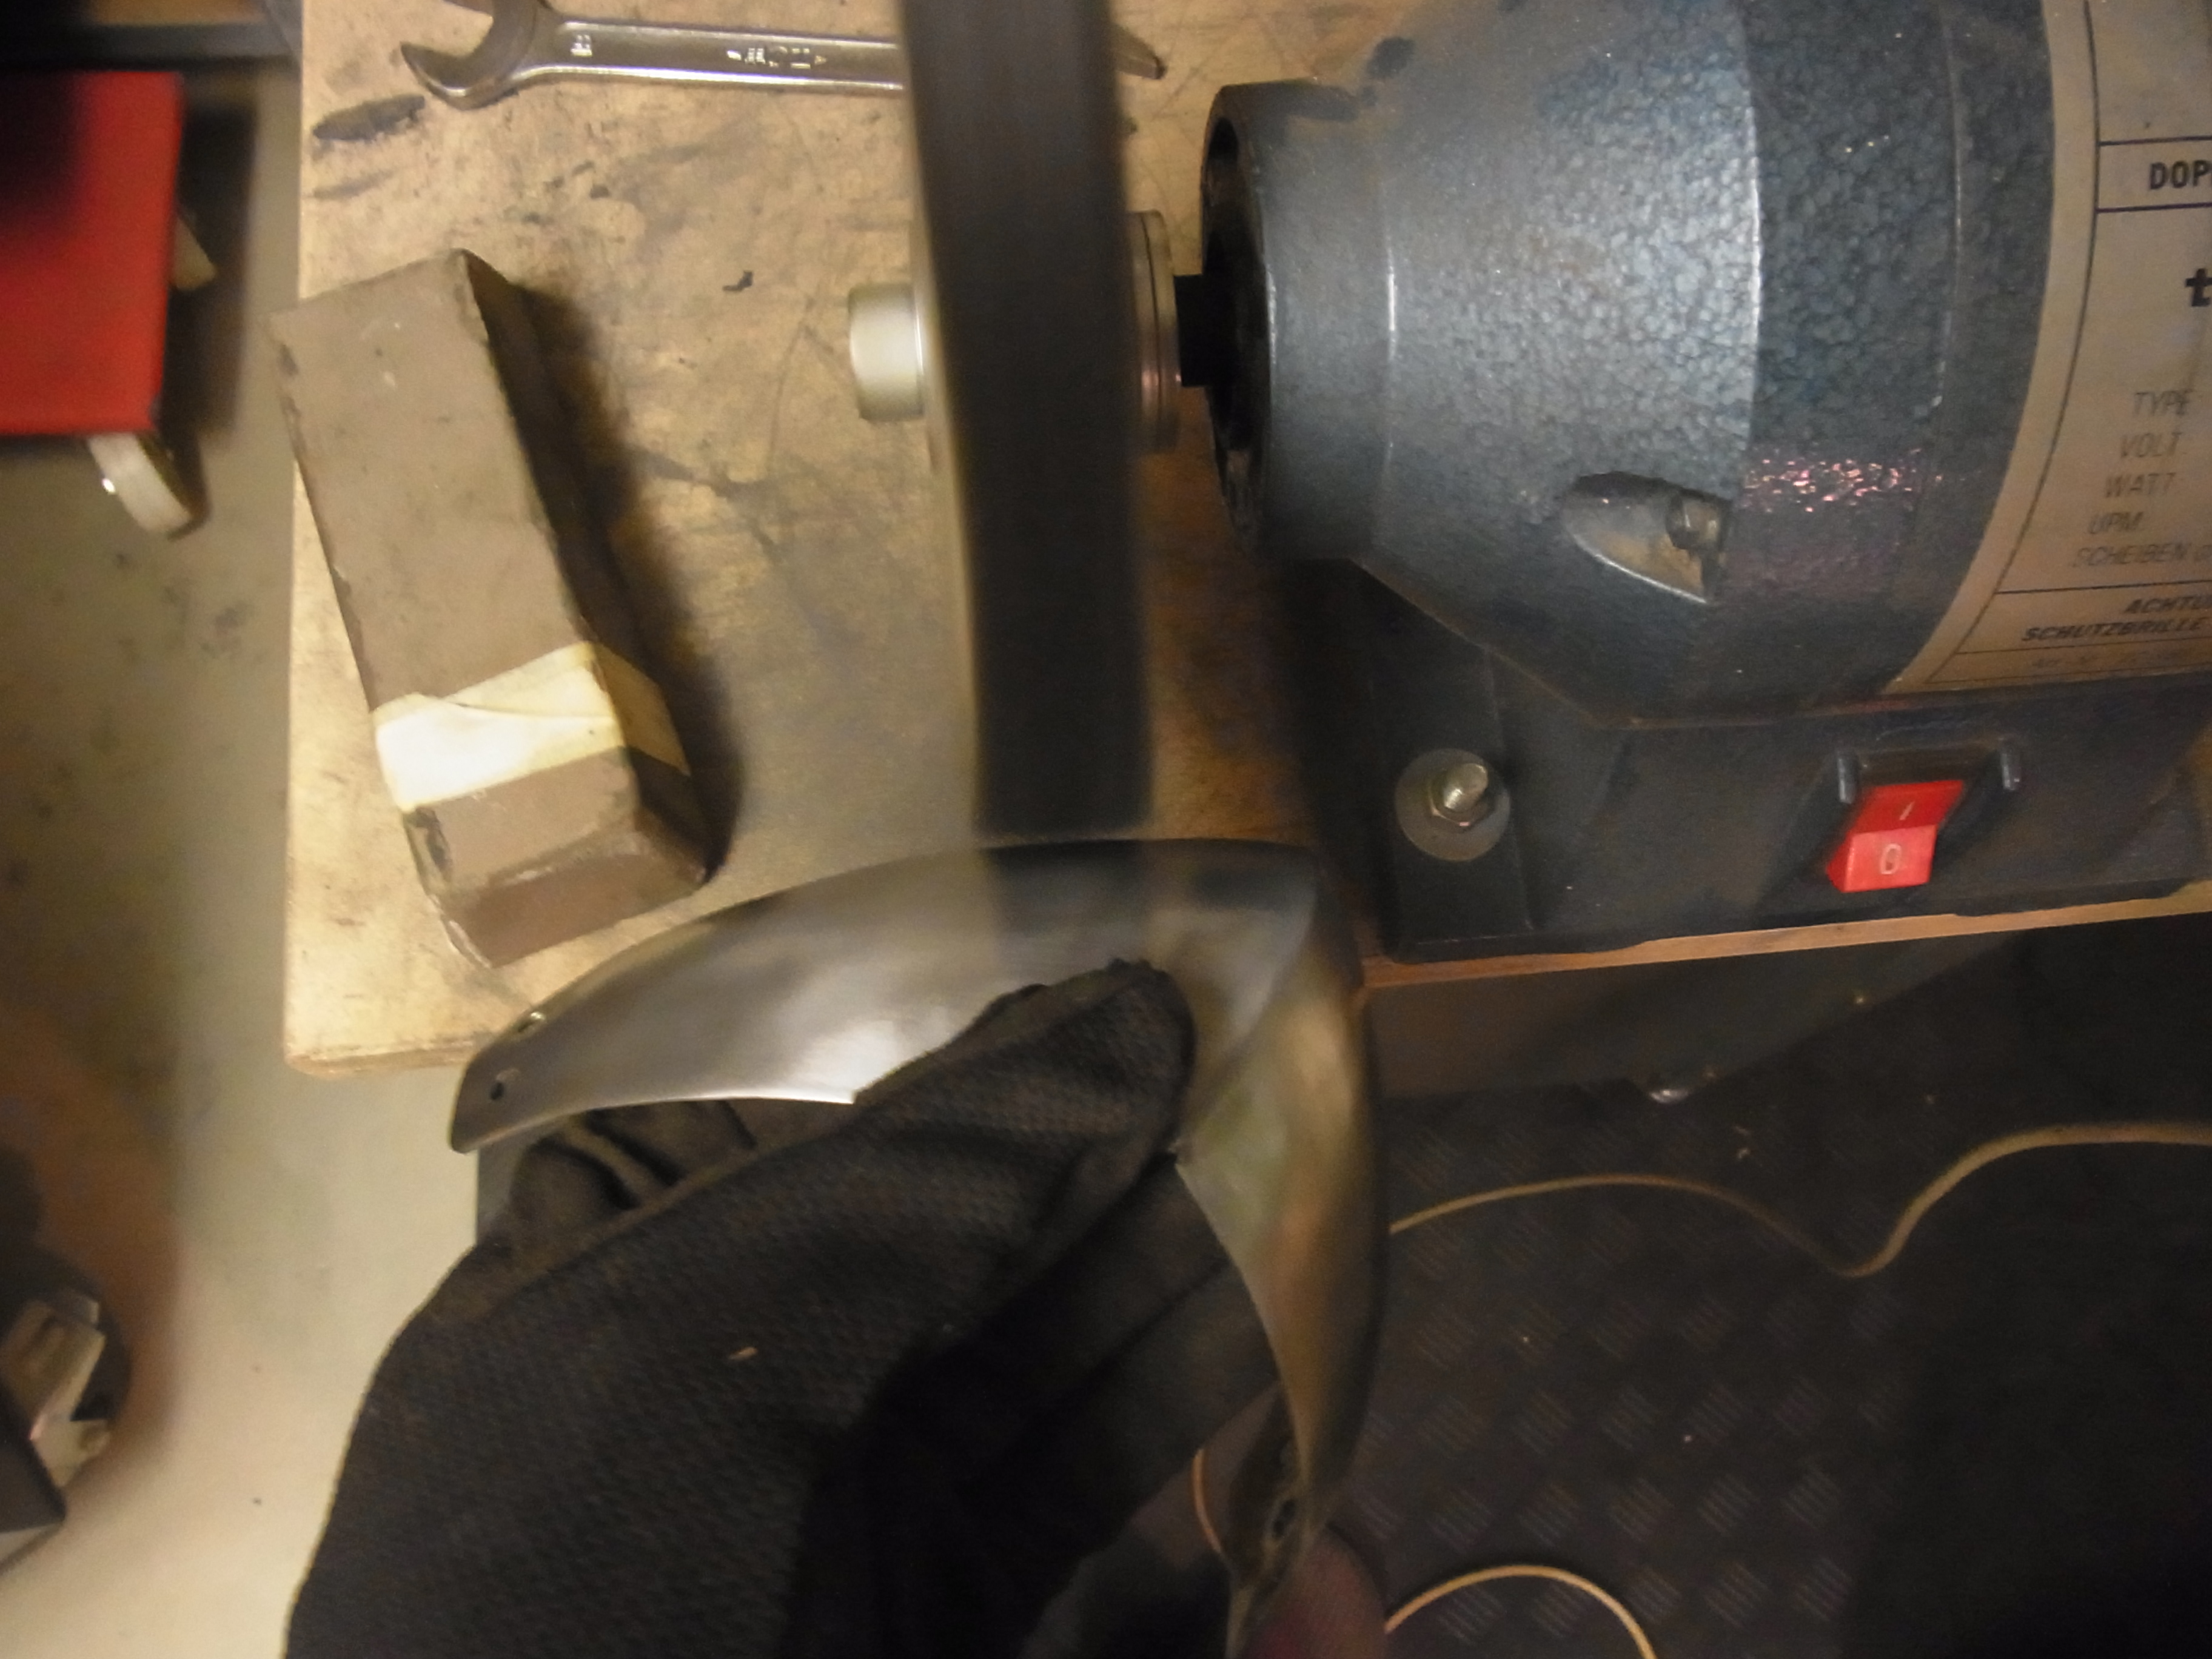
Afterwards I remove all the rust and scratches with a flap disk (125 grind) on my bench grinder.

Grind out the scratches with a flap disk
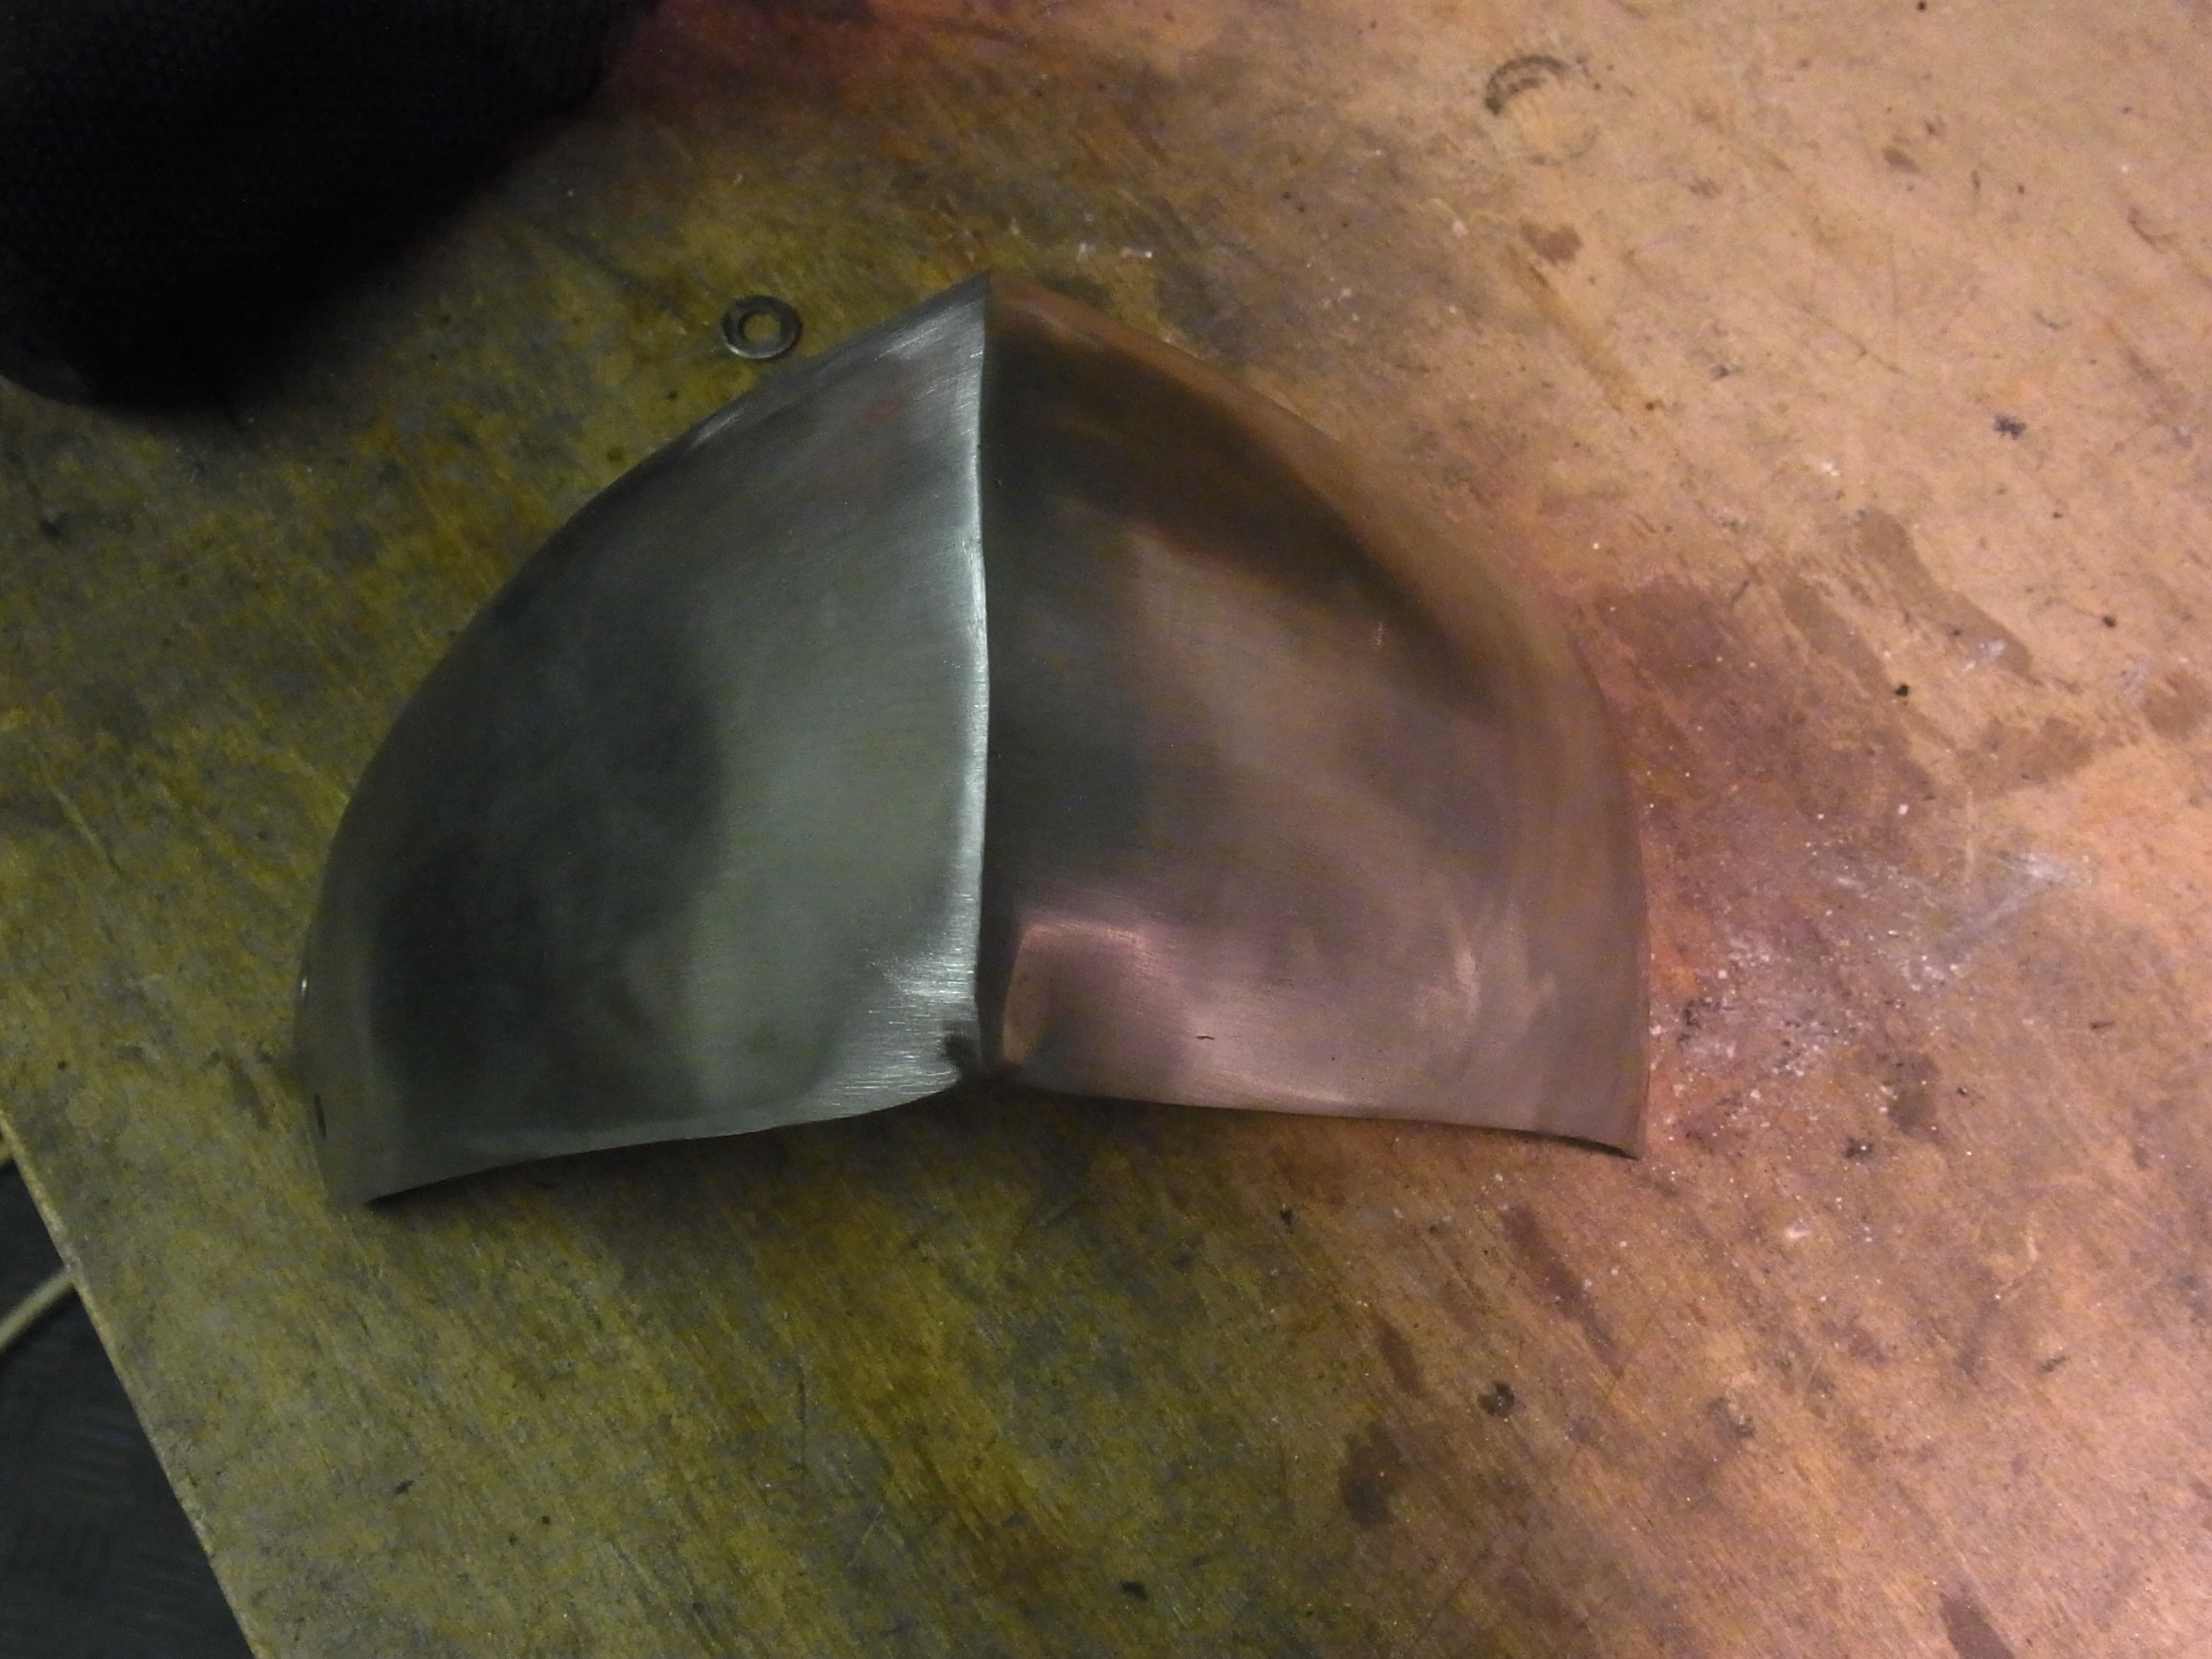
On the right side you can see the grinded surface in comparison the rusted left side.

Comparison before and after grinding
The polishing I do with a sisal polishing disk and a rough compound.
Polishing the knee cop
In comparison on the right side the polished and on the left the grinded surface.
Comparision before and after polishing
To get an even surface I rub it in circular motions with a scotchbrite pad.

After scotchbrite

Finished polish
Painting the inside
before assembling I want to paint the inside to prevent it from rust. I use dull black Hammerit as a rustprotector.
To protect the outside I tape all the holes so that the paint can´t drip out of them.
Taped and ready for paint
All parts got two layers of paint.

Finished paintjob
Assembly
I start the assembly with the buckles. They were delivered with plates having a 4mm hole. So I use rivets with a lense head. This are made for a counter sunk hole…so I press the whole package together with a rivet setter.
While riveting the heads lay on my rivetsupport made from brass. So the heads keep their form.
Before riveting I shorten the rivet with a long pair of sidecutters so I get a shaft of 2mm.

Compressing the package
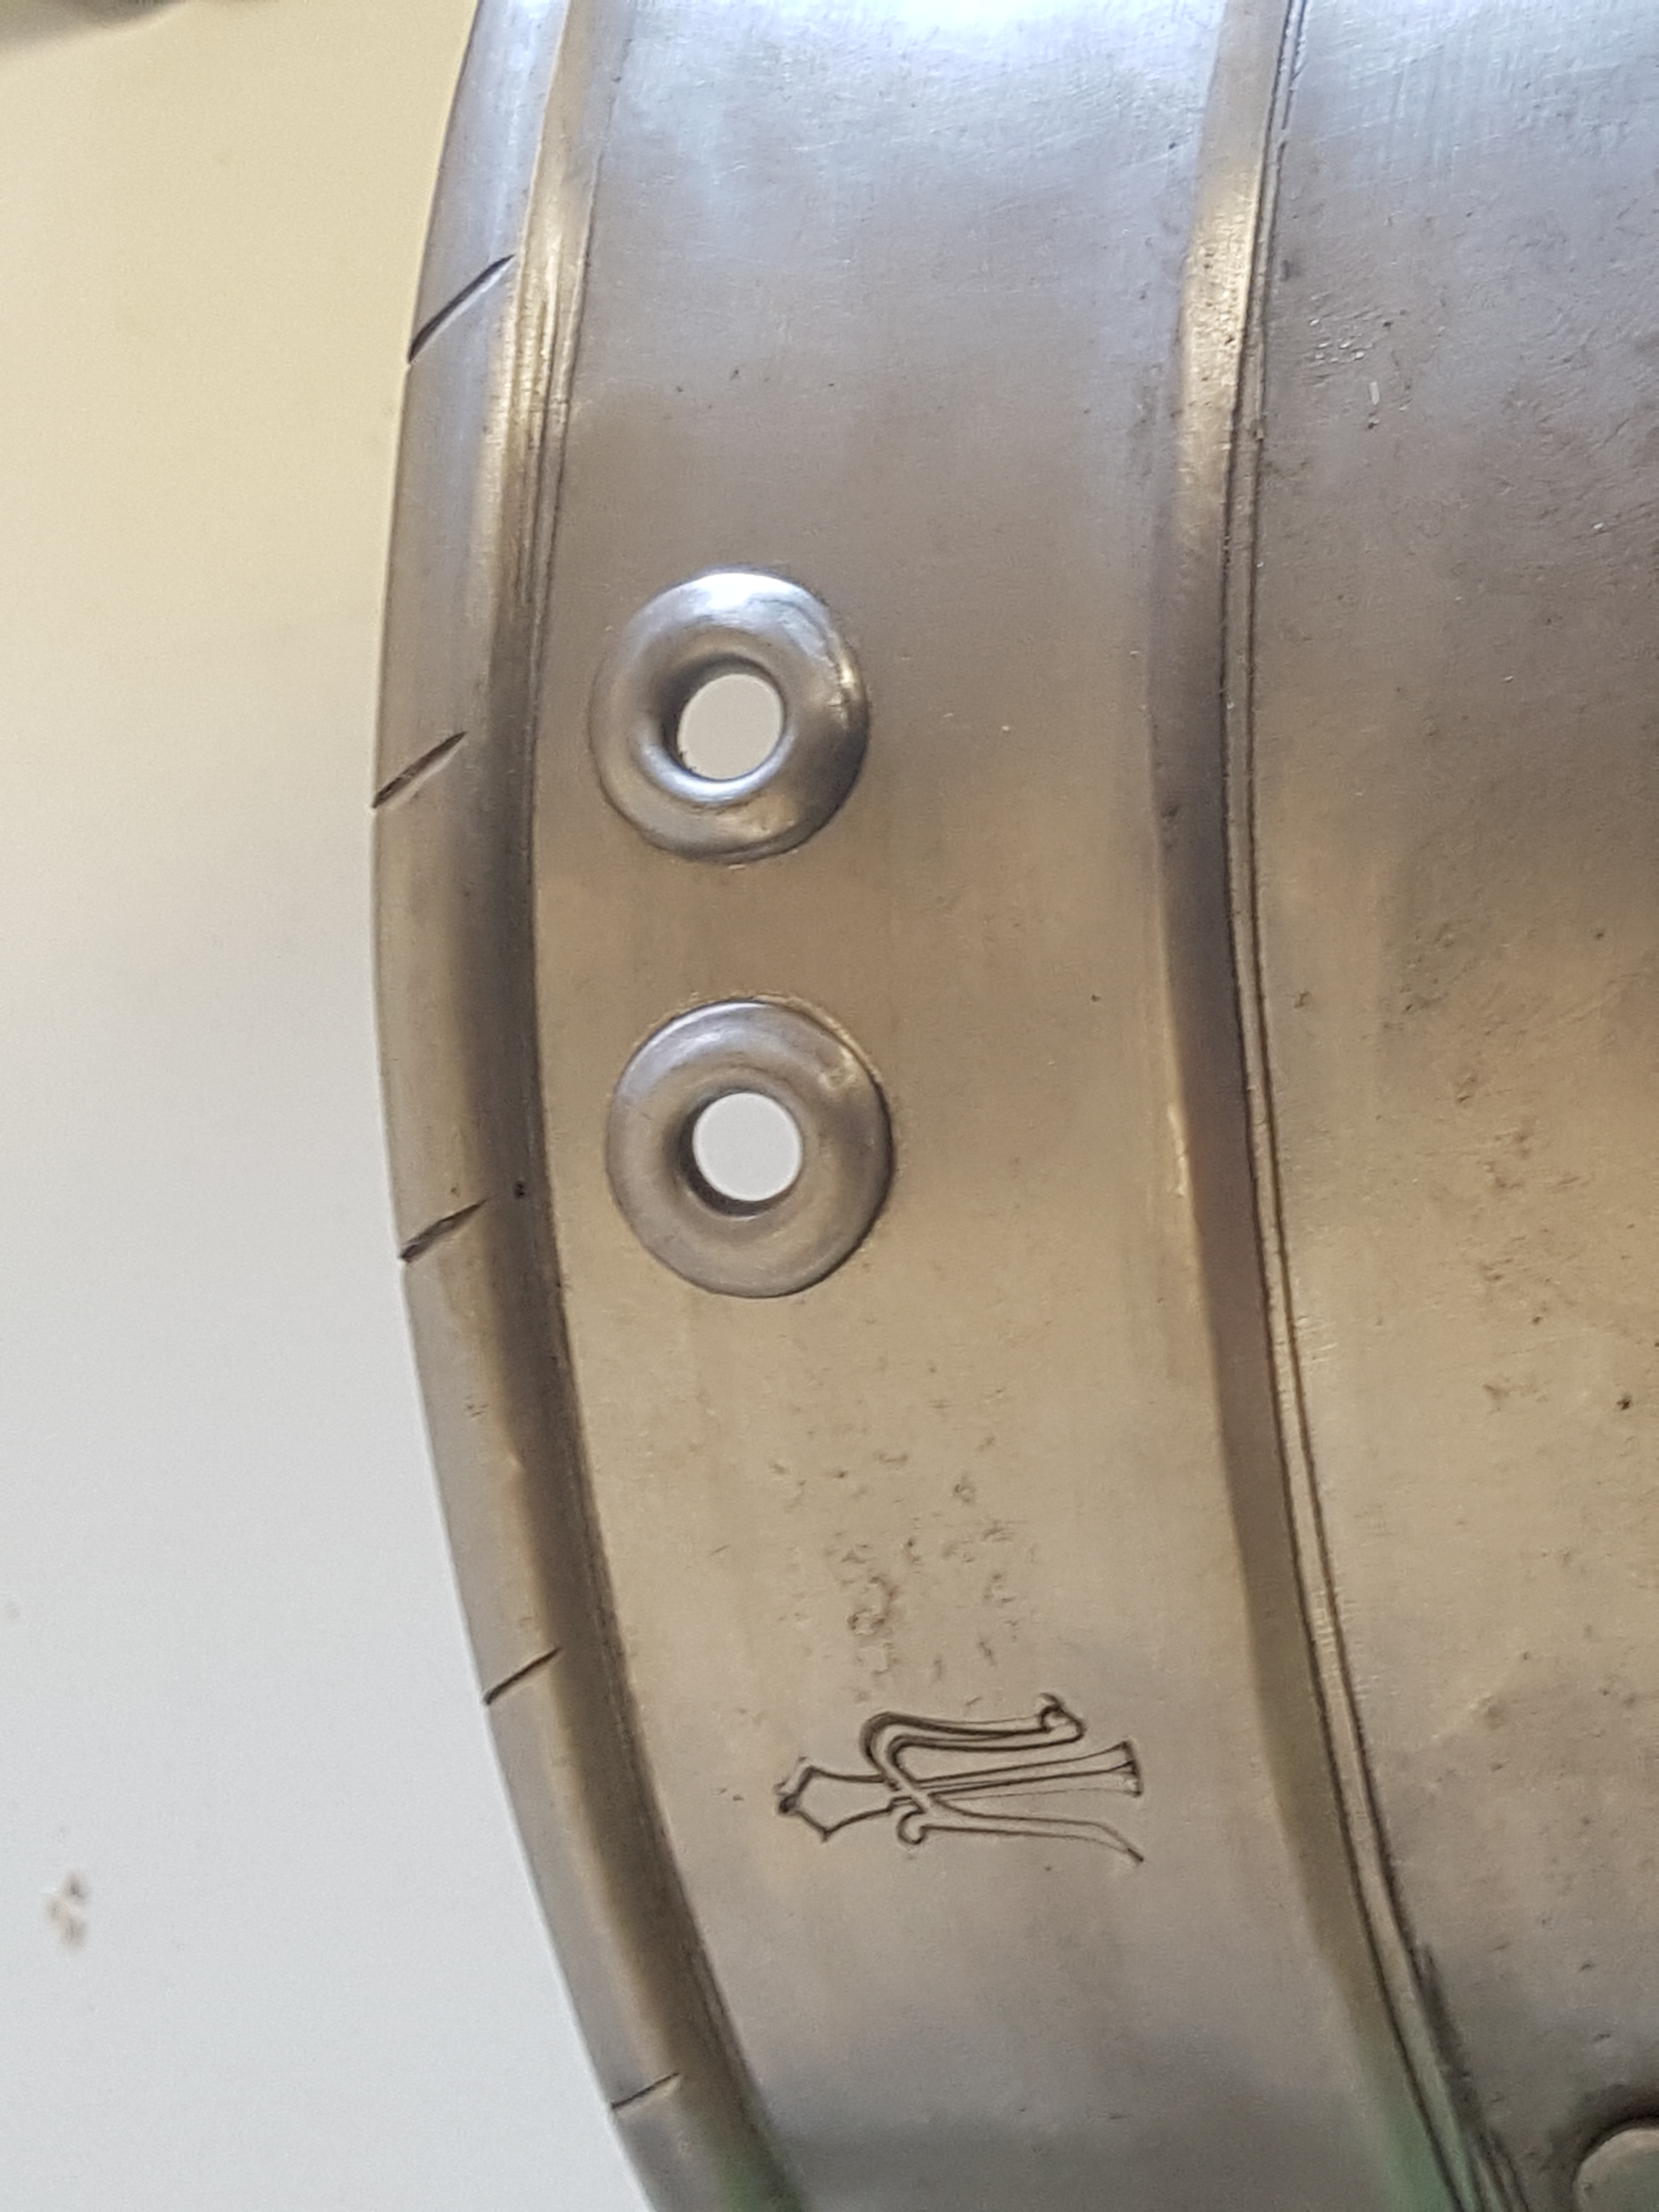
Next I mount the straps to the armour. For this I use 5mm round head rivets and washers.

While riveting tape holds the washers in place
In the same manner I mount all parts together.

Strap attached
Arming points
Before restoring them the cuisses hat leather hangers attached to the upper edge with which the armour was laced to the belt. This leathers were attached by to rivets per cuisse. In the past I found this attachement to loose so I want to change it and use 2 pairs of holes per cuisse for arming points lacing directly through the armour plate.
To prevent the arming points getting rubbed appart I want to make eylets from steeltubing (8mm external diameter, 6mm inner diameter). Per eyelet I cut off 12mm long pieces of this tube and clean the ends with a file.
For the forming of the eyelet I made a small tool out of 6mm thick flat-bar. In this I drilled an 8,5mm.
In addition I need a ball hammer and round head punch I made in the past to form pockets for rivetheads.
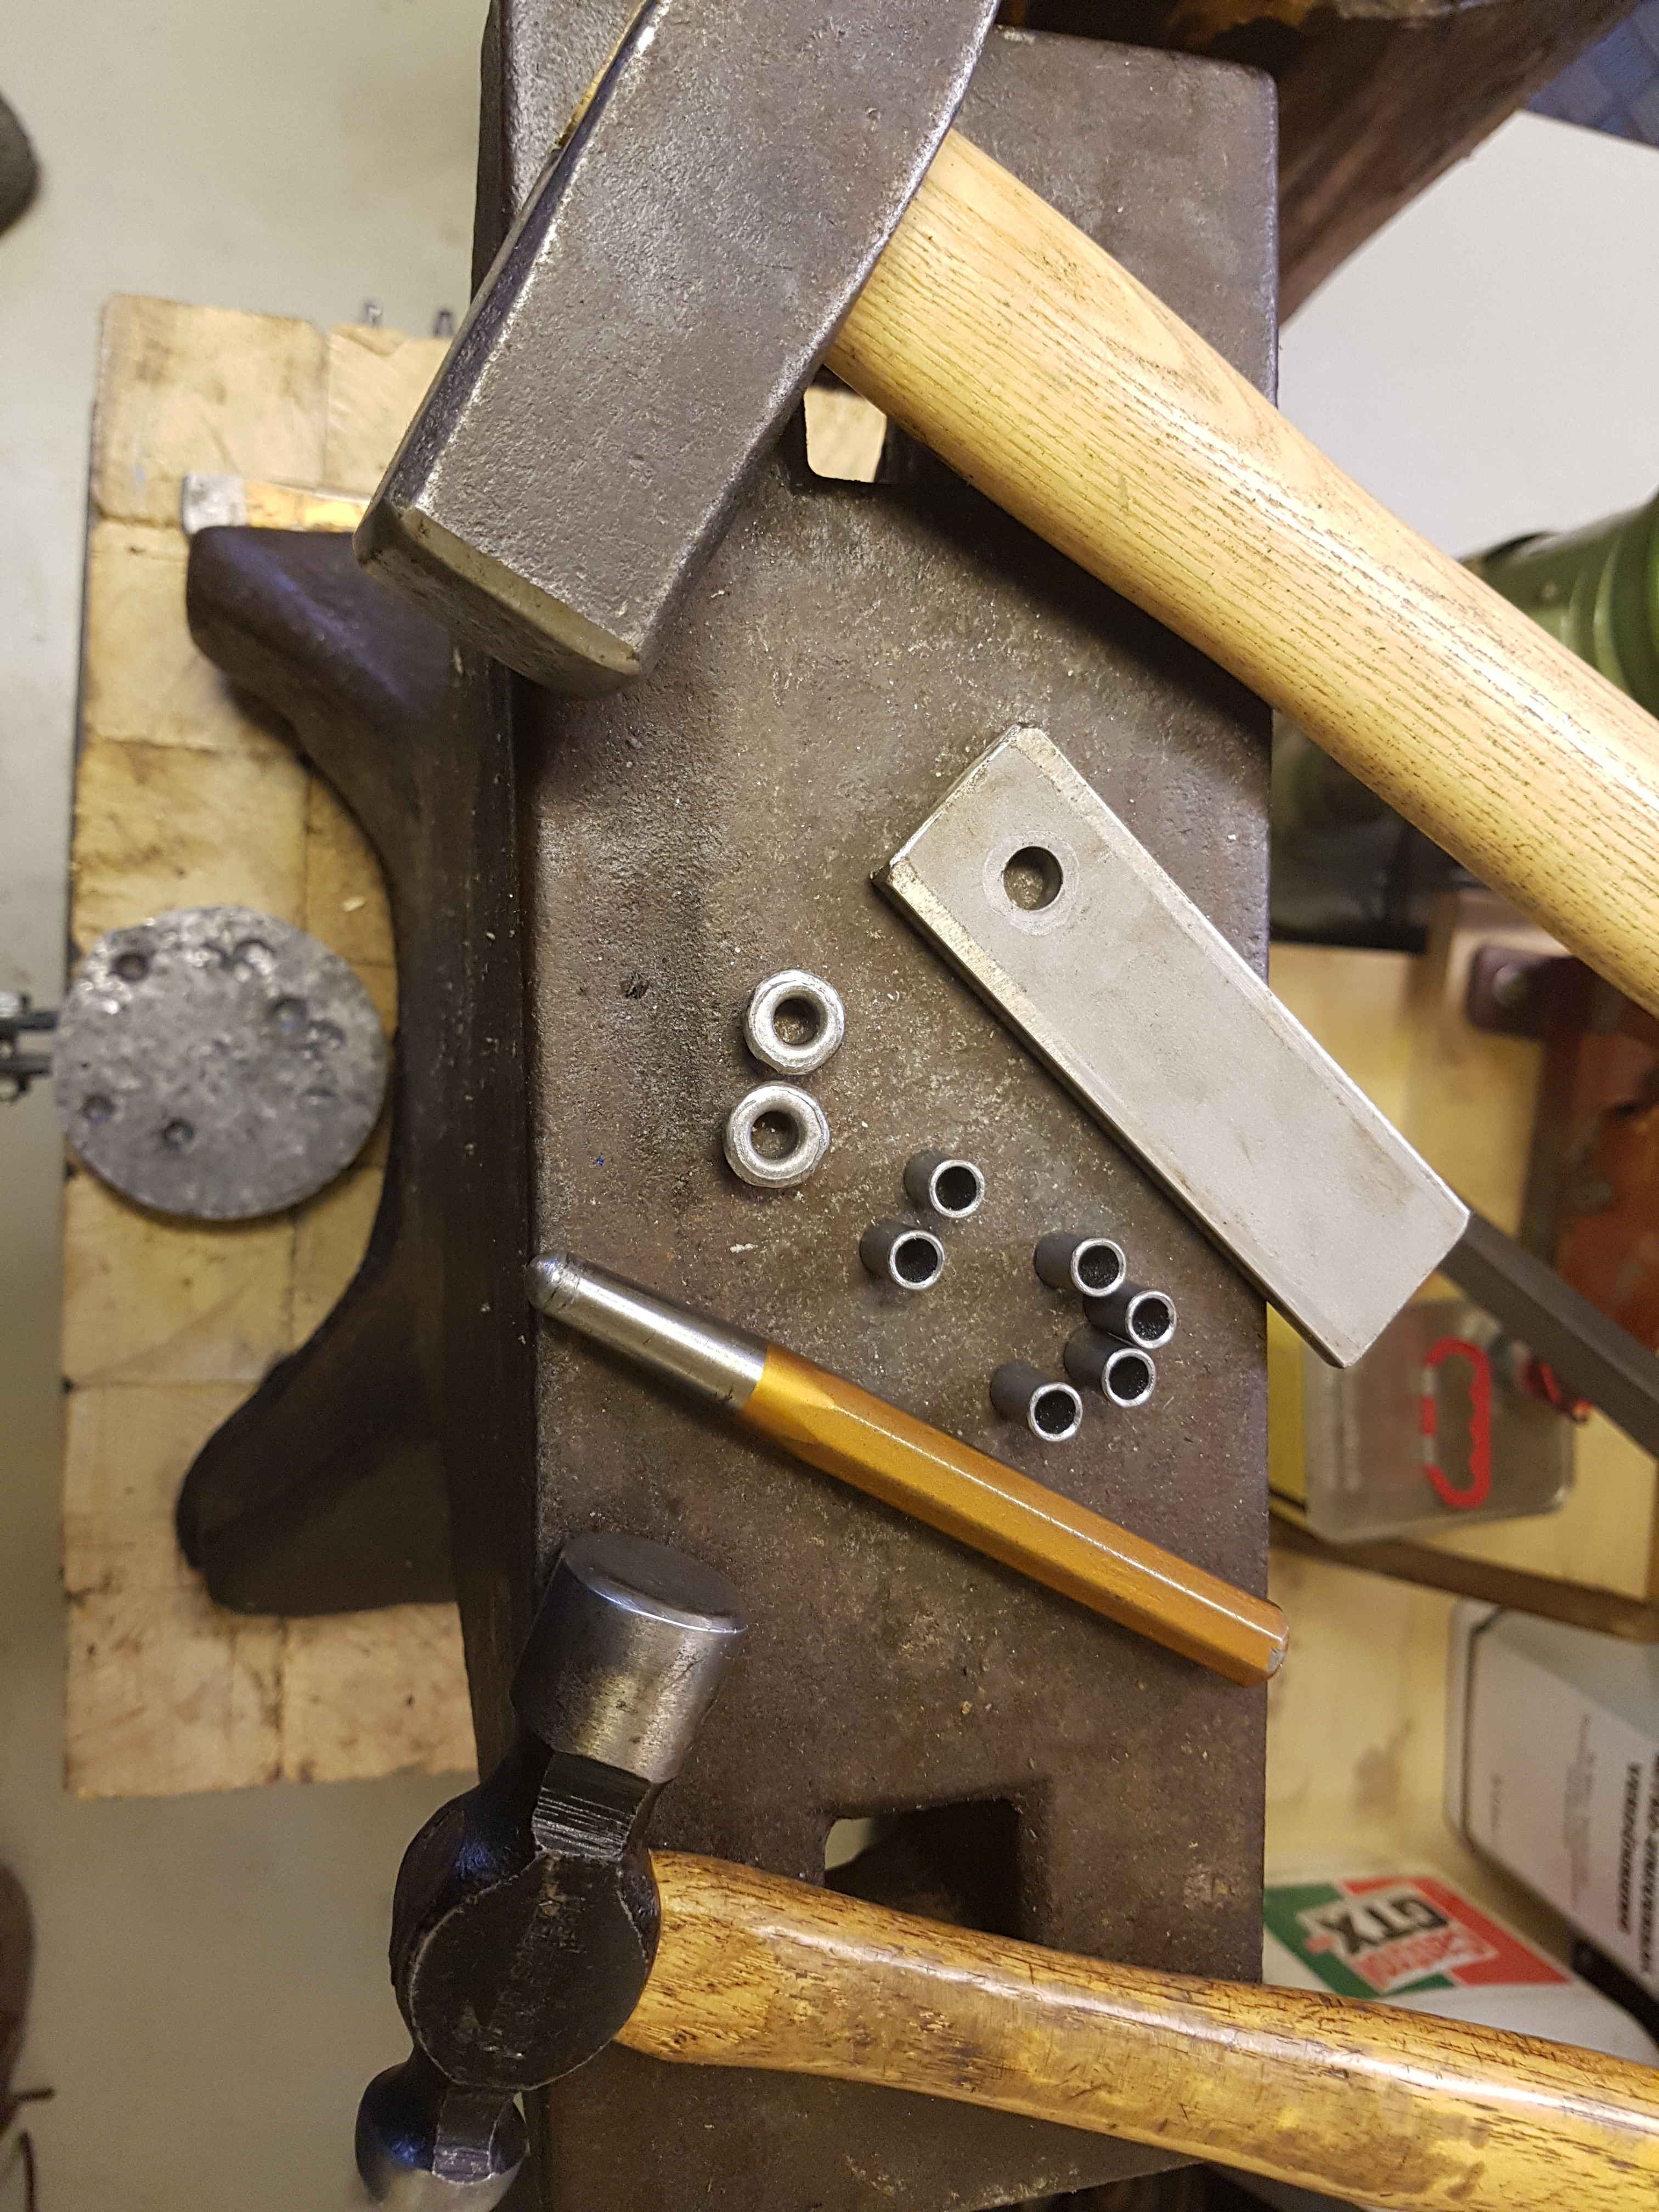
Tools for making eyelets
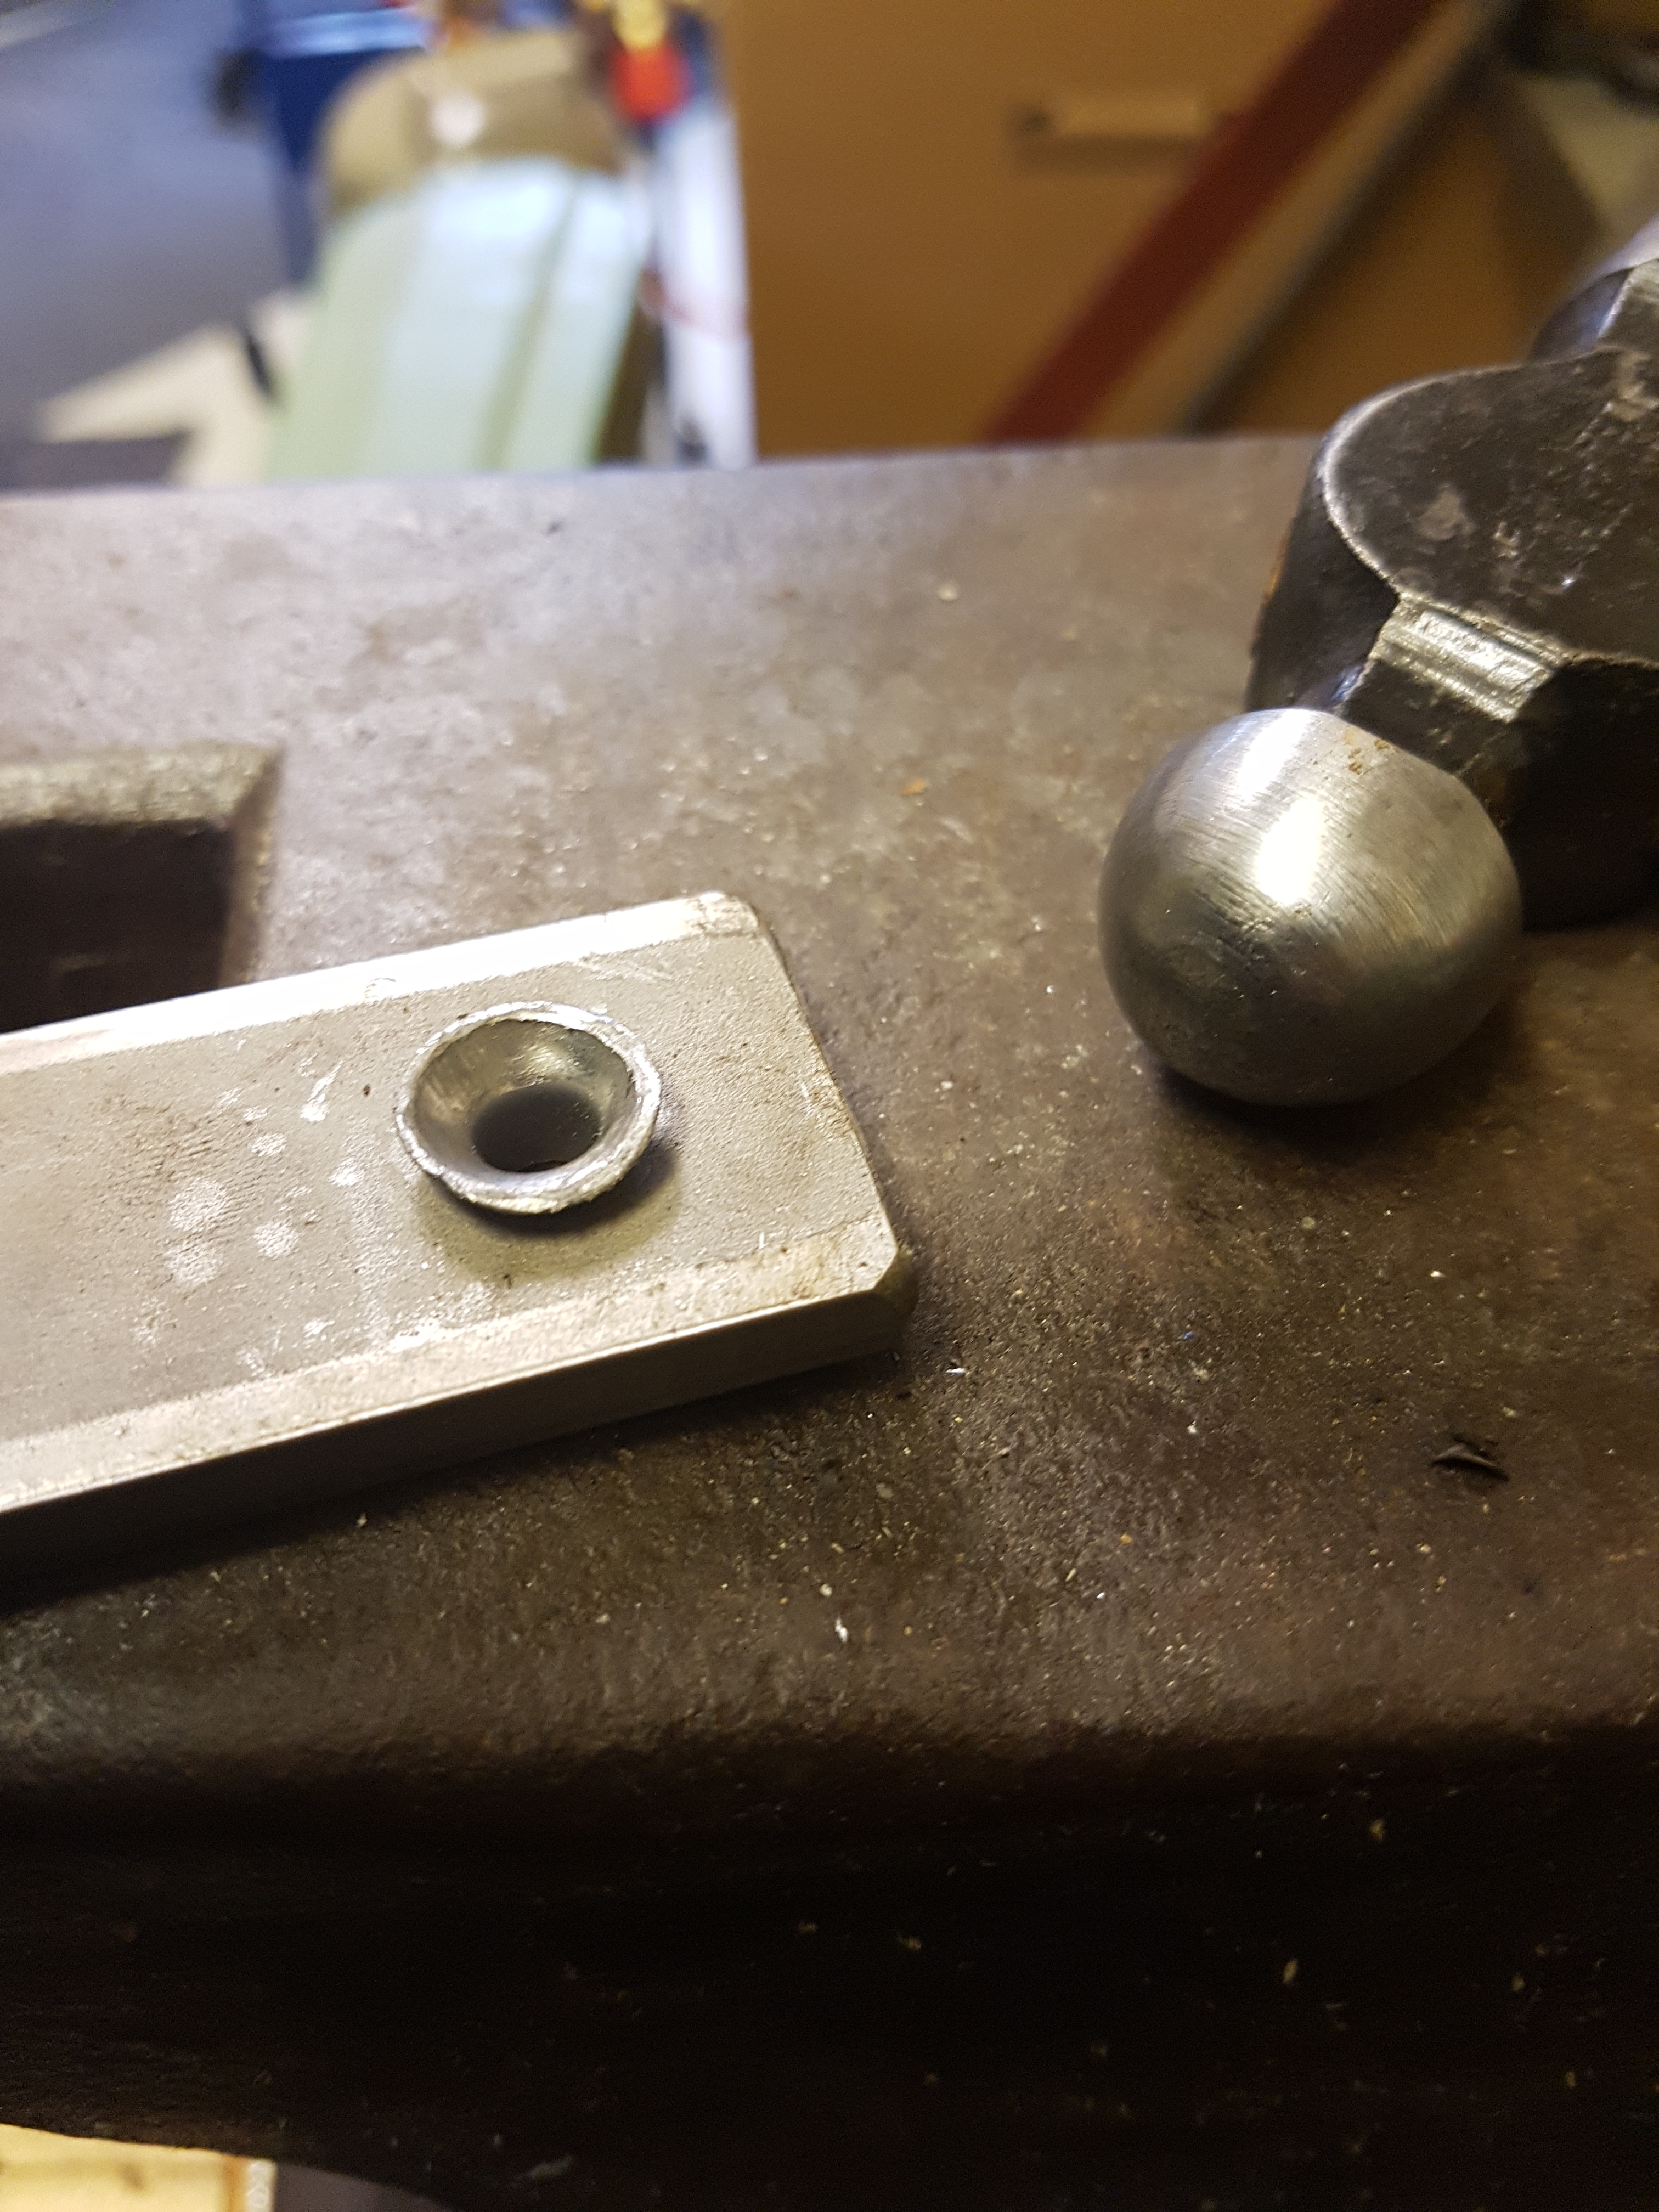
I lay the flat-bar on the anvil and put one of the tube pieces in the drilled hole. Now I whiden the free portion of the tube by driving the round head punch into the tube.

Initial forming of the eyelet
With the ball hammer I whiden the opening further till the flankes reached almost 45°.
Whiden up the opening
Now I hammer down the flankes till they touch the flat-bar.

Just a quick grind is needed with 120 sandpaper.

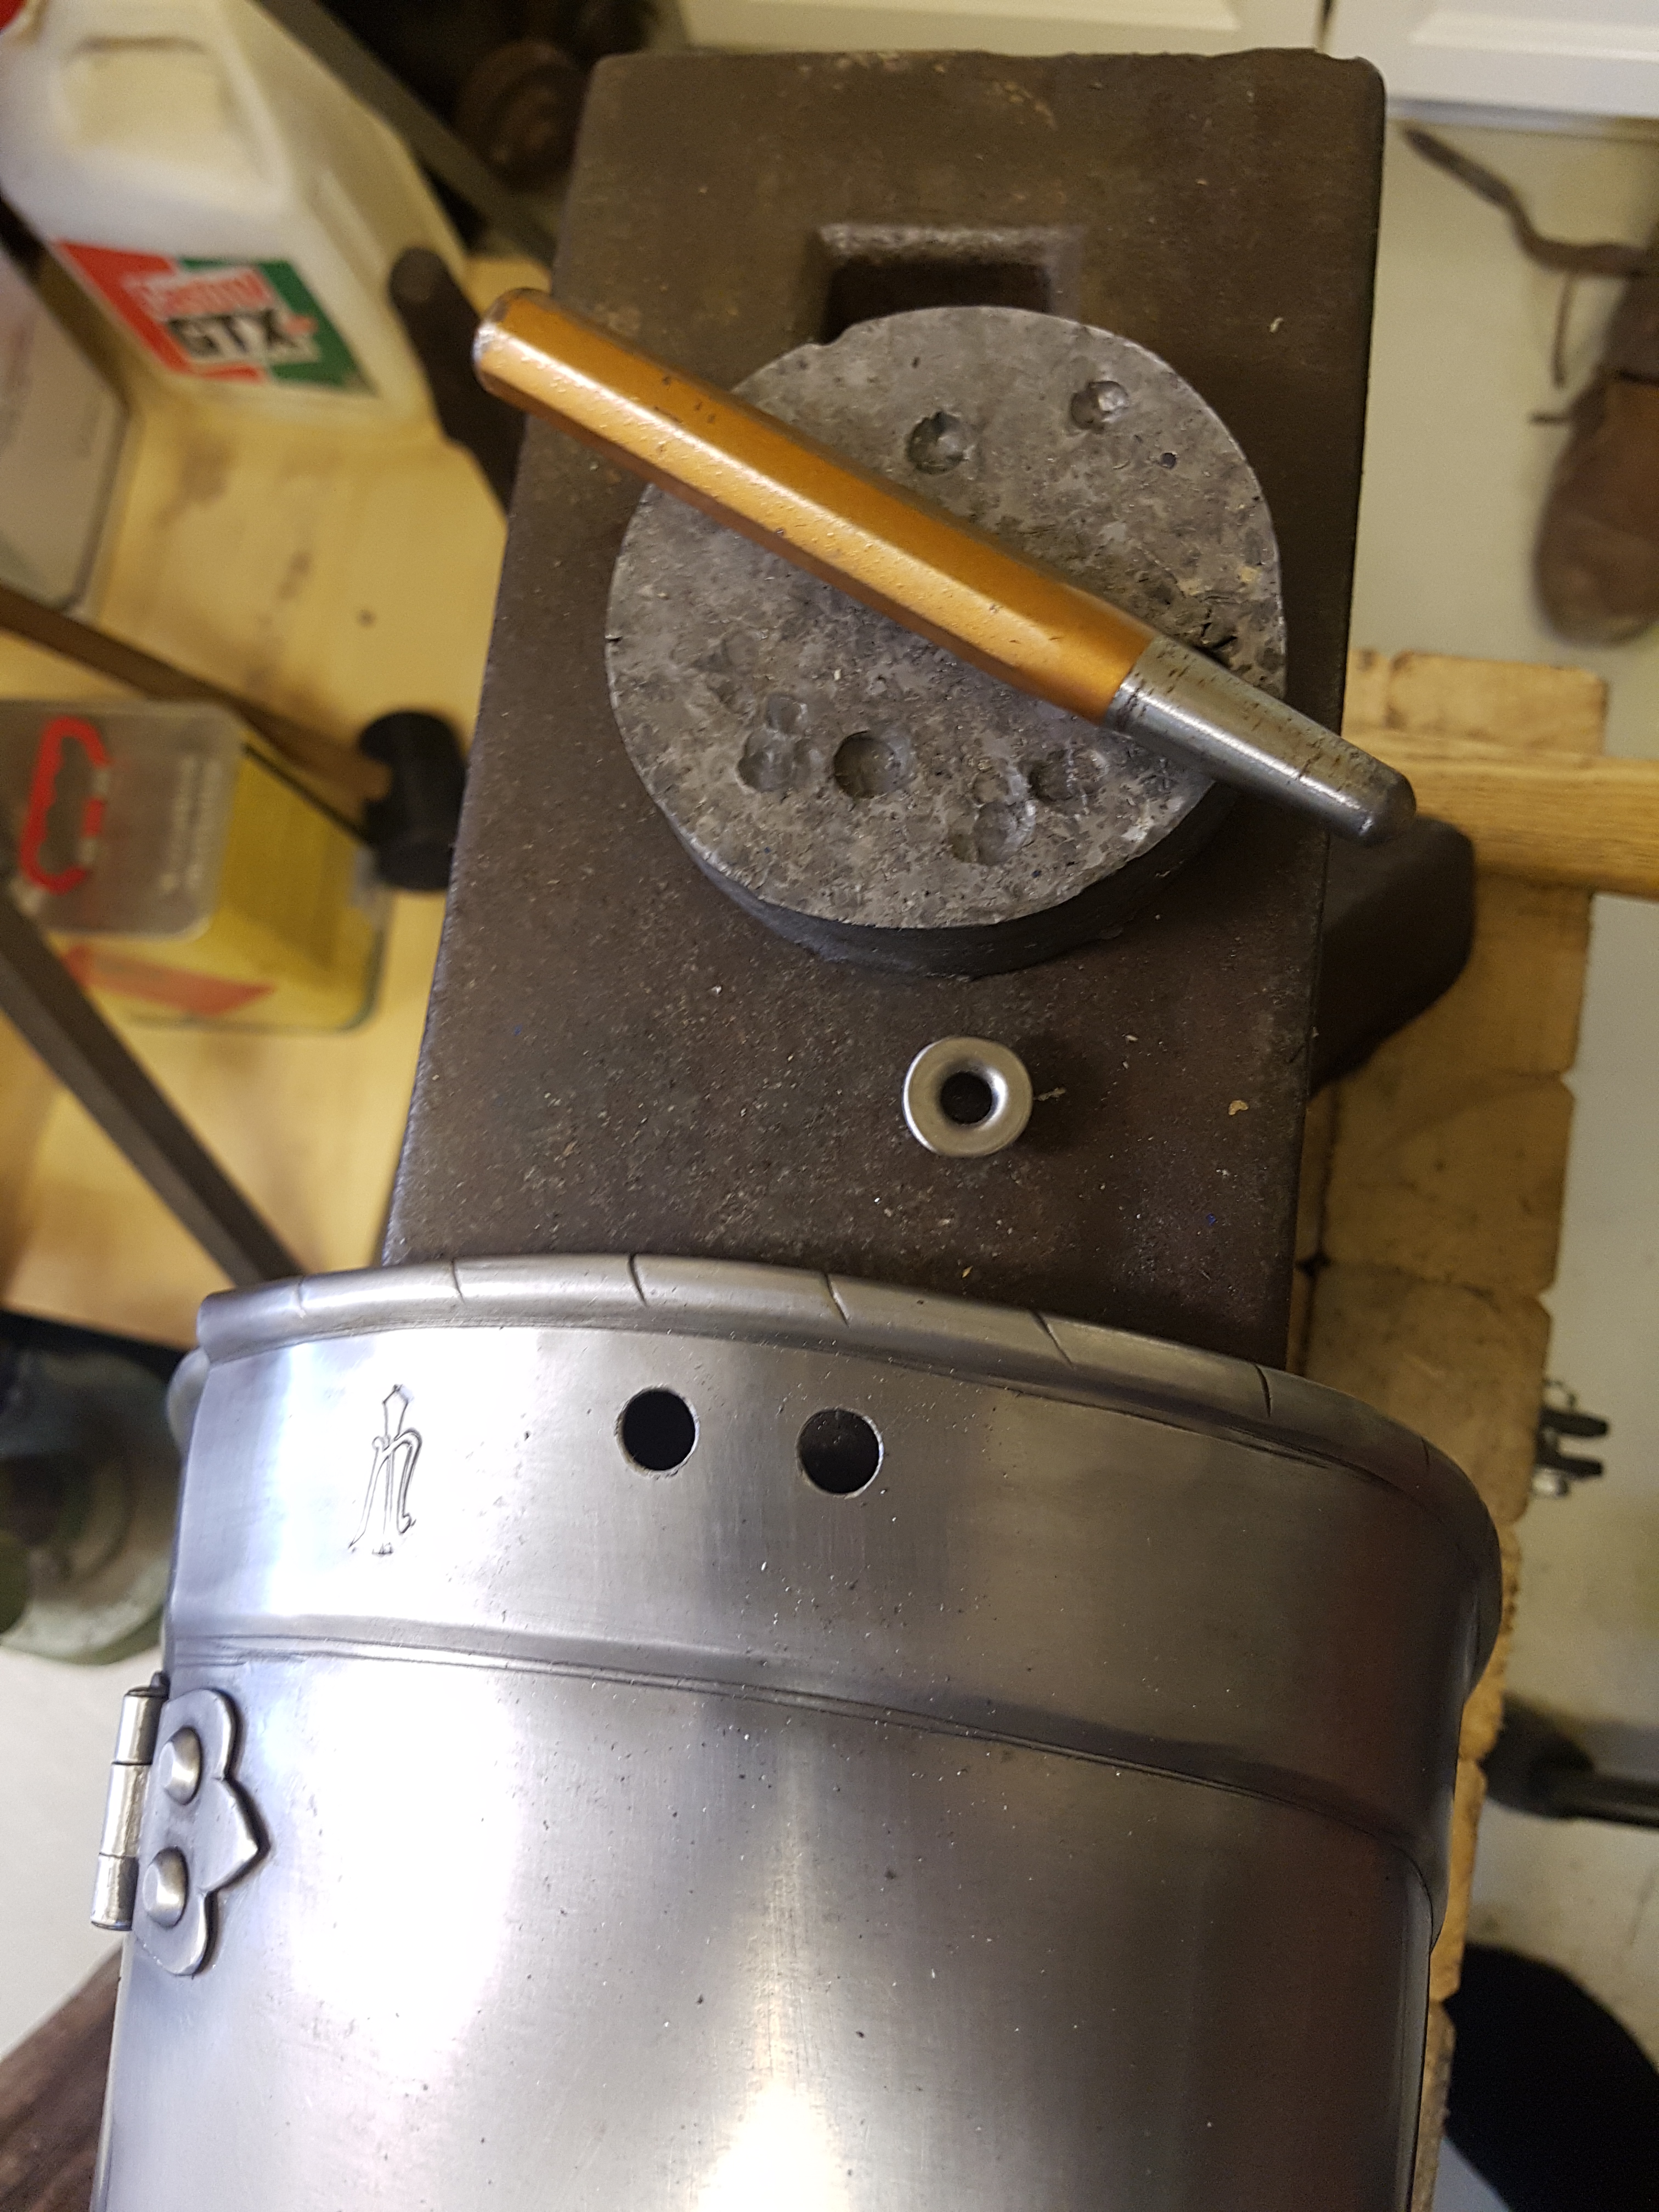
Finished eyelet
I revite the eyelets in the armour the same way that I used to form the flange.
To support and not deform the front of the eyelet I use a leadblock. By working into the lead the front flange also round out nicely.
Tools for mounting eyelet
Eyelet front view

Eyelet inside view
Last polish
After a last scotchbrite treatment and cleaning the tigh armour is finished.

