
Restoring my old Kalotta
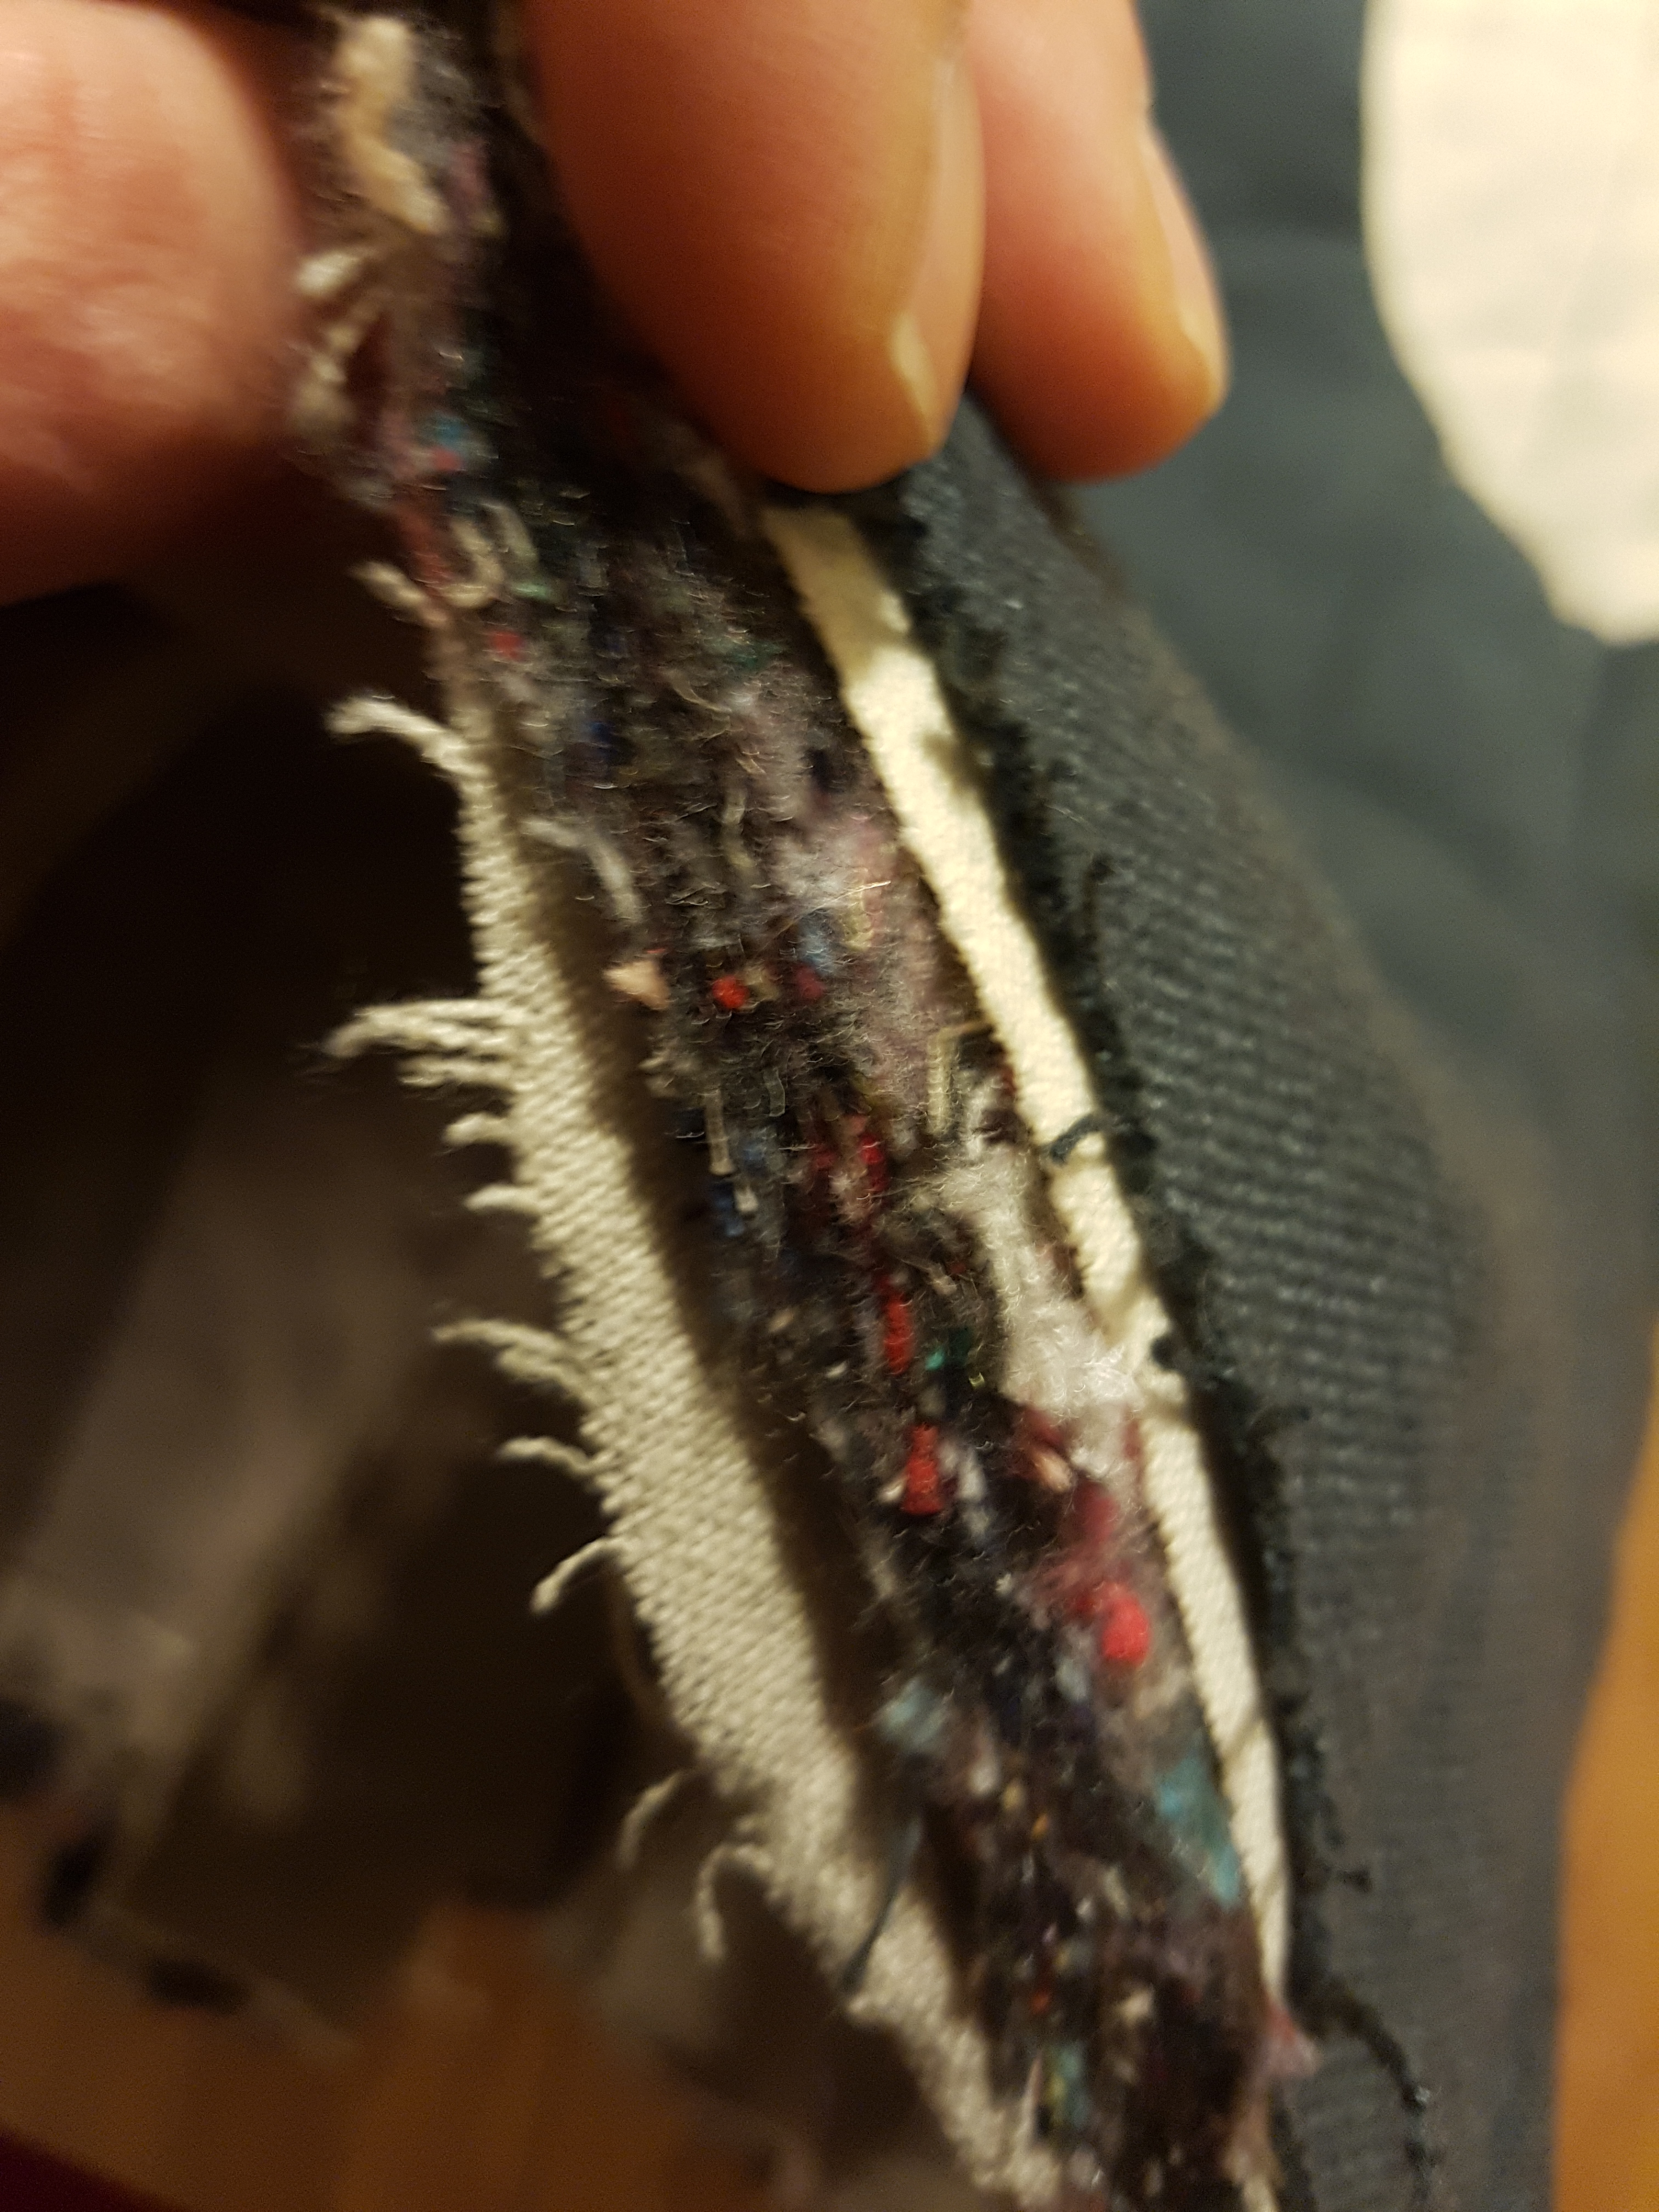
Due to wrong way of storaging it the padding and straps of my blackend Kalotta got mouldy.
But with this I had a reason to redesign this helmet. The complete armour of the charakter it was made for will slowly shift from 12. century to 14. century. So this was the chance to start this transformation.
The plan is to add an chainmaille aventail with eyelets to the helmet.
Cleaning the helmet
first everything had to be dismantled and all the rust and the old blackening must to be removed.
To remove the rivets I ground down their heads to about 1mm thickness. Than I hammered the rivet shafts thru with a drift punch (from the head pushing inside). Thereby the rest of the head is sheared of and looks like a washer.
Cleaning the inside I´ve done the easy way and used a rough scotch bride pad.
On the outside I hand sanded with 80, 120, 240 grid sandpaper and finished with a fine pad.
Aventail eyelets
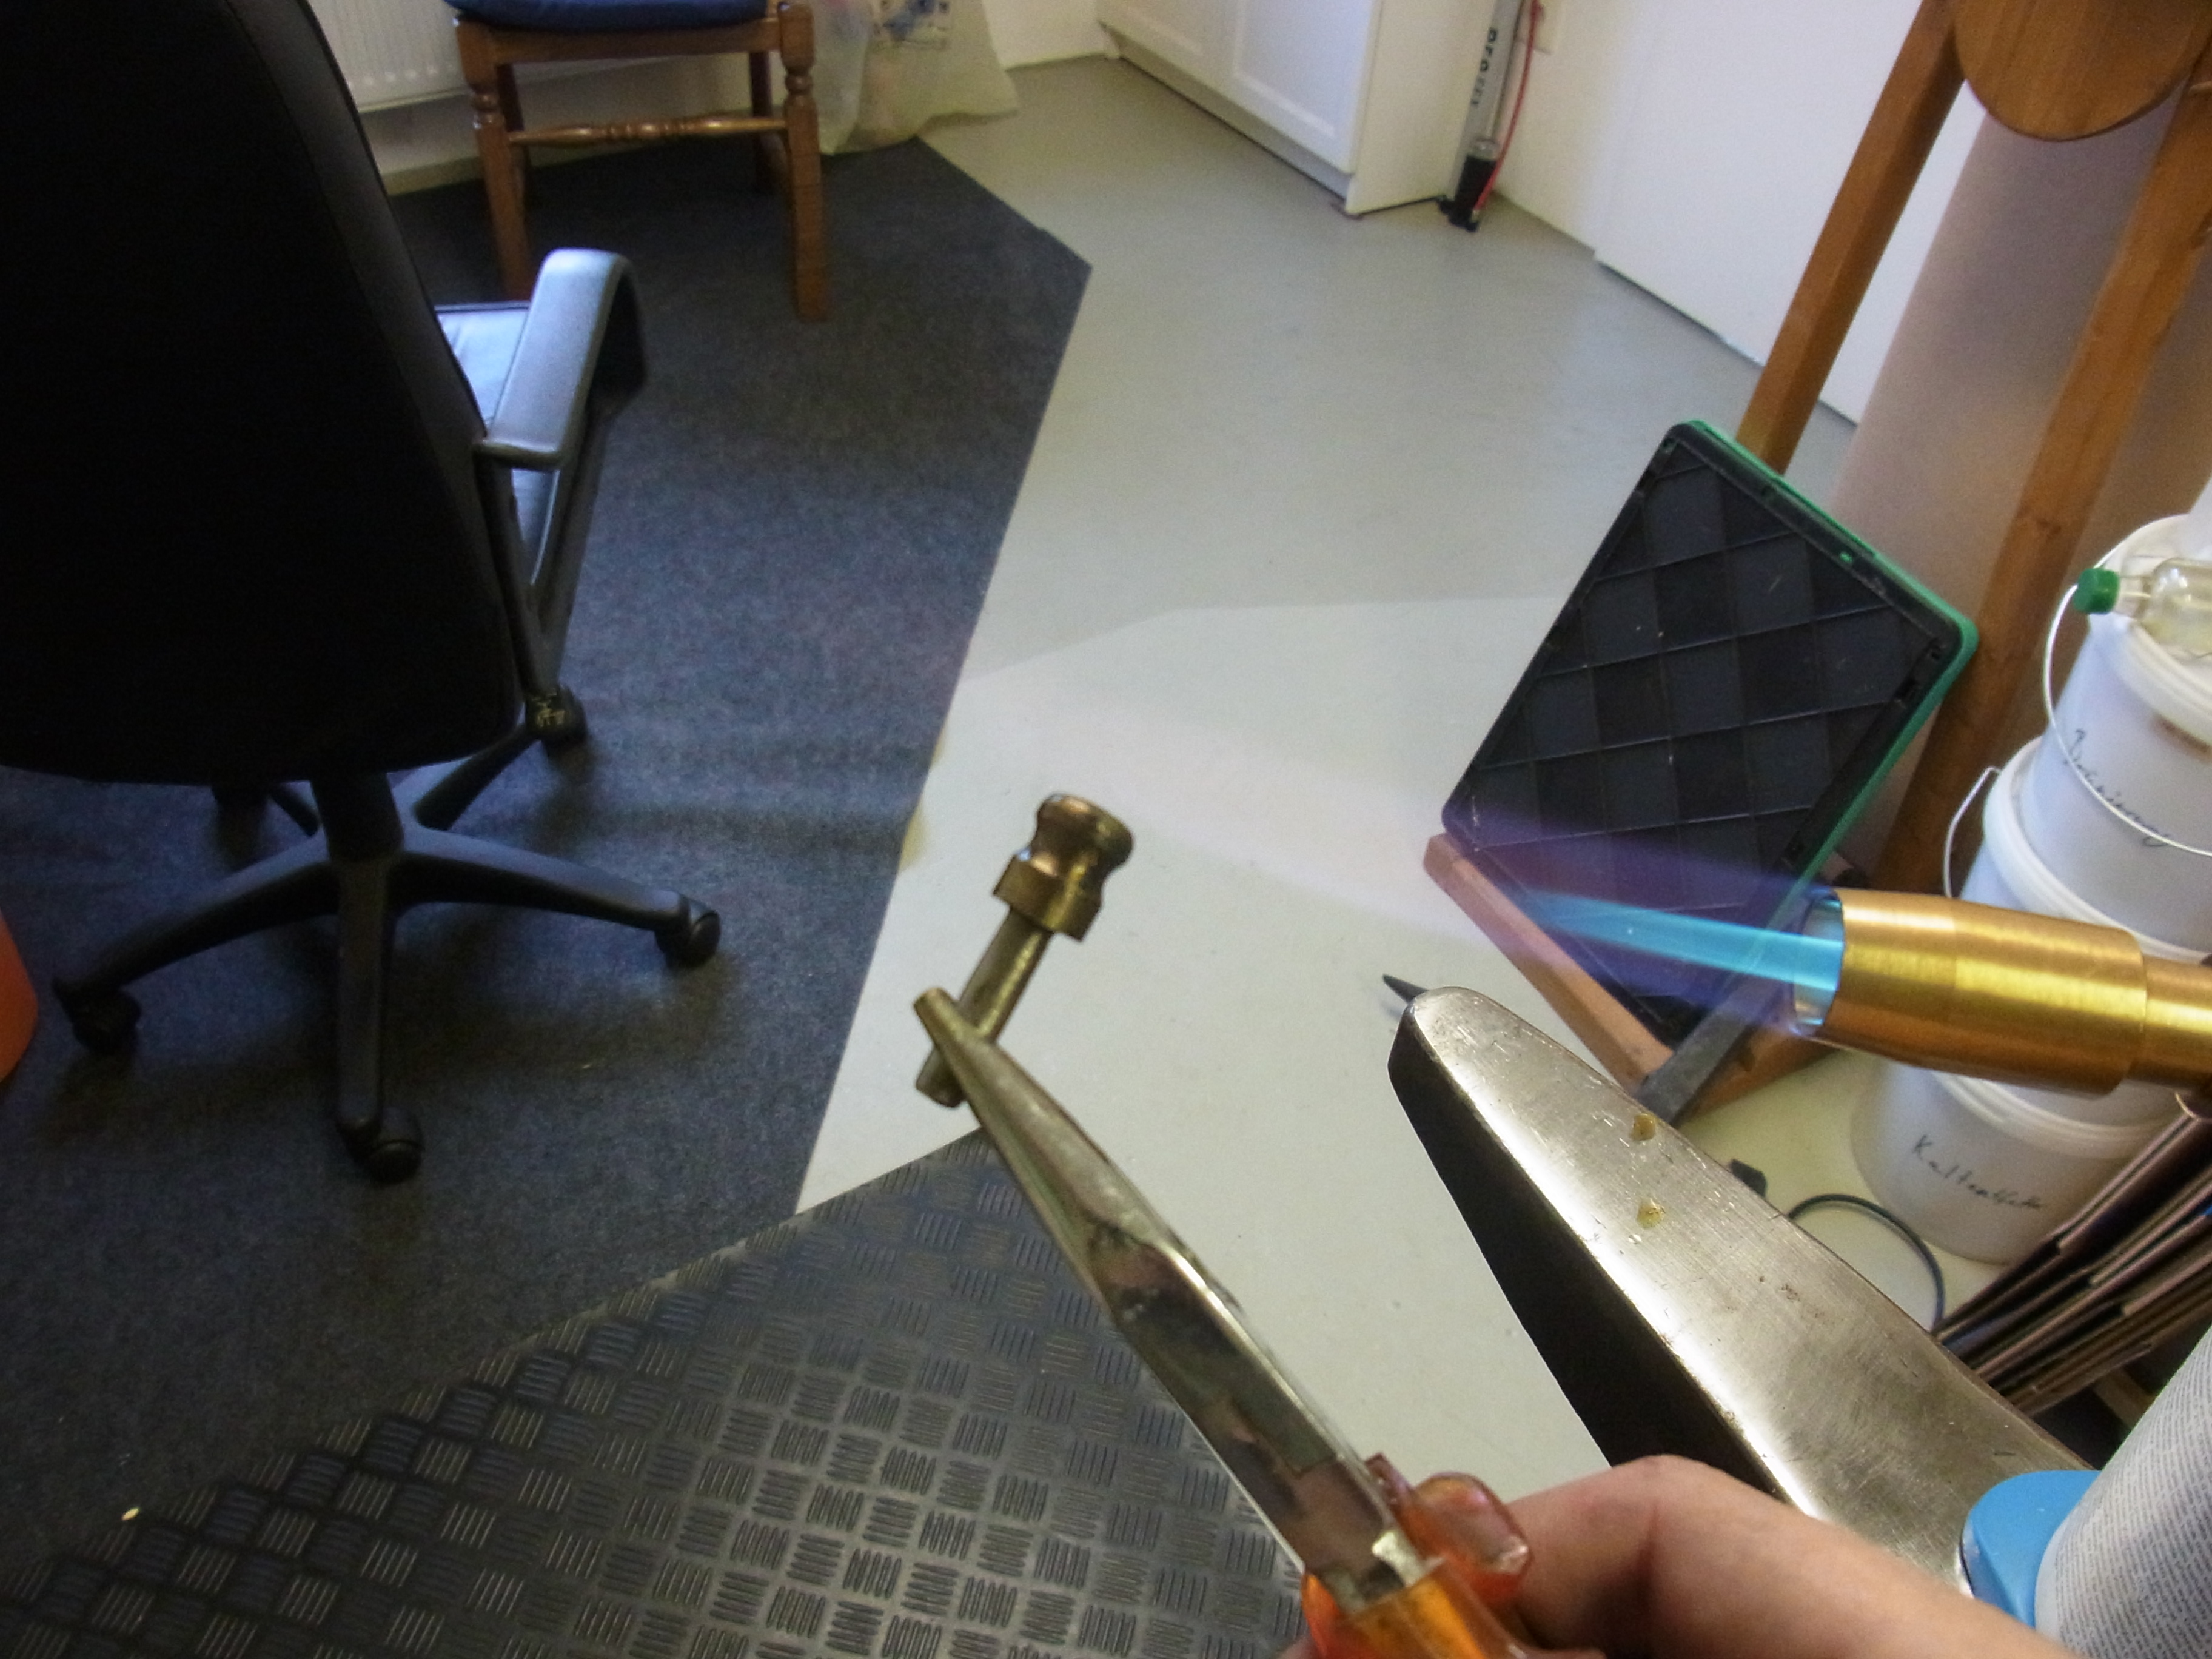
The eyelets consists of a 5mmx20mm steel roundstock and a 16mm long piece of steel tubing (outer diameter 8mm by 1mm wall thickness).
I wasn´t able to weld this pieces with my MMA welder so I brazed them together.
Aventail Endpieces
I filed the endpieces from a 10mm round stock. The main stock removal I did with a bastard file on the workbench. The rest I did afterwards on my improvised lathe.
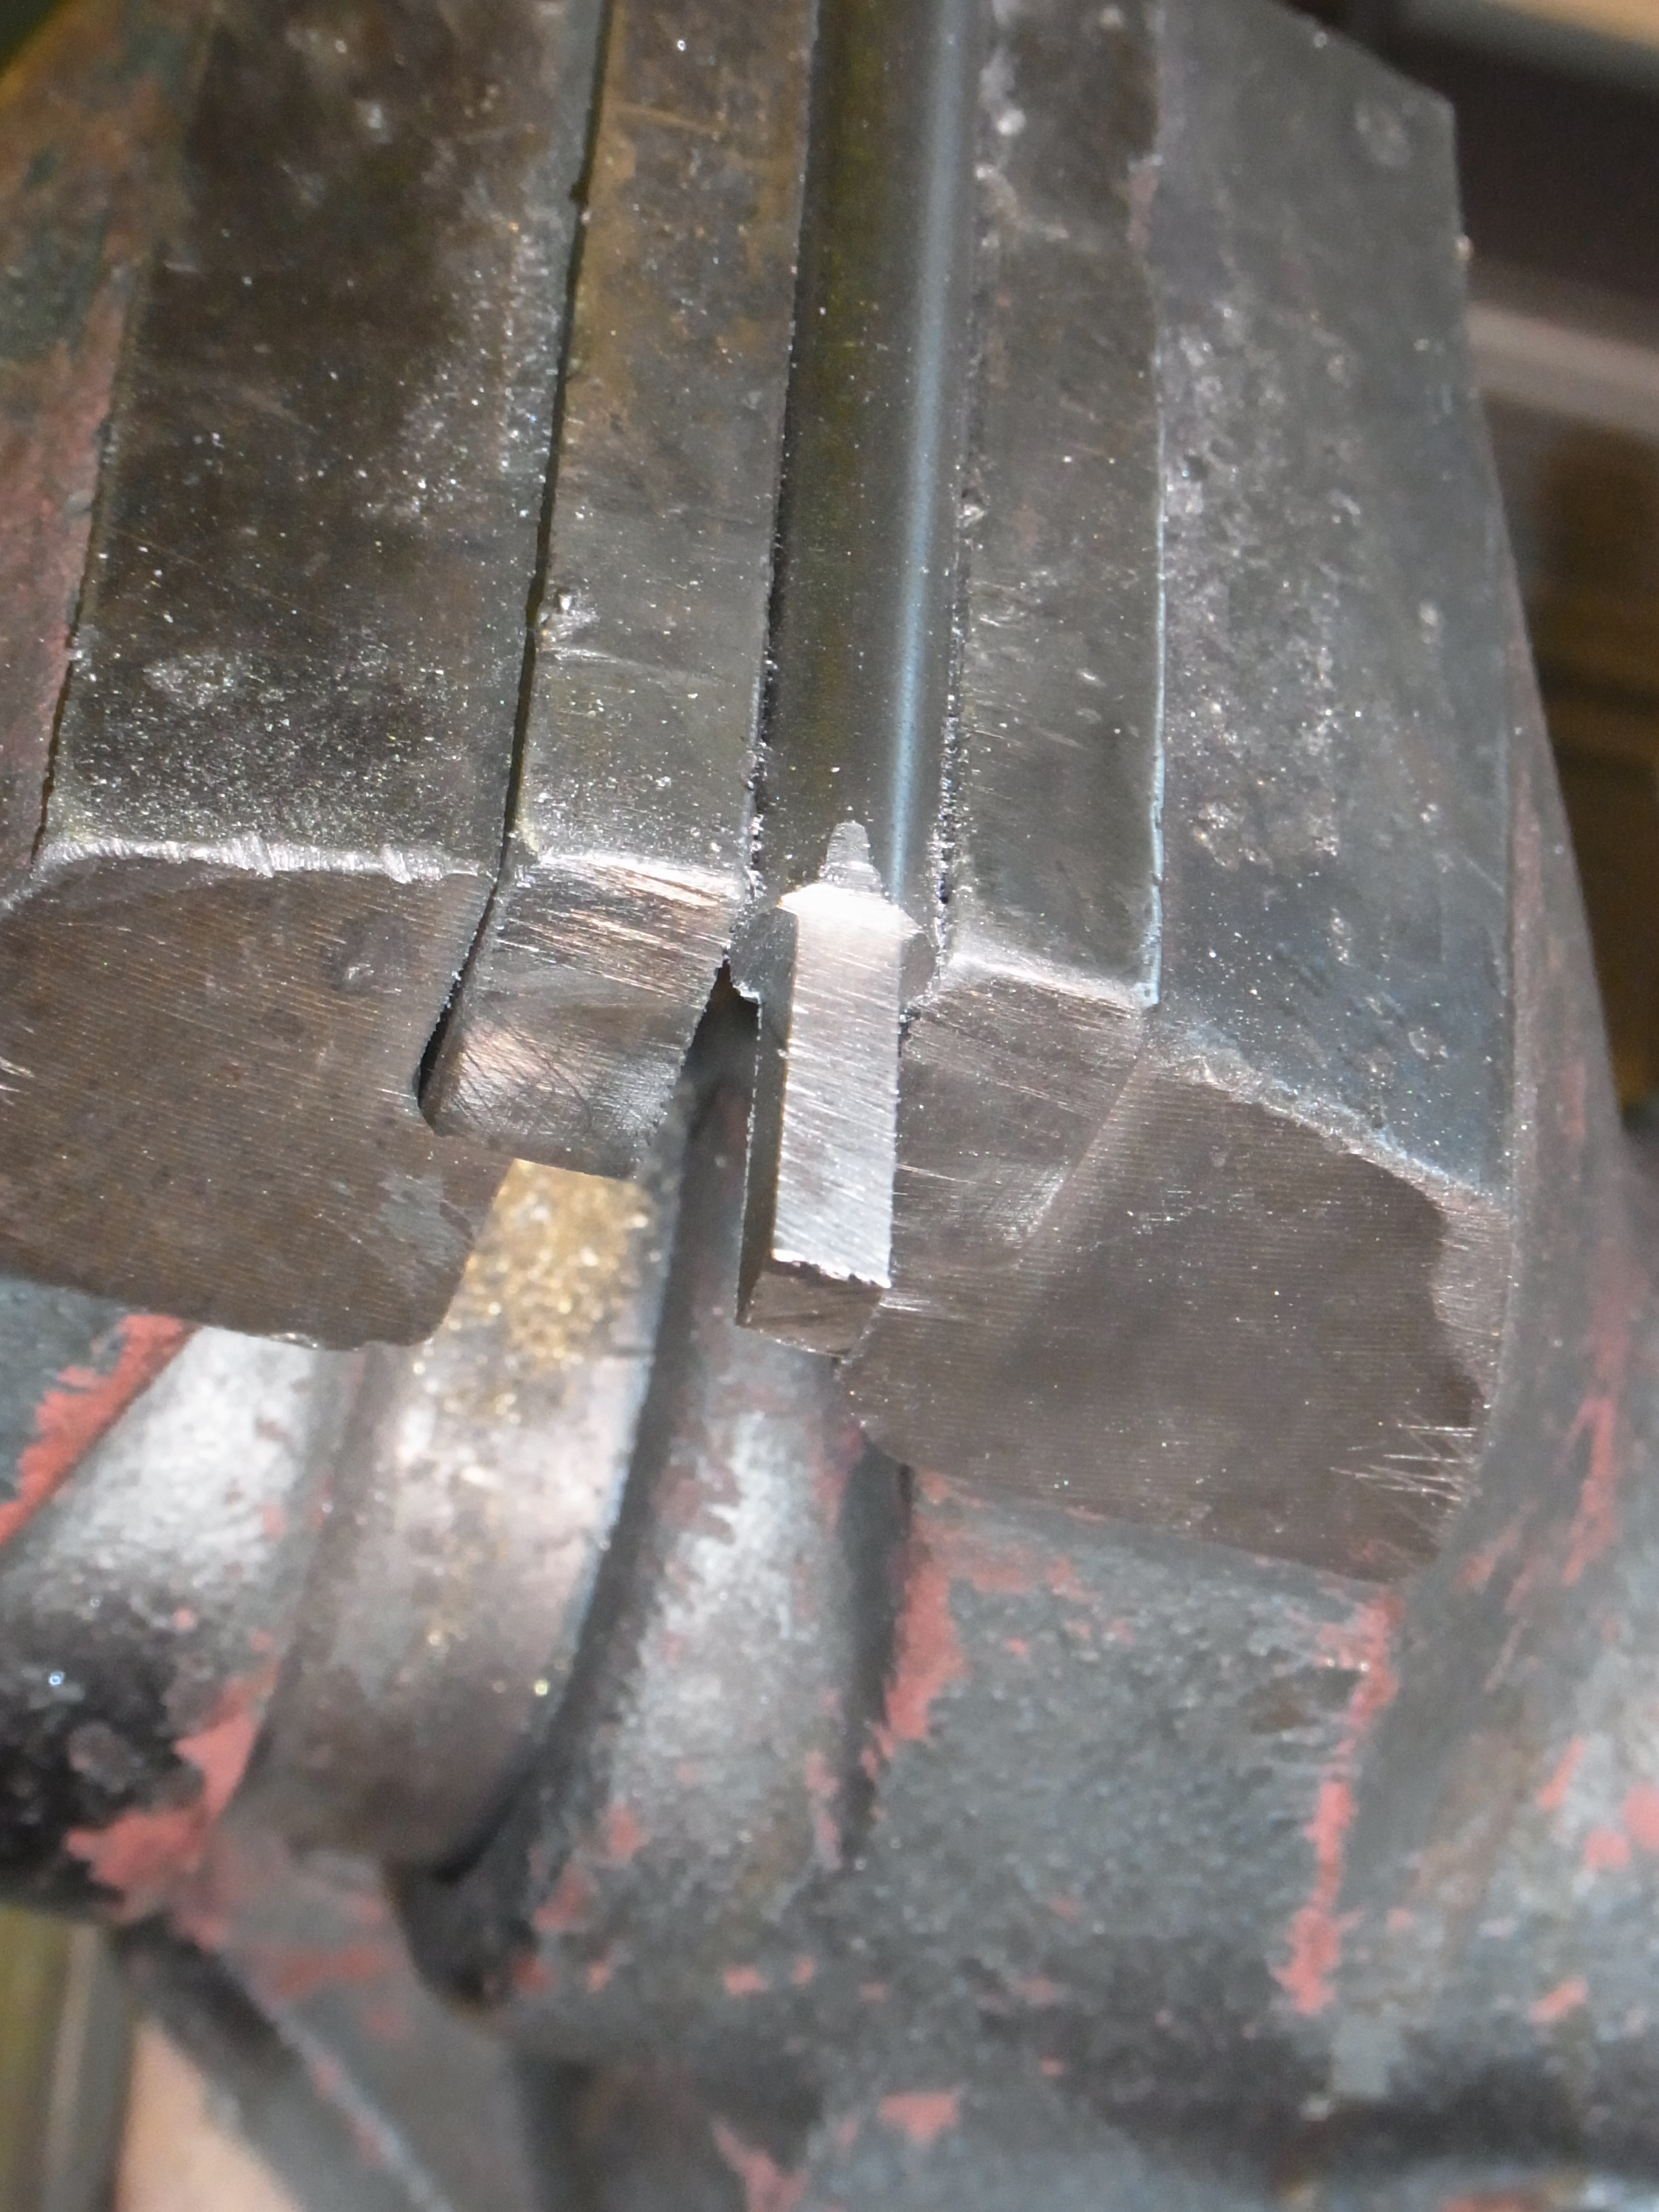
Stock removal for the endpieces
Than I switch to my drillpress and just it like a lathe. I pressed the file against the spinning workpiece to achieve the desired form and smoothed everything out with sandpaper.
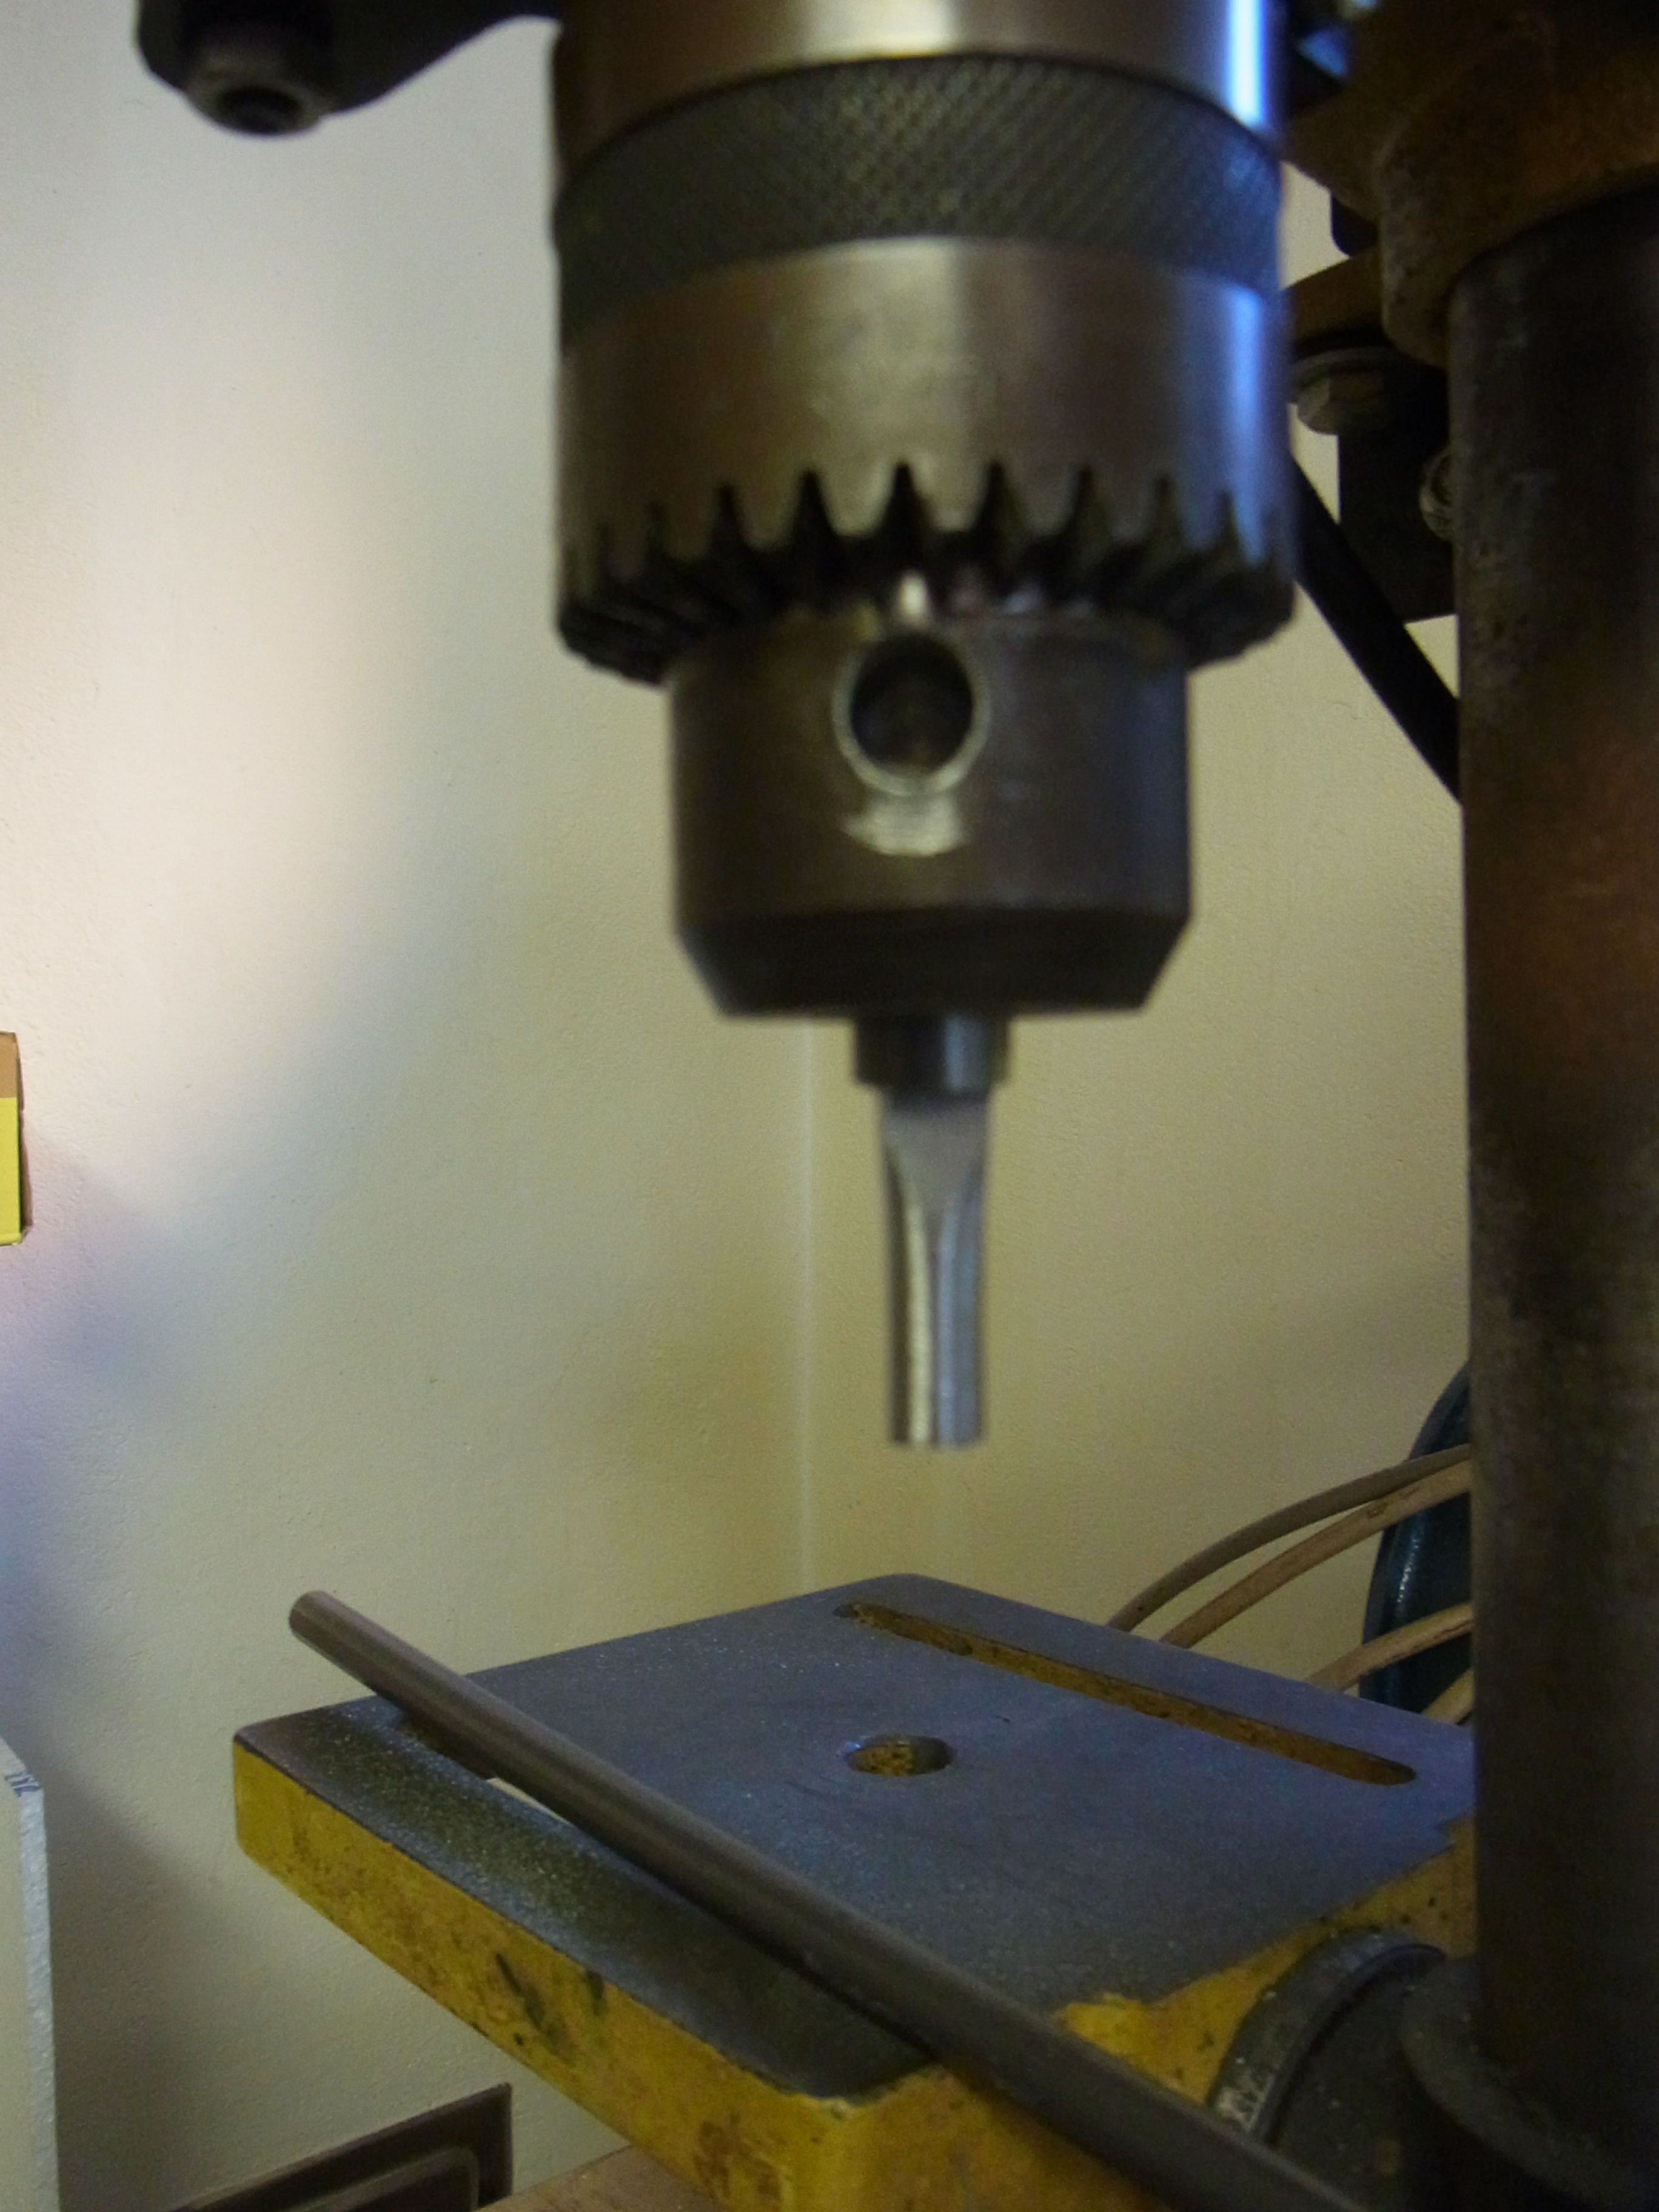
Endpiece in the drillpress
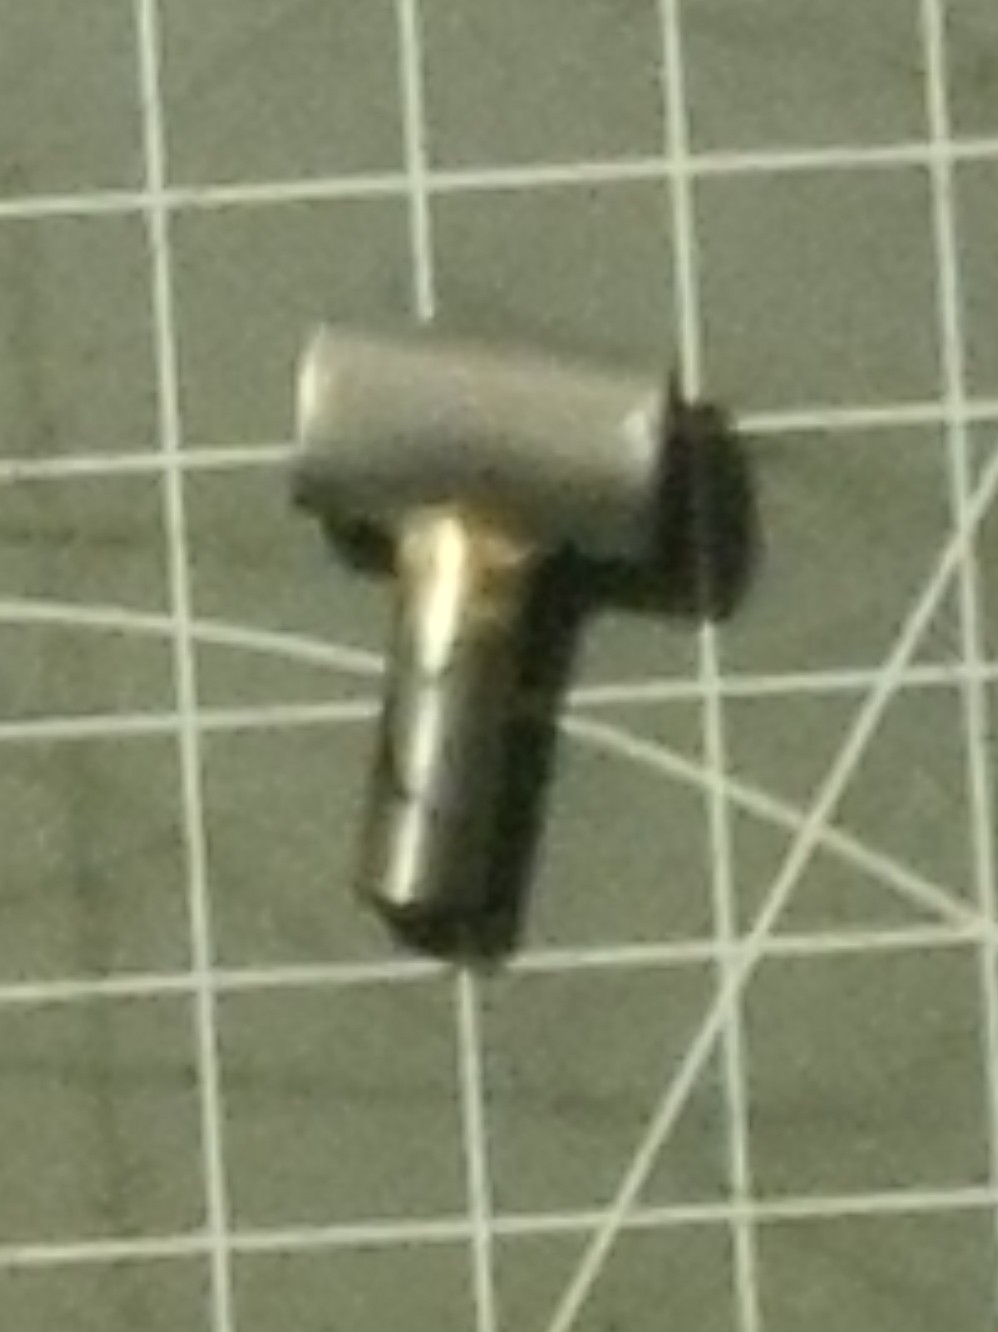
And hier is the finished endpiece
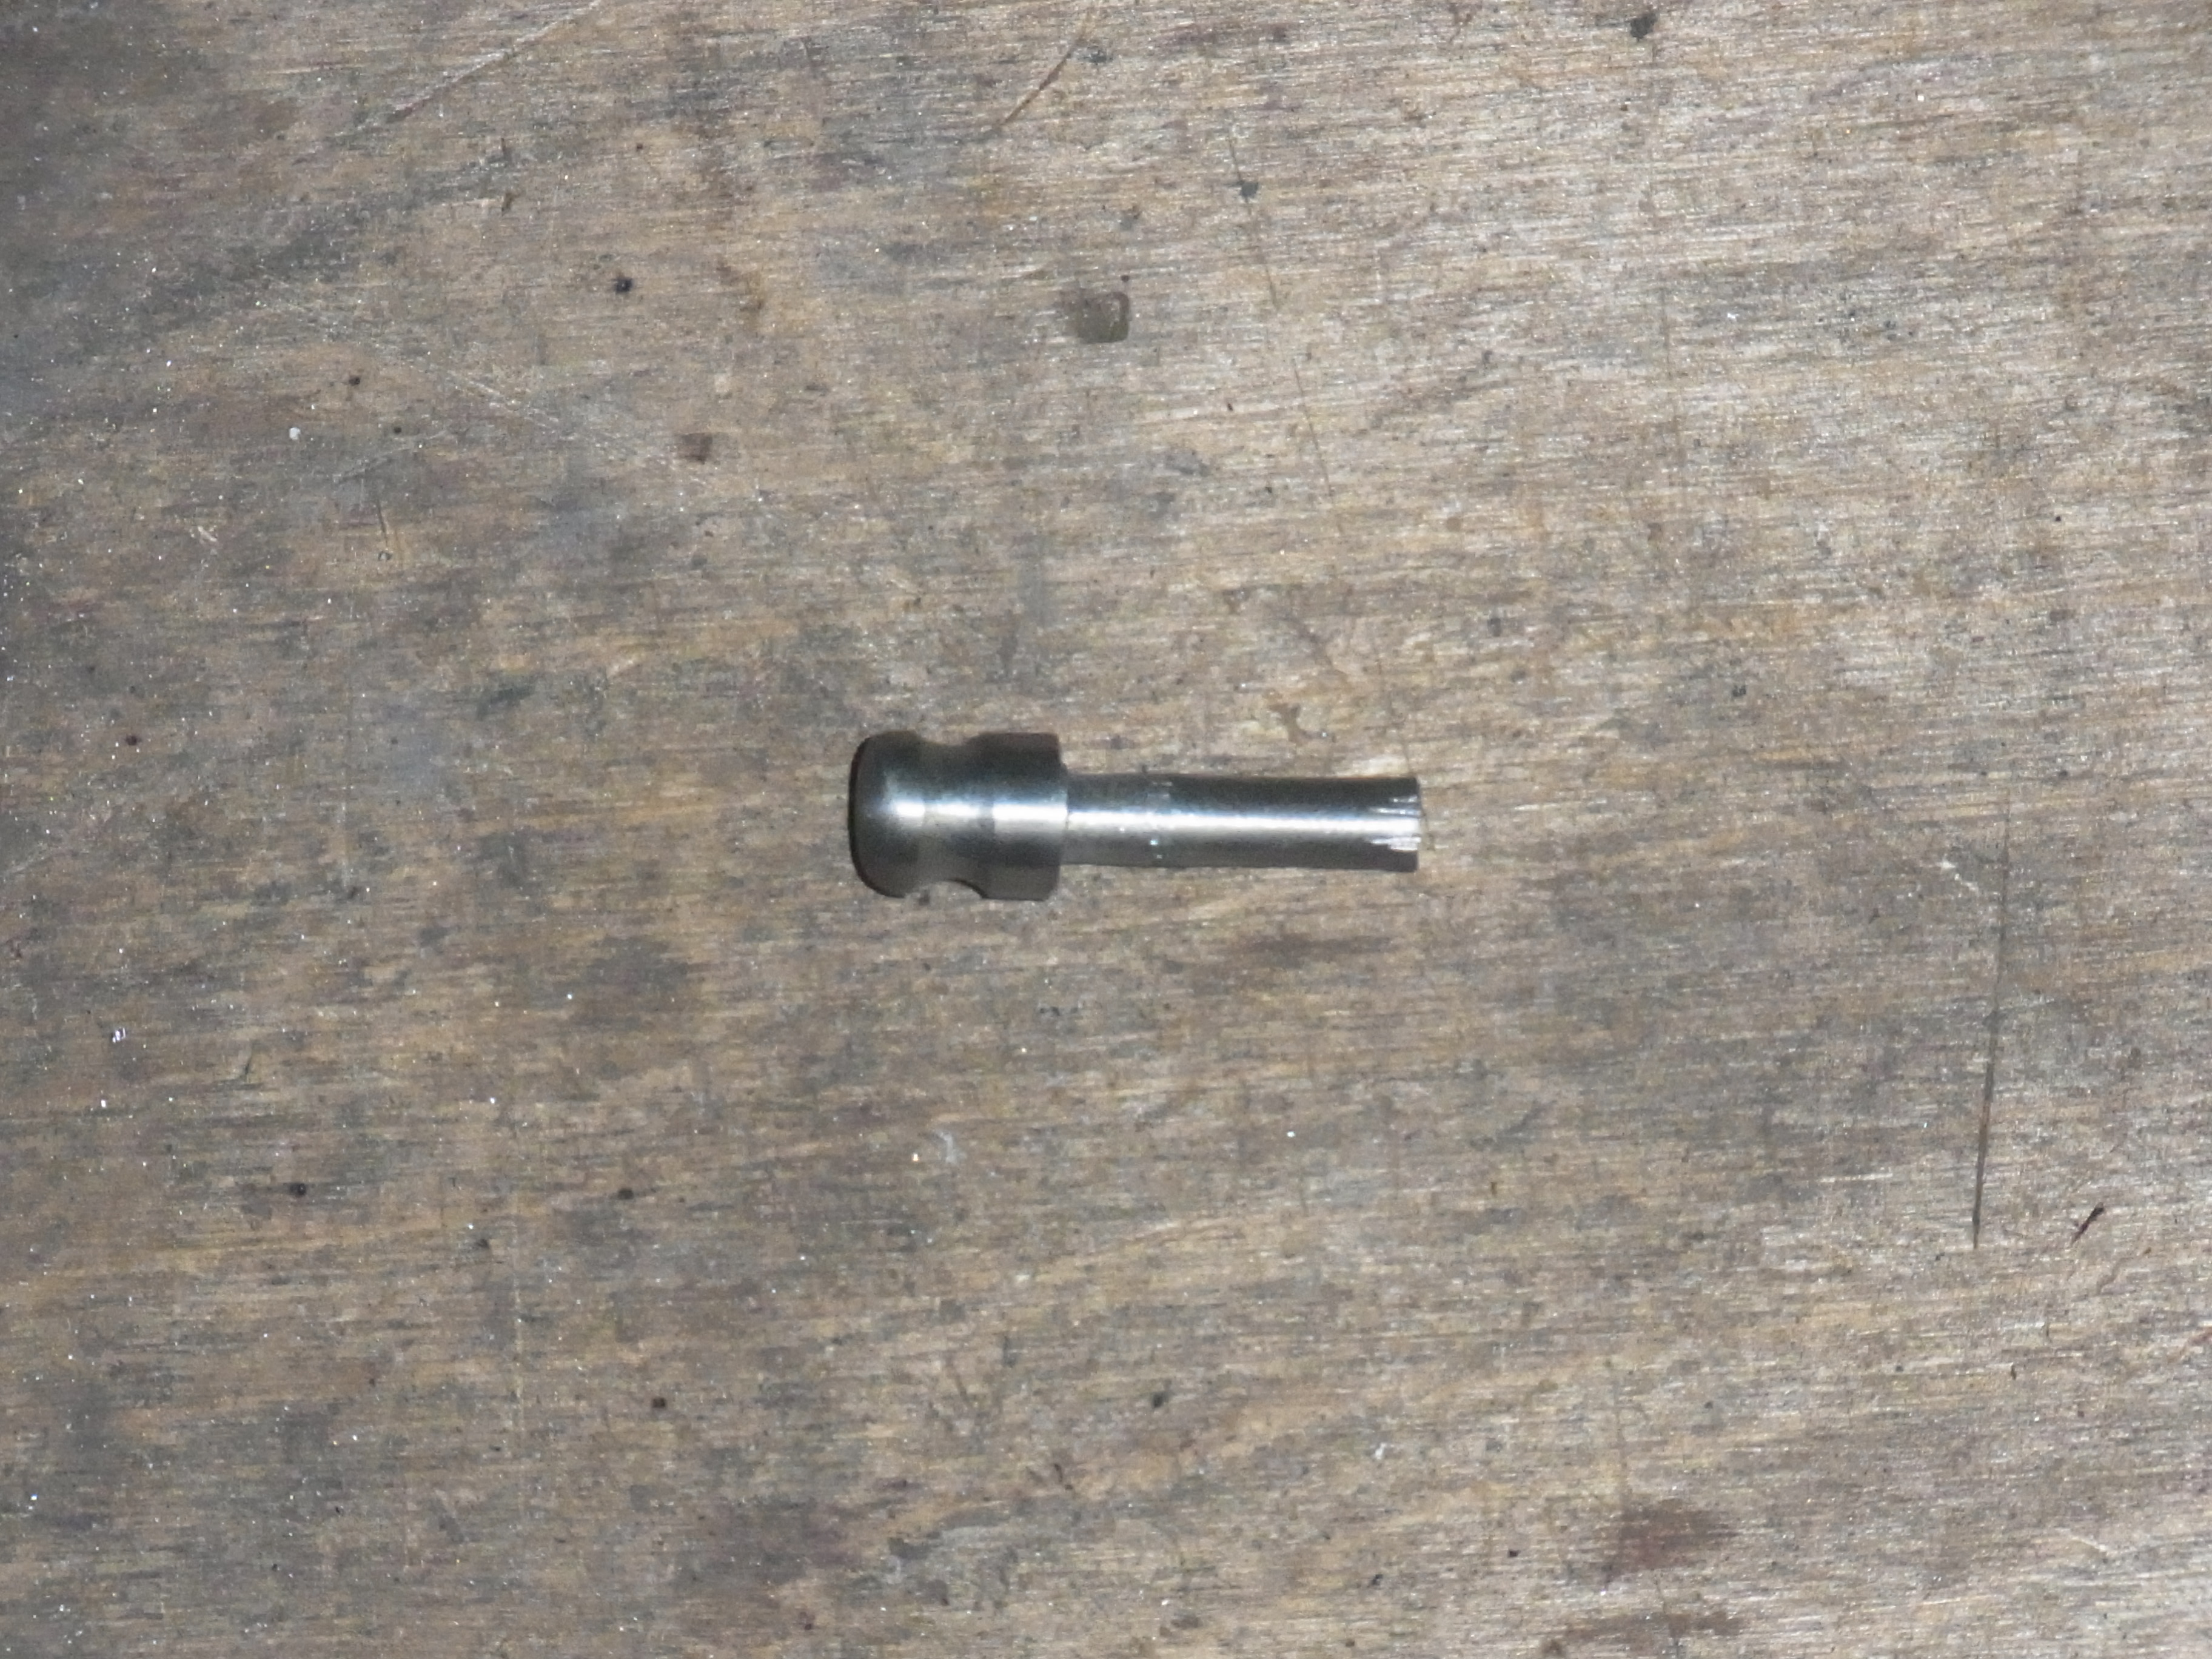
Aventail endpiece
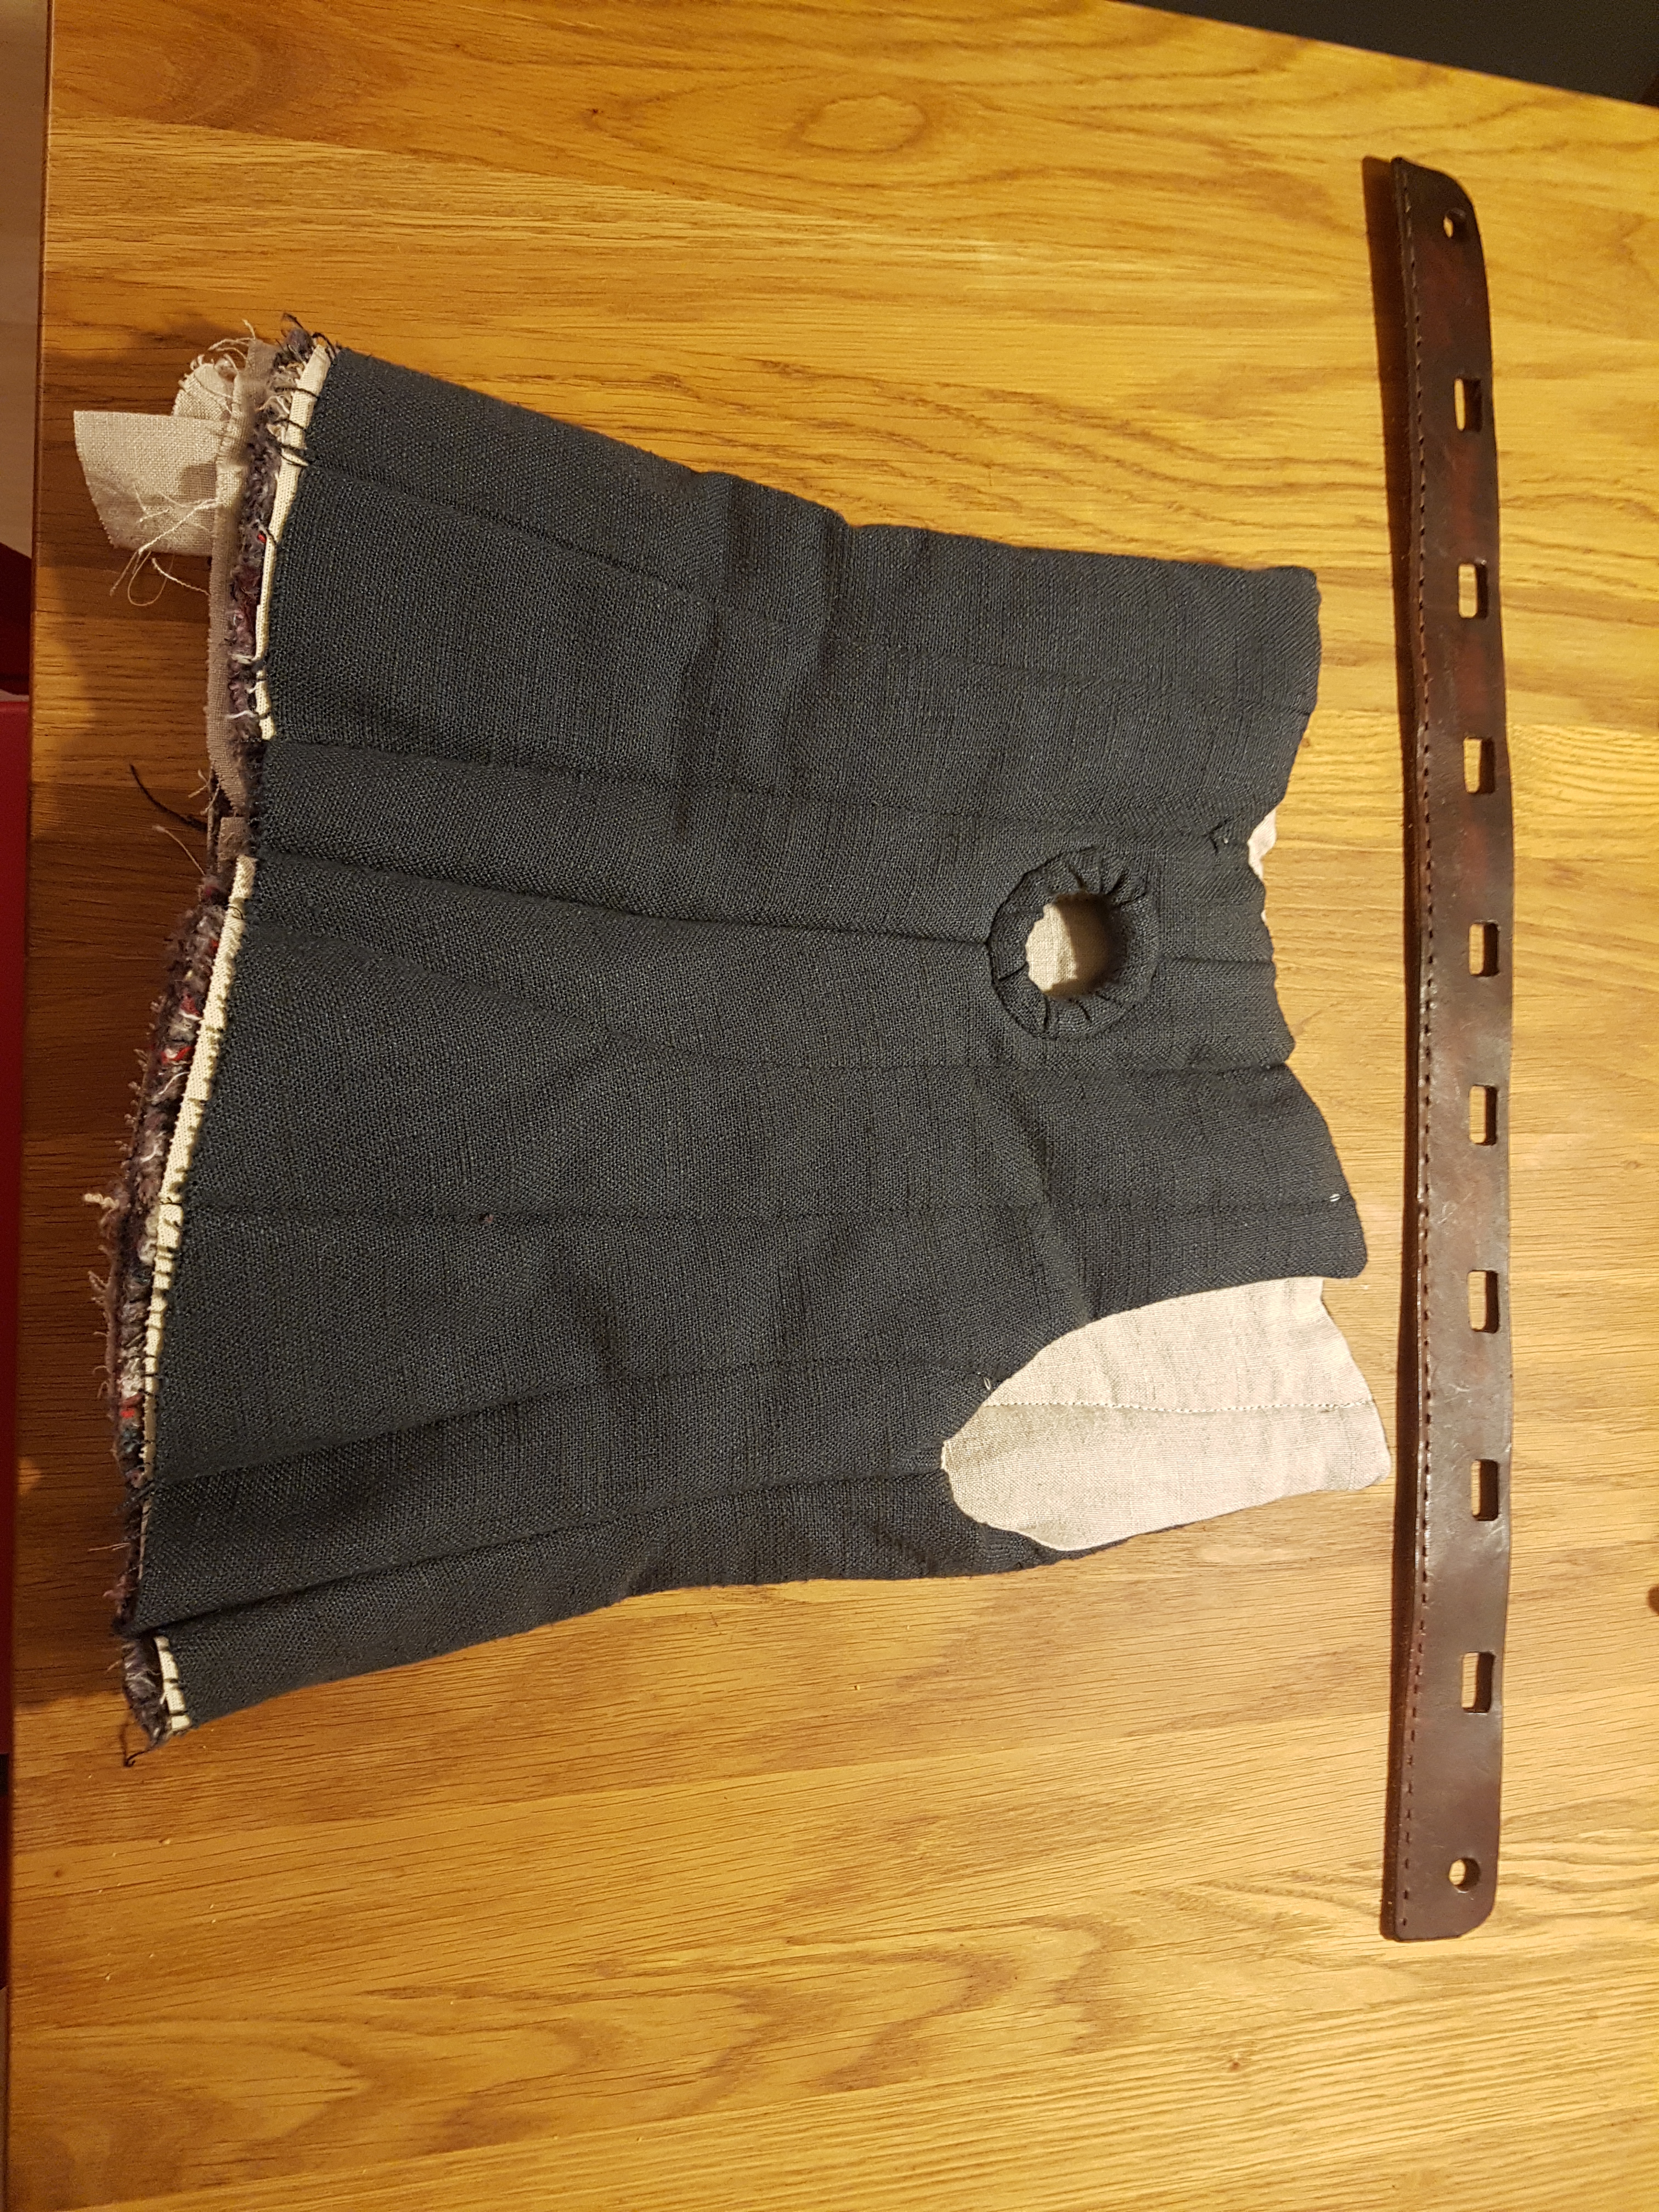
New Leatherstraps and lining band
The lining band is made of 4mm leather and is dyed black. For the new chinstraps I reused the buckle. The straps themself are made of 4mm leather with a sewn in inner layer of thin goatleather.
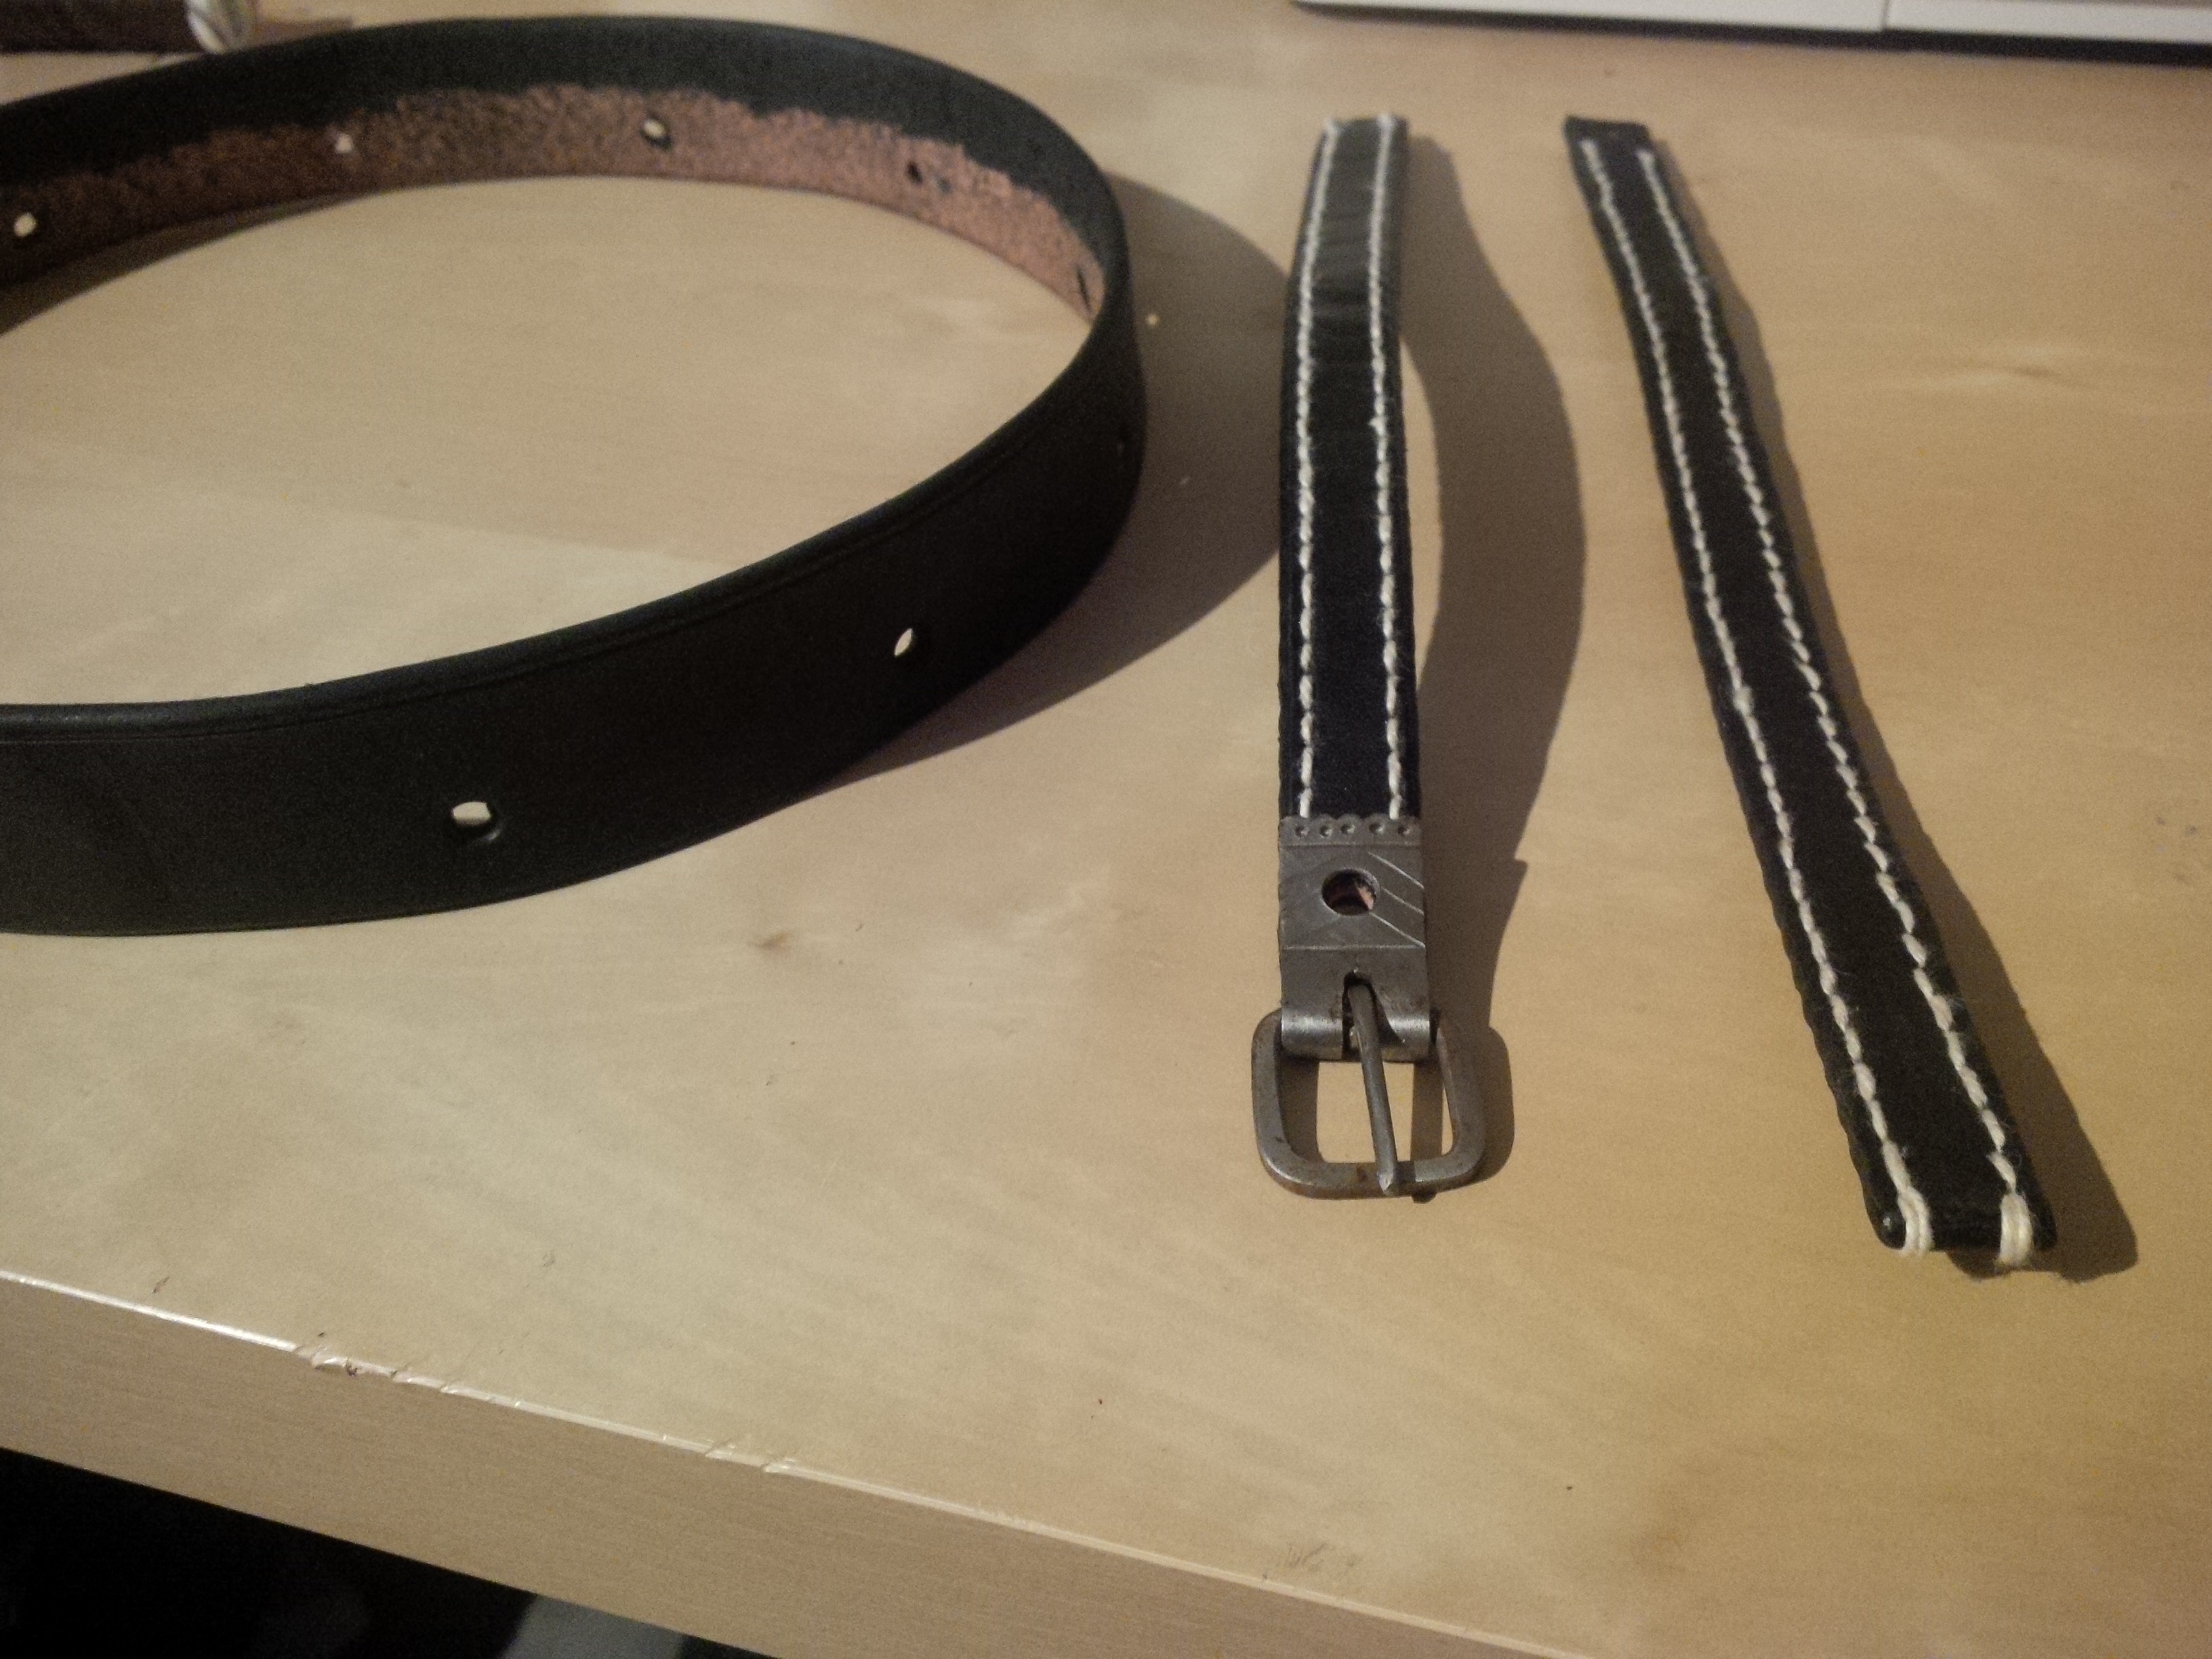
New set of leather straps
Blackening and assembly
After the first fire-blackening of my Kalotta gone wrong I did some tests to improve.
The results are that I will use a solution of linseed oil and 1/20 part sulfur that I dessolve by 150°C. (attention using a thermometer is necessary cause linseed oil is quite inflammable).
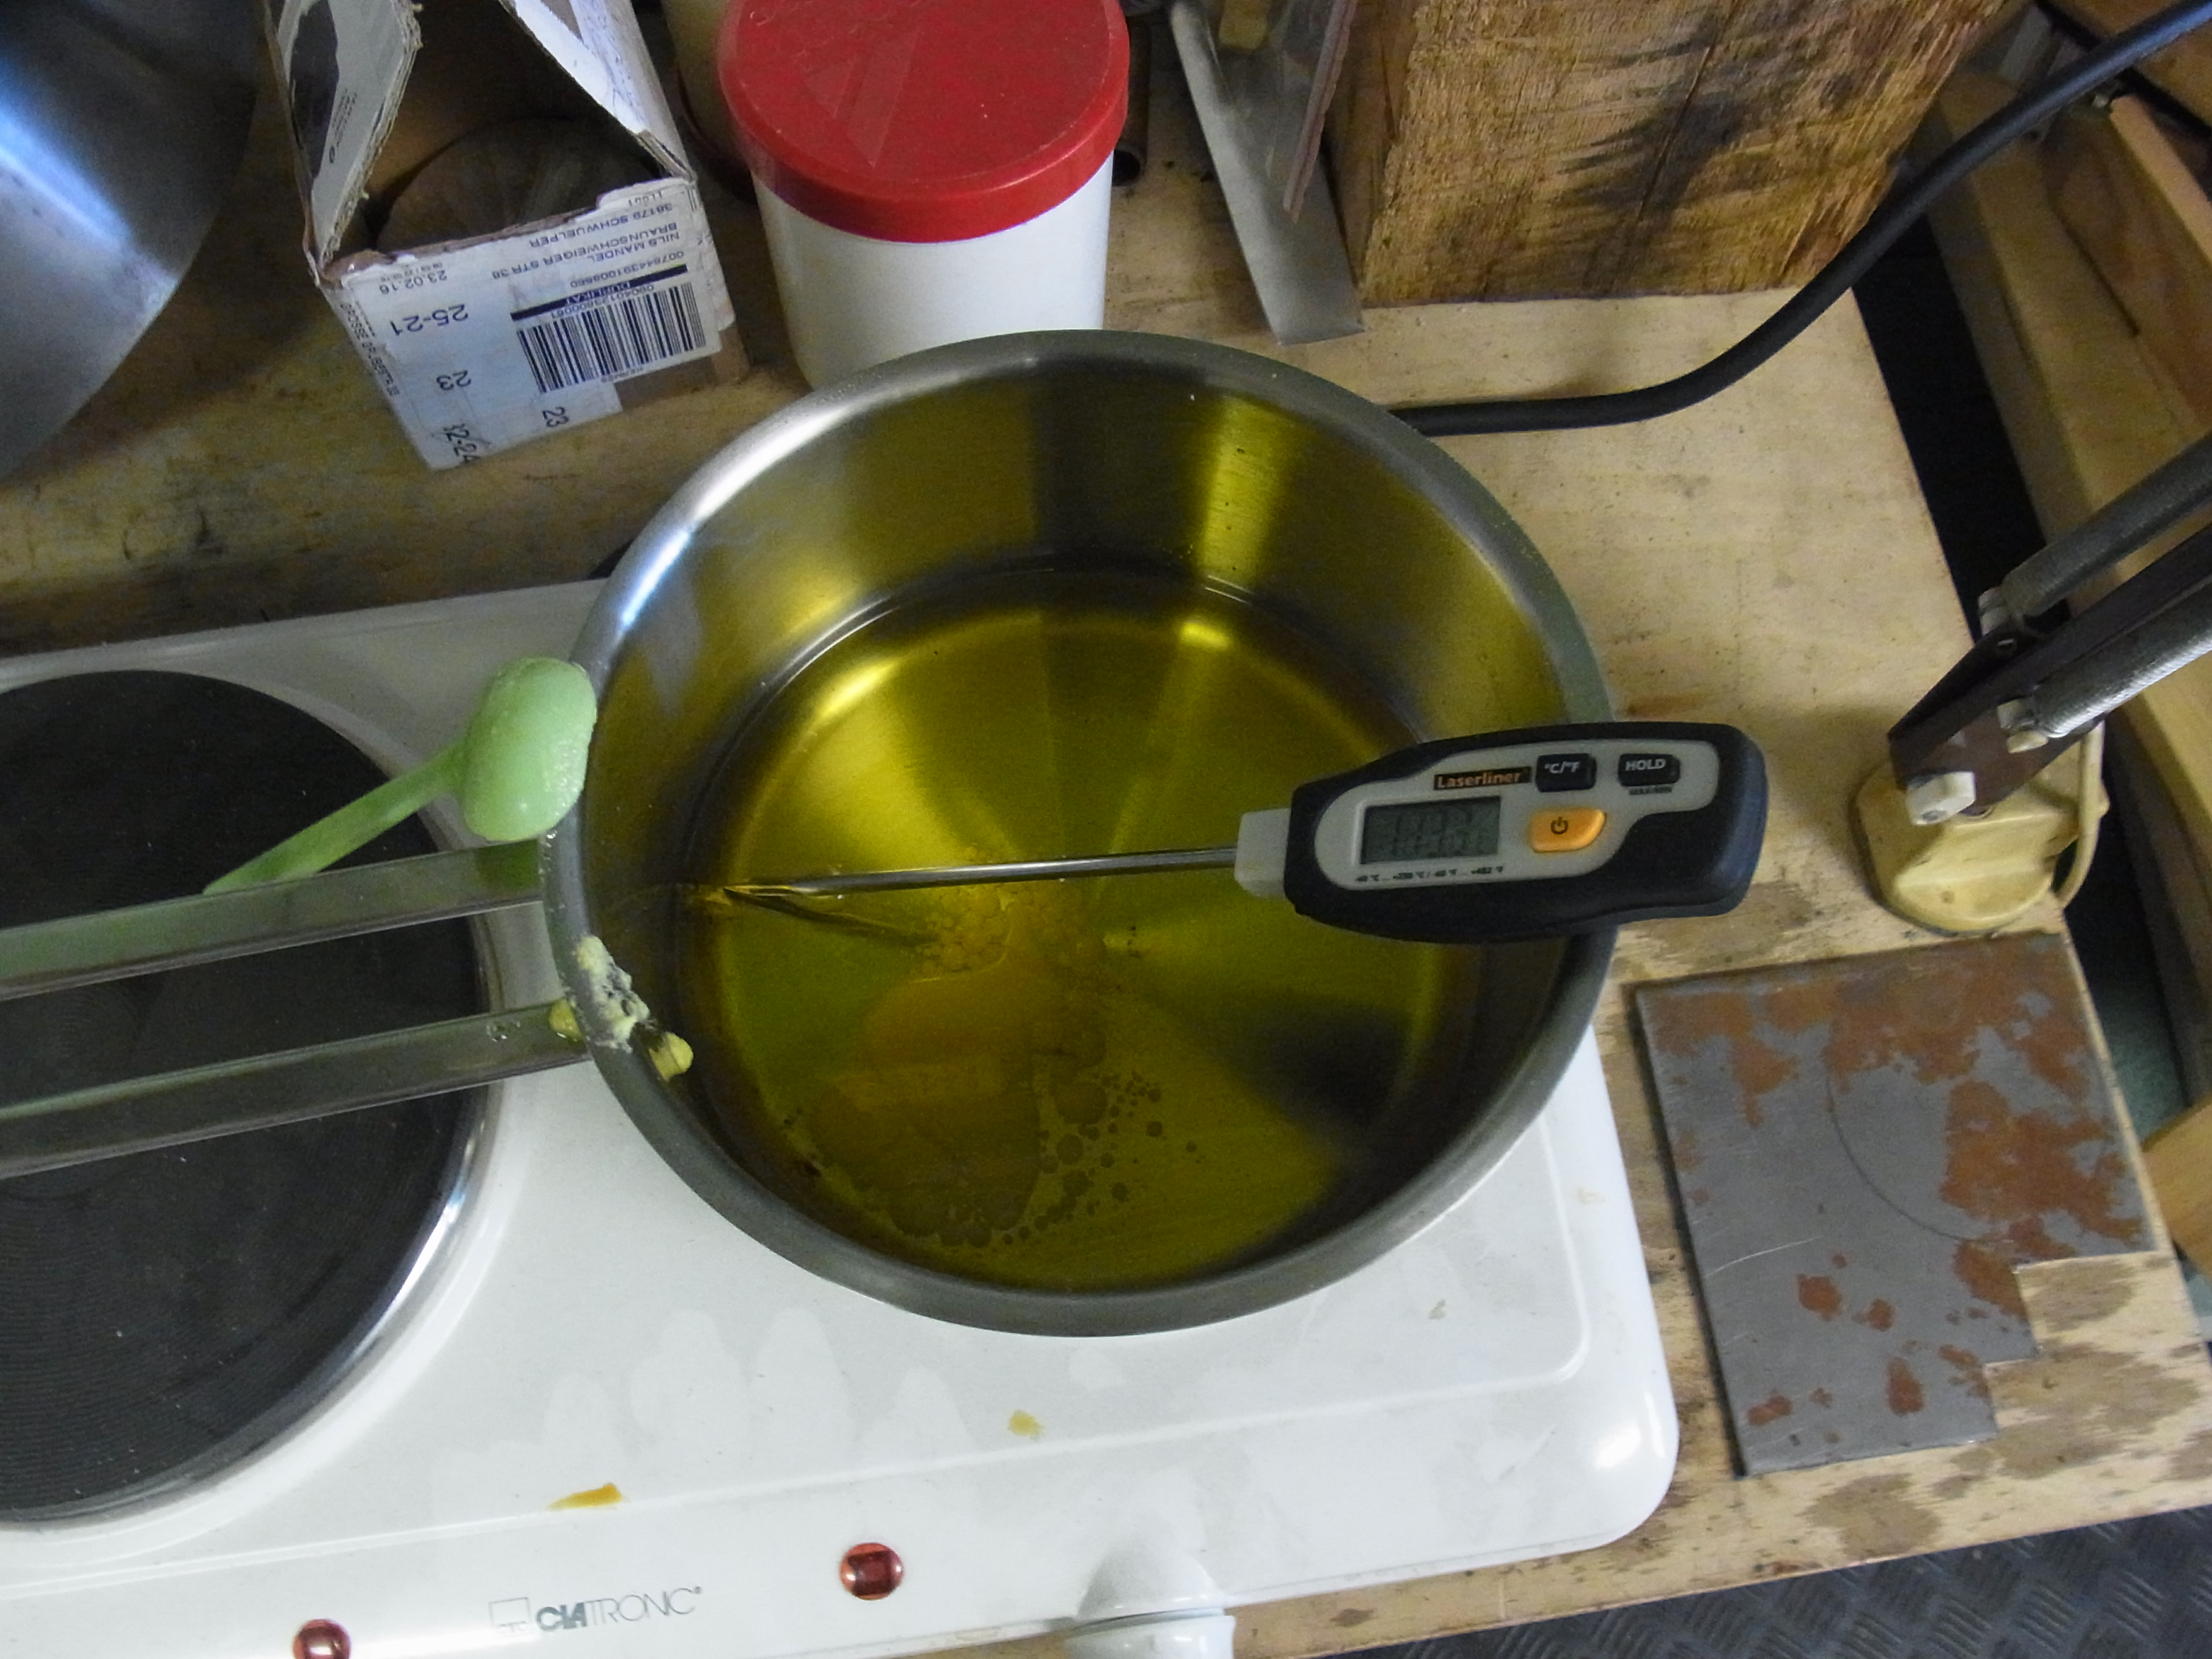
Oilsolution for fire-blackening
I will do the blackening with a propane burner. The blackening is done by about 300°C. By higher temperatures the blackening will burn into scale.
All pieces must be clean, free of rust and degreesed.
The blackening starts by heating up the pieces to round about 80°C. This preheat should not extend to 100°C or more and when temper colors appear they must be sanded away.

Preheating the workpiece
Then the linseed oil-solution is applied as a thin coat on the workpiece. There shall be no drops or schlieren on the surface. Now the workpiece is heated slowly again. First a browning should appear..
Browning of the workpiece
When the temperature reaches round about 300°C the blackening happens and the workpiece starts to smoke. The blackening is finished when there is no smoke visible anymore.
Normaly one blackening cycle is not enough. I repeat this process till the part is deep black.

smoking workpiece
Now I rivet all parts together. Important for the eyelets was to support the eyelet in a leadblock and to put a small roundbar into their holes. That prevented the eyelets from being deformed.
Kalotta ready assembled
Lining
I have done the lining from 4 layers of linen (each one inner/outer layer and to layers for padding). The four wings of the padding are held together at the top with an arming point.

Template for the ling (left inner layer, right outer layer)
finished lining
Then I saw the lining to the lining band. For this I stitch a hole every cm with an awl and sew both pieces together with a waxed linen thread.
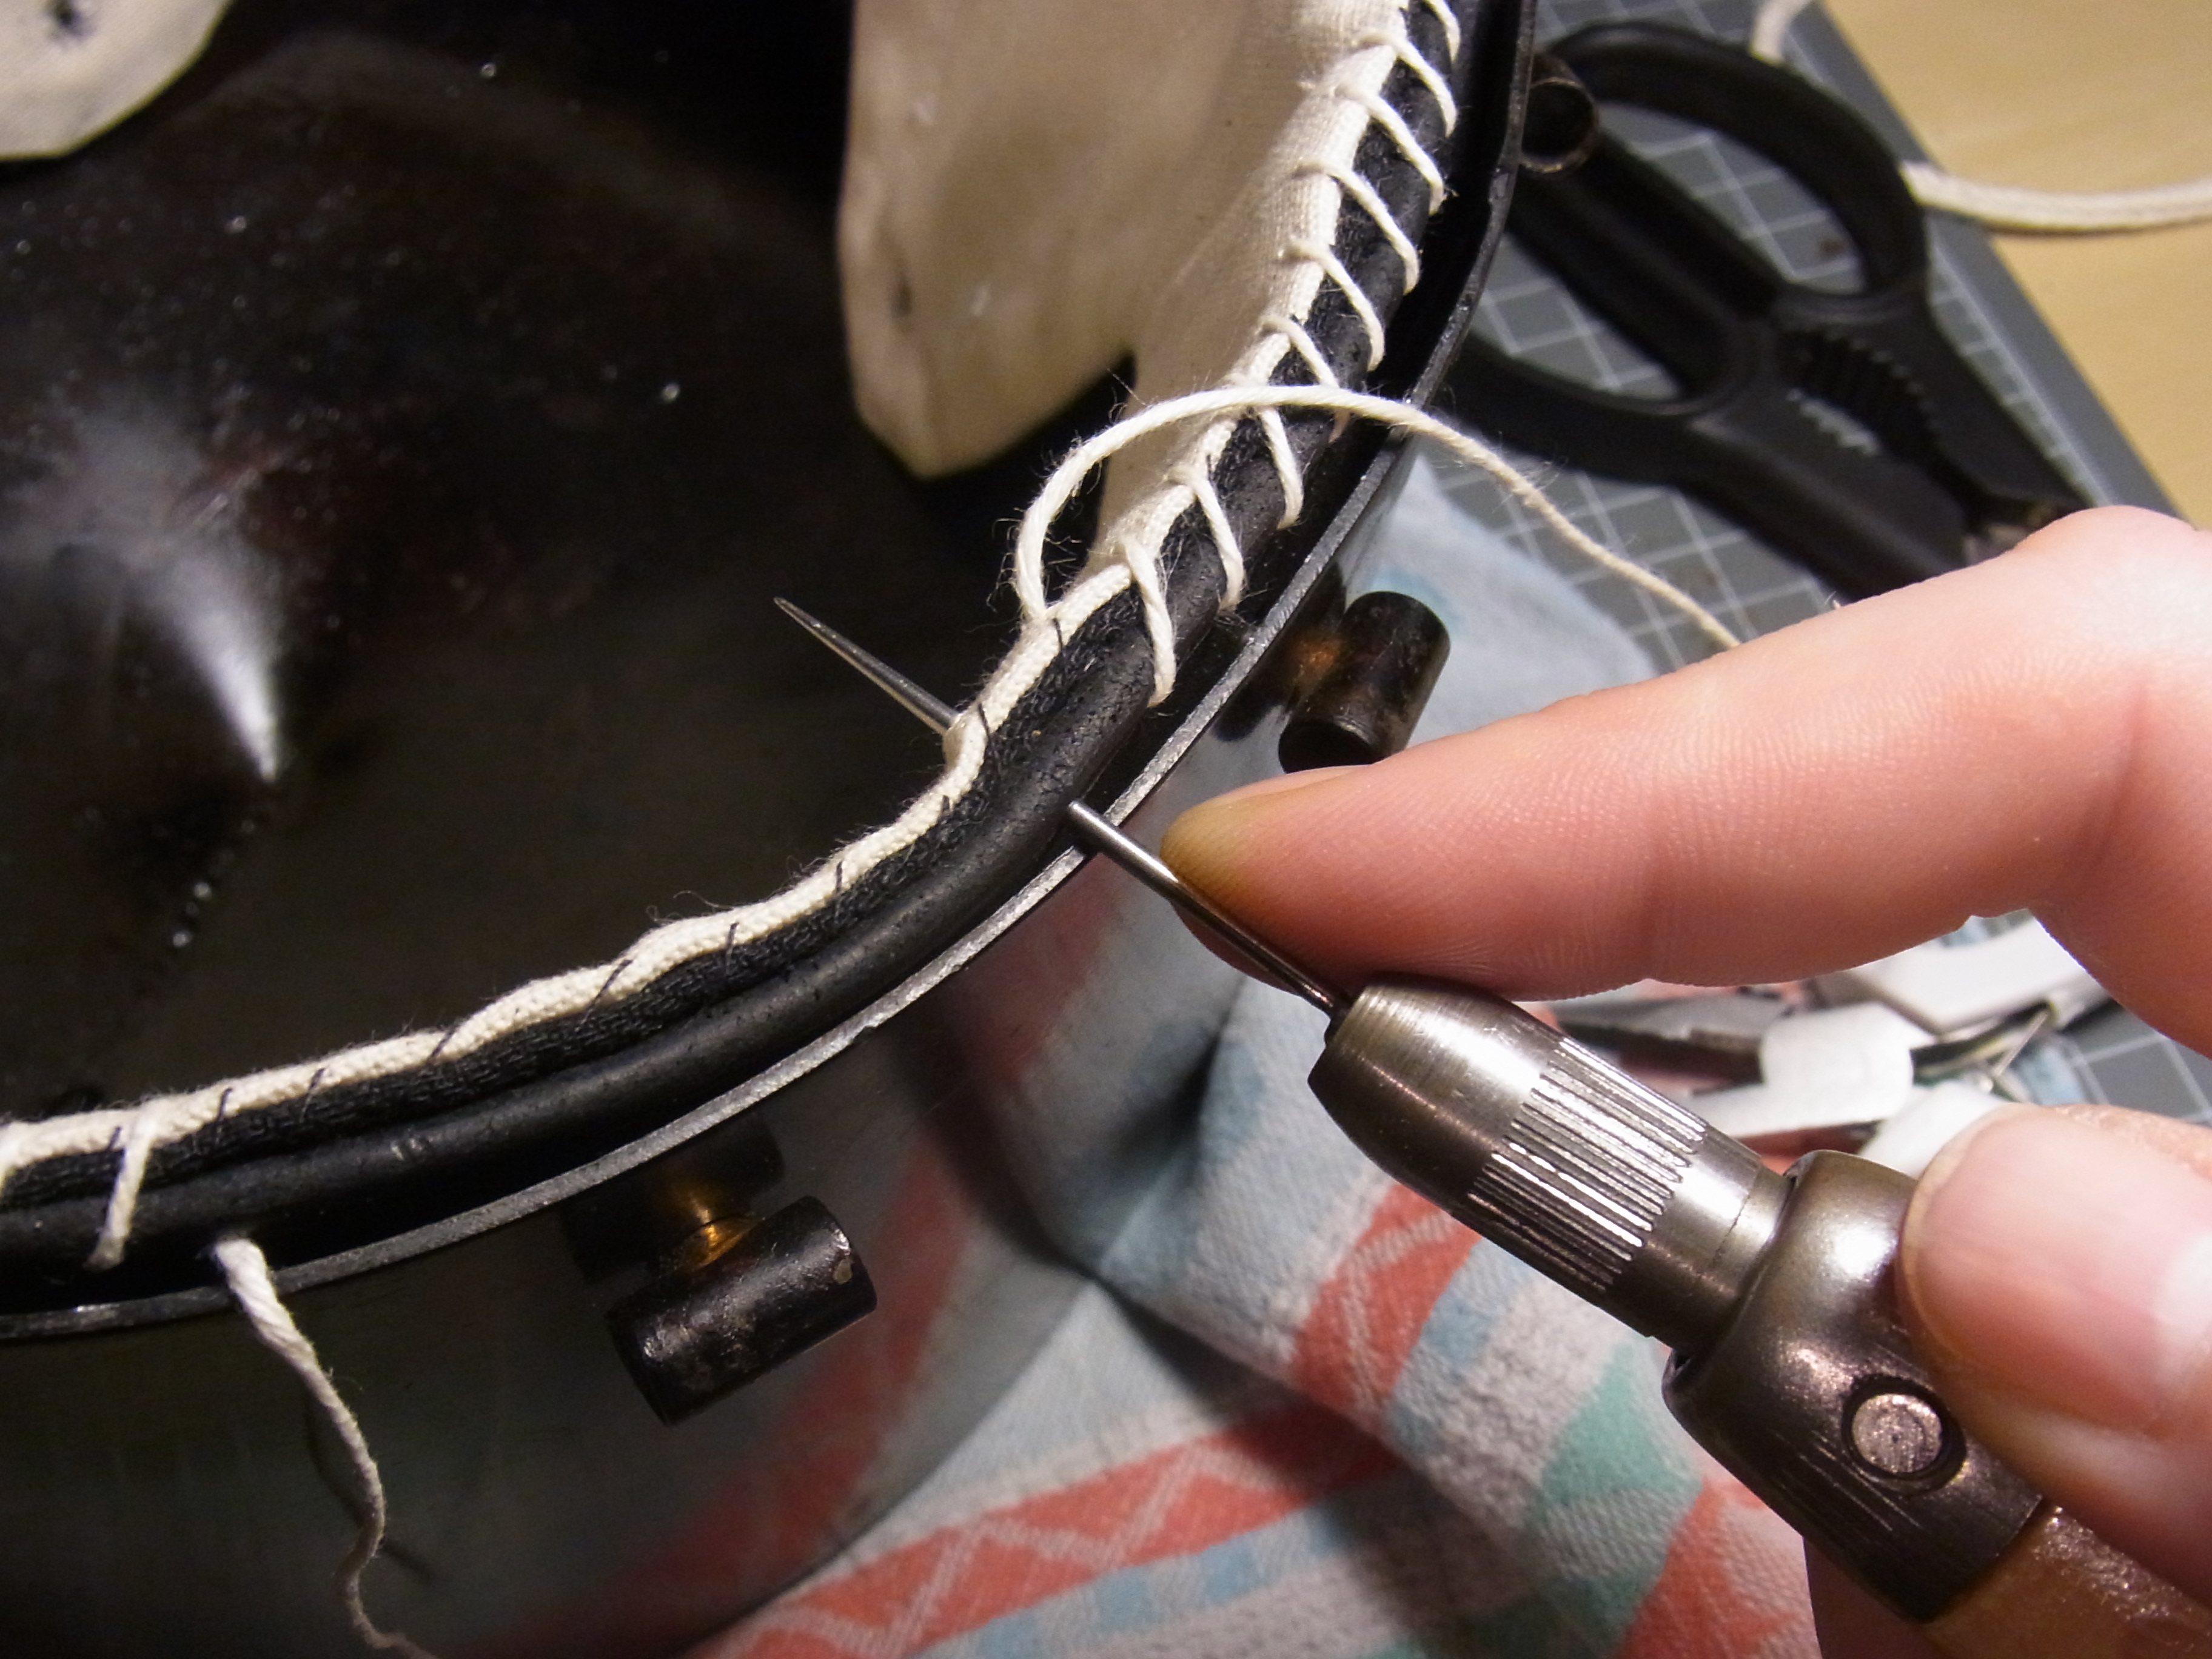
Stitching with an awl
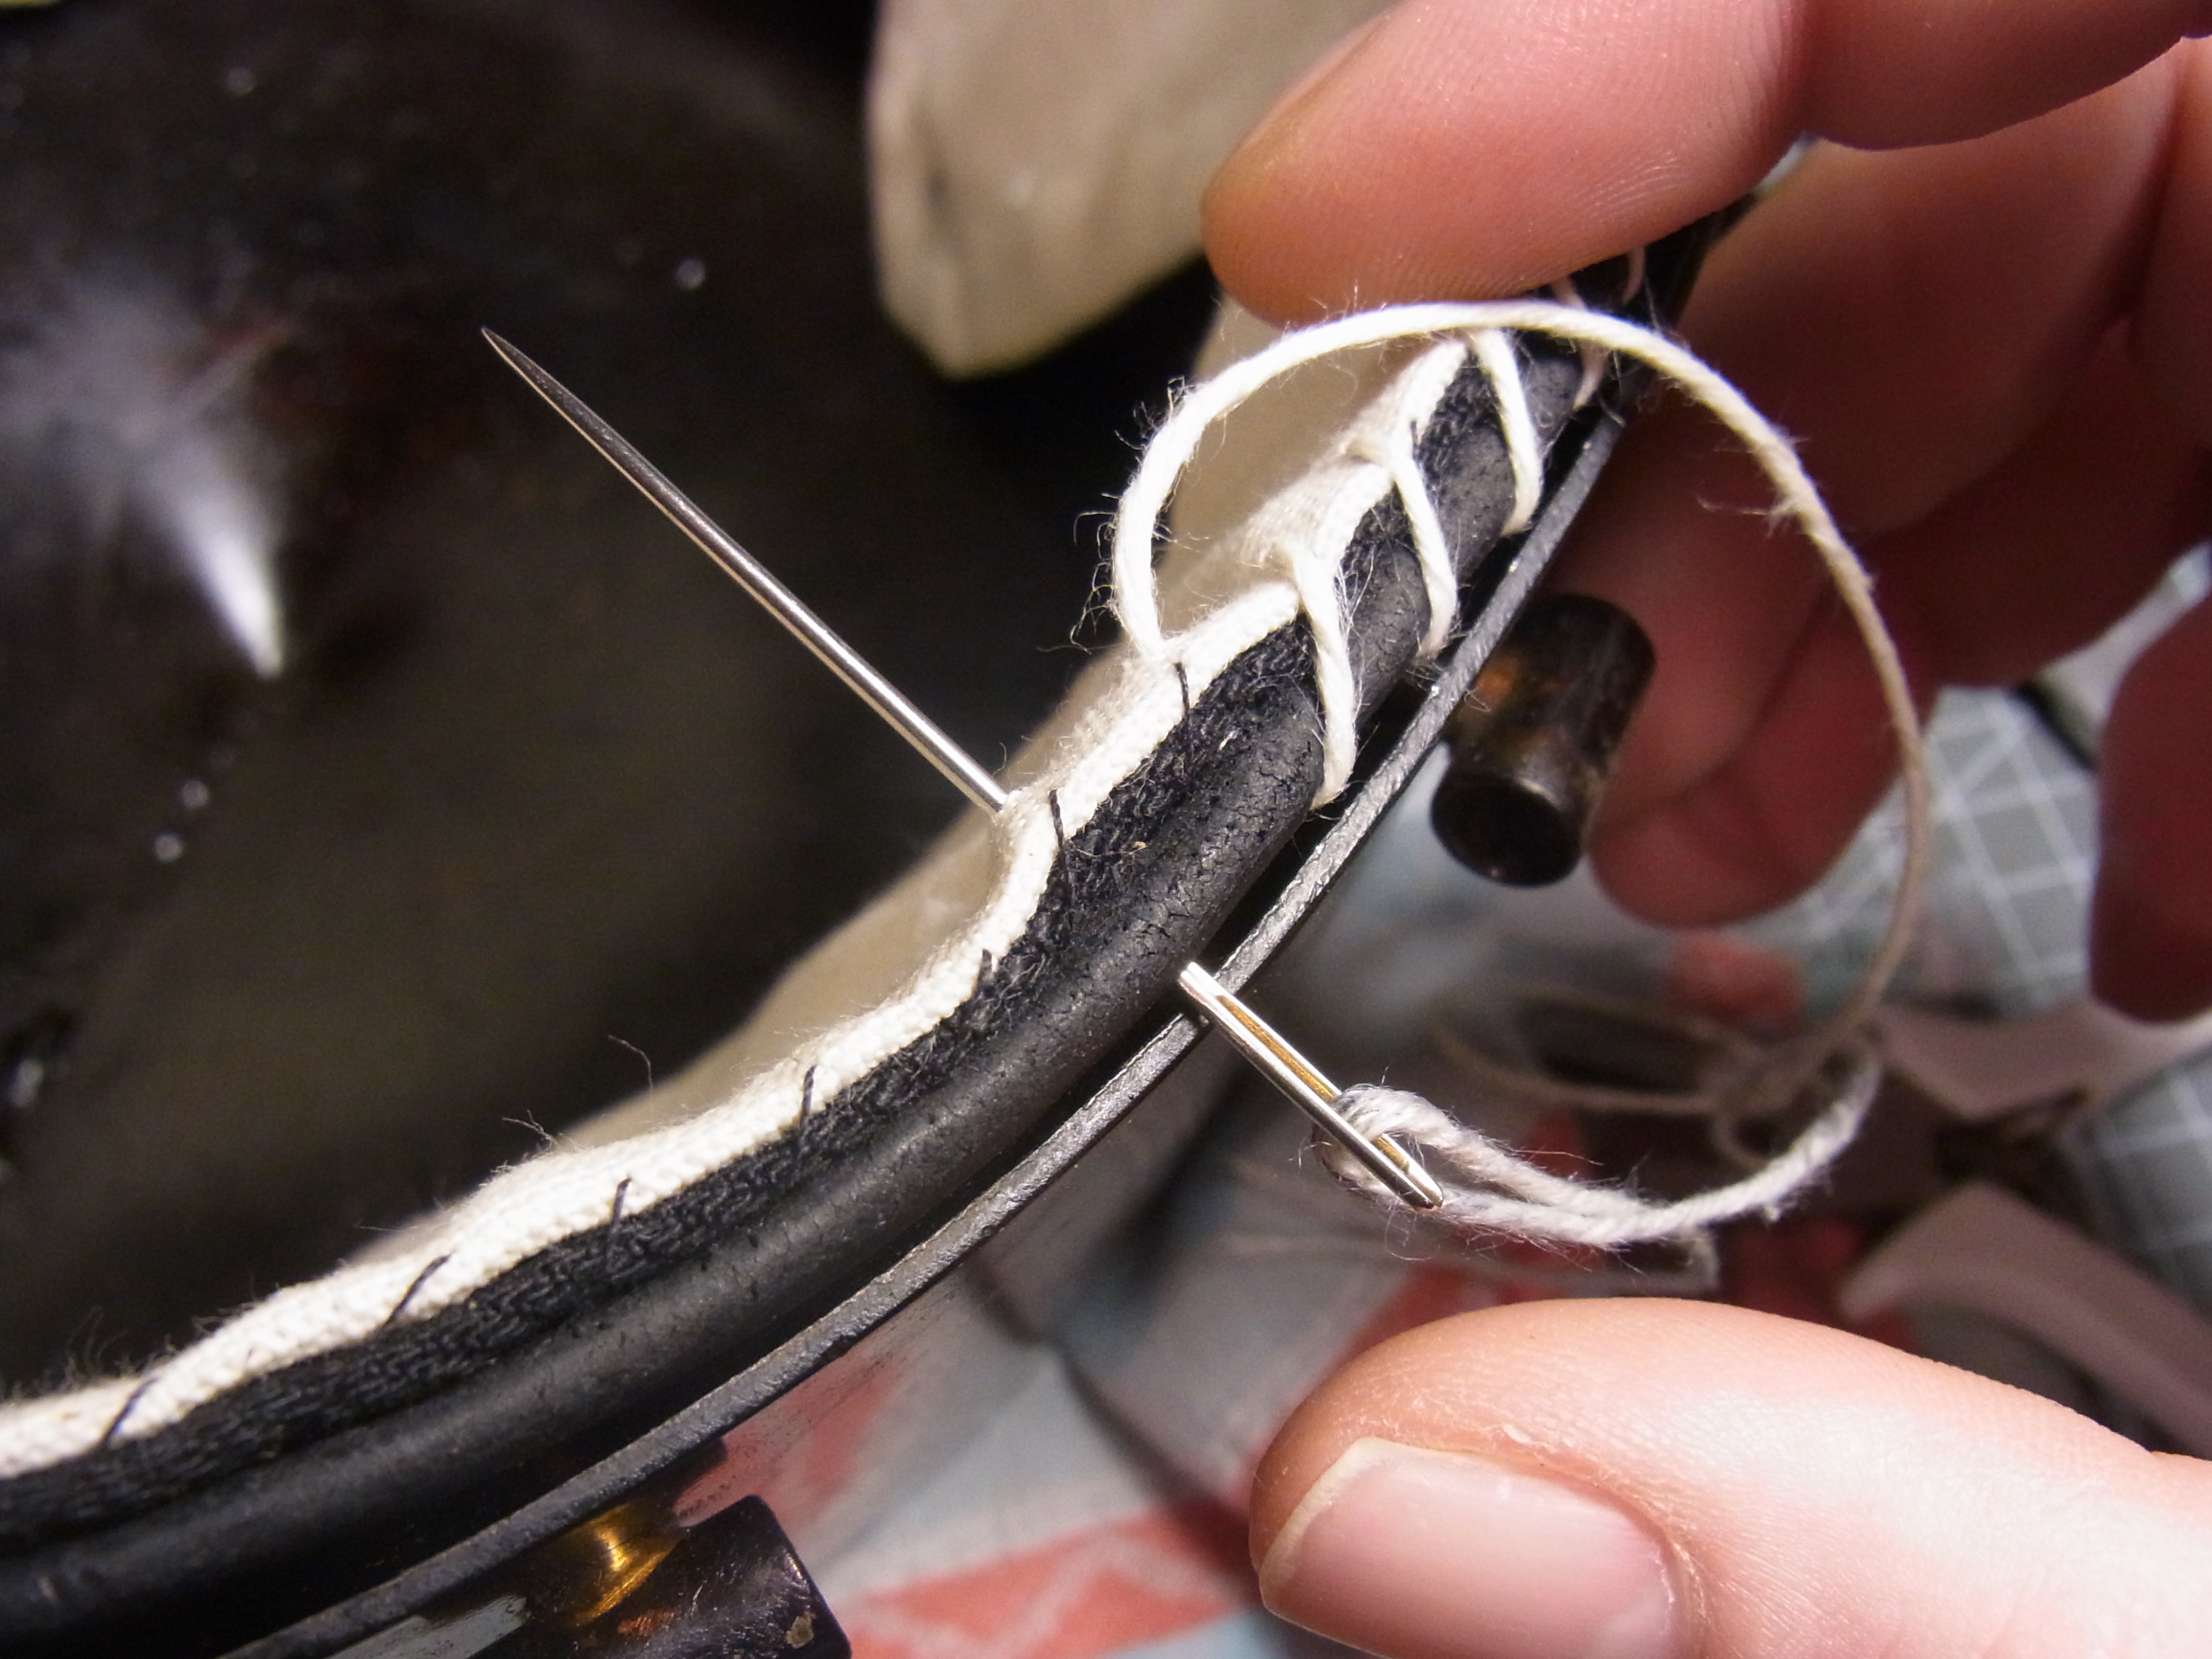
Sewing the lining to the lining band
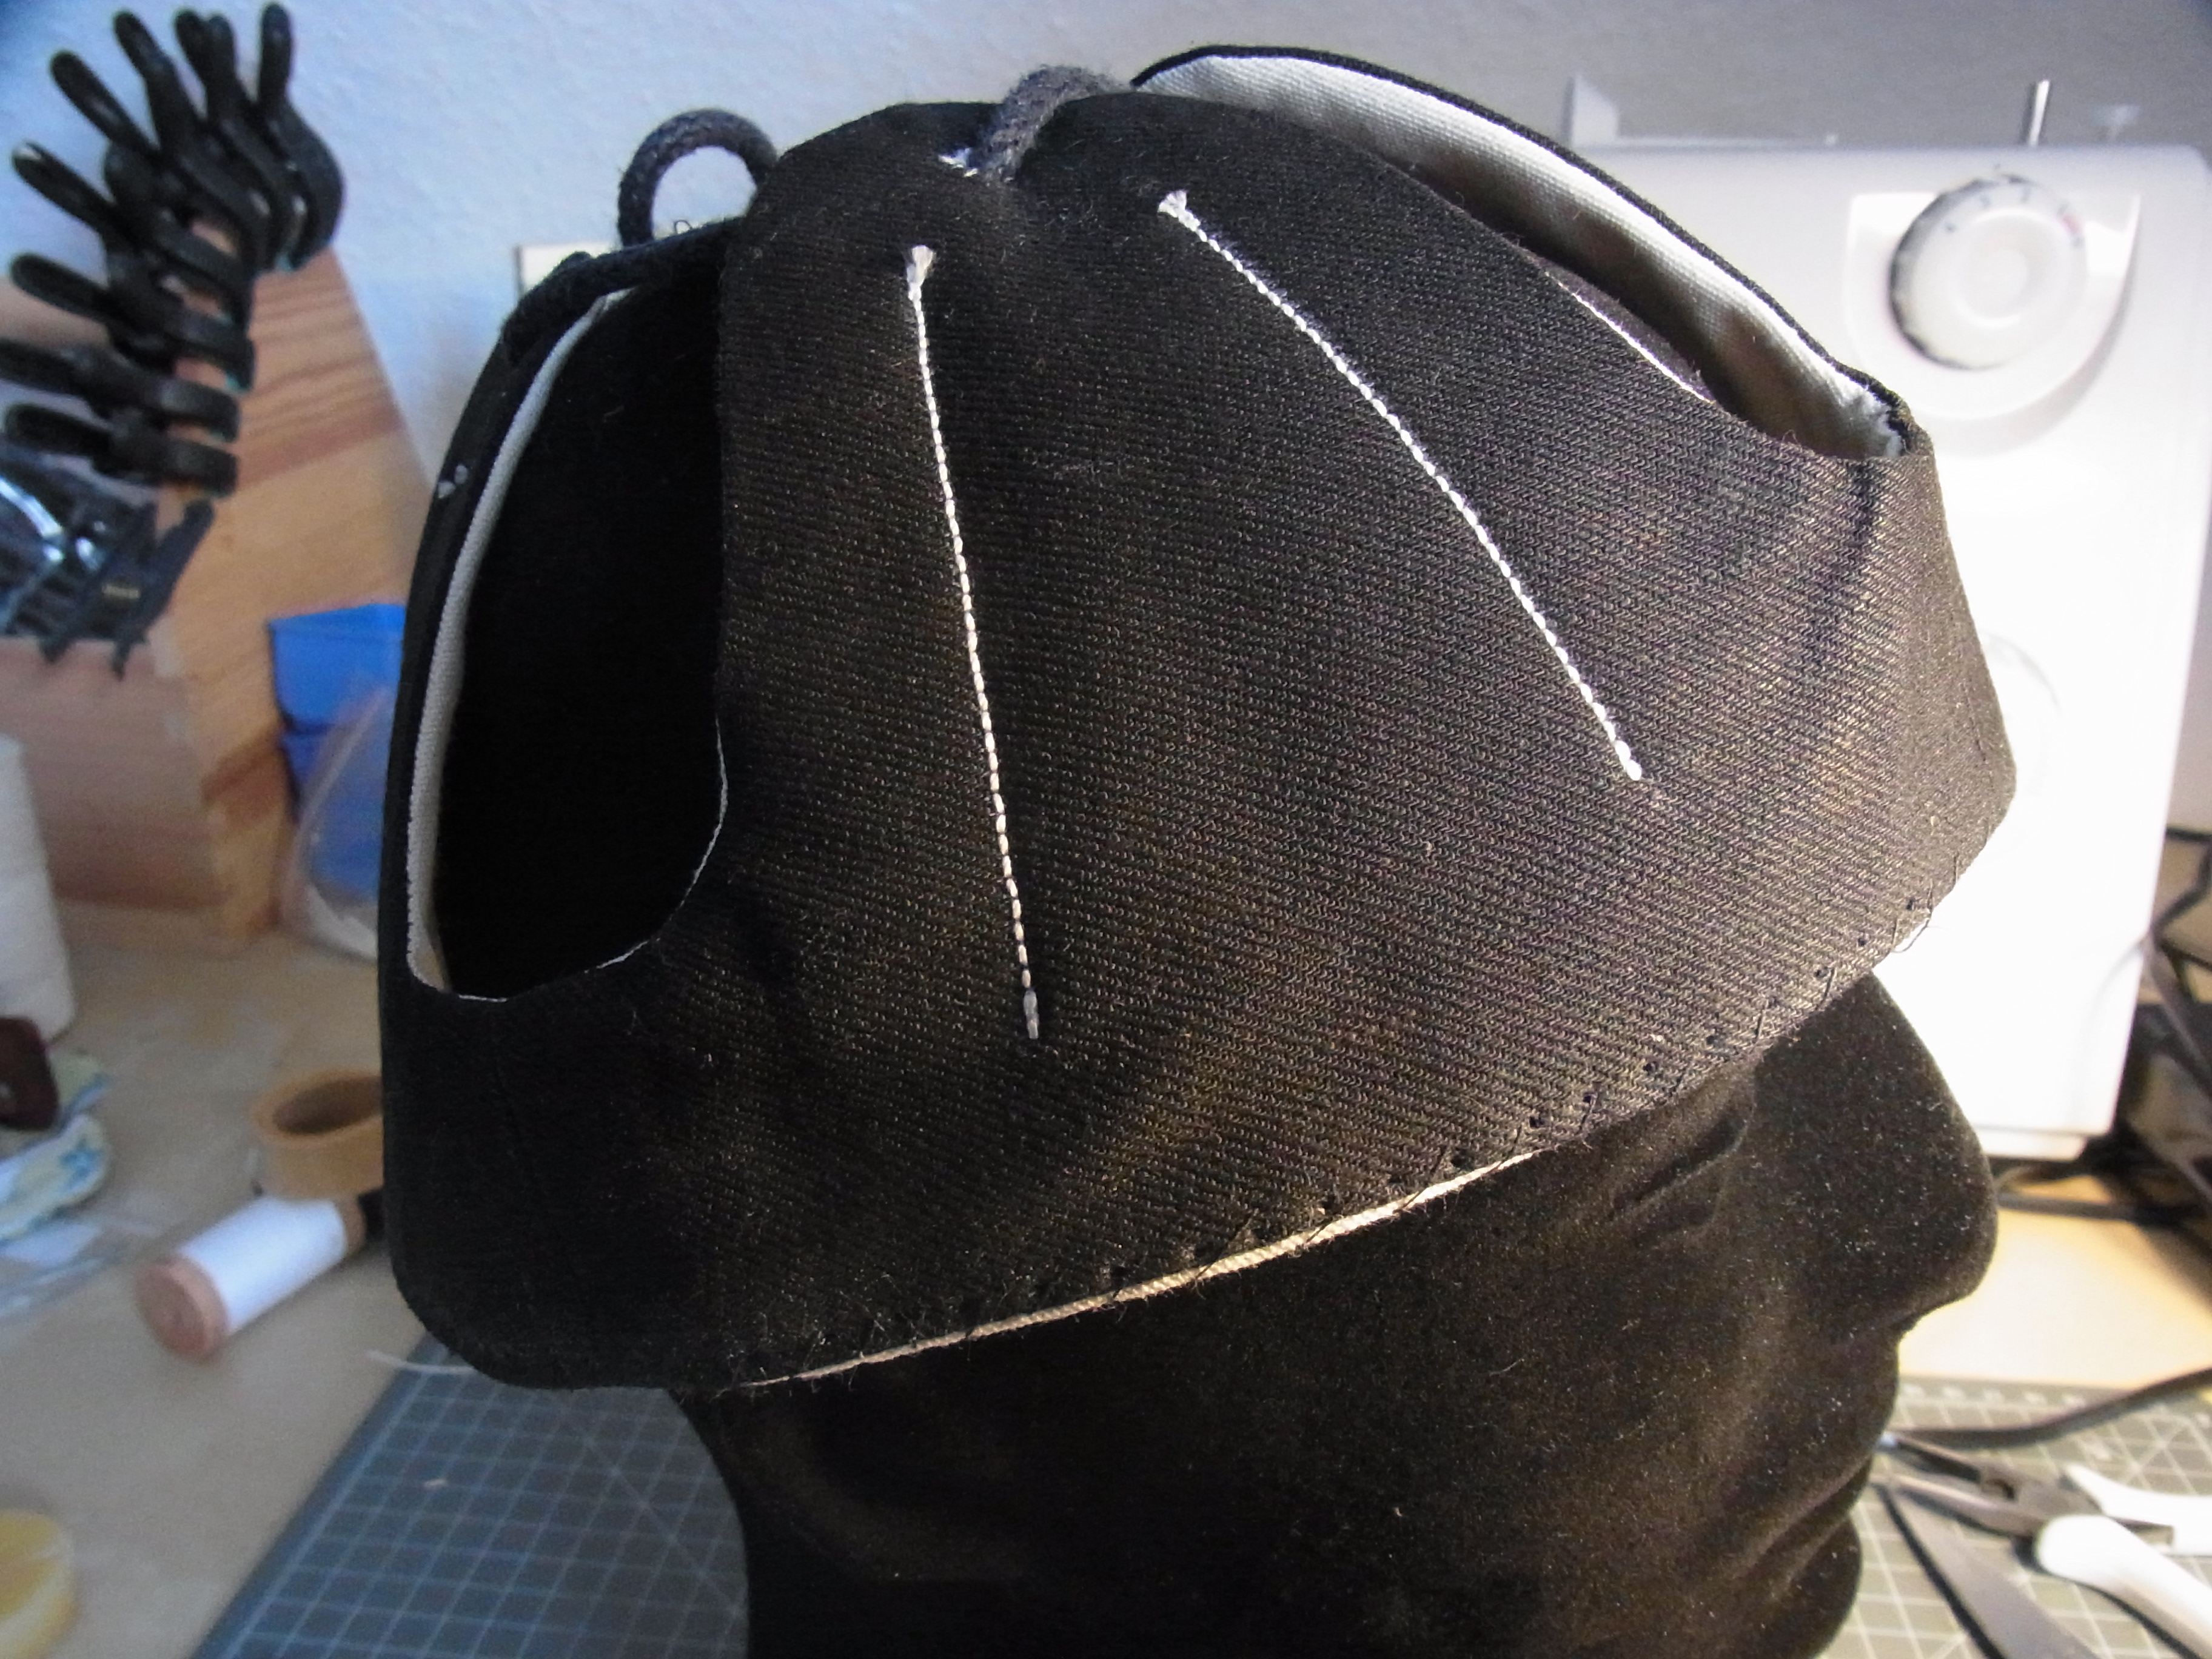
And here the lining is finished

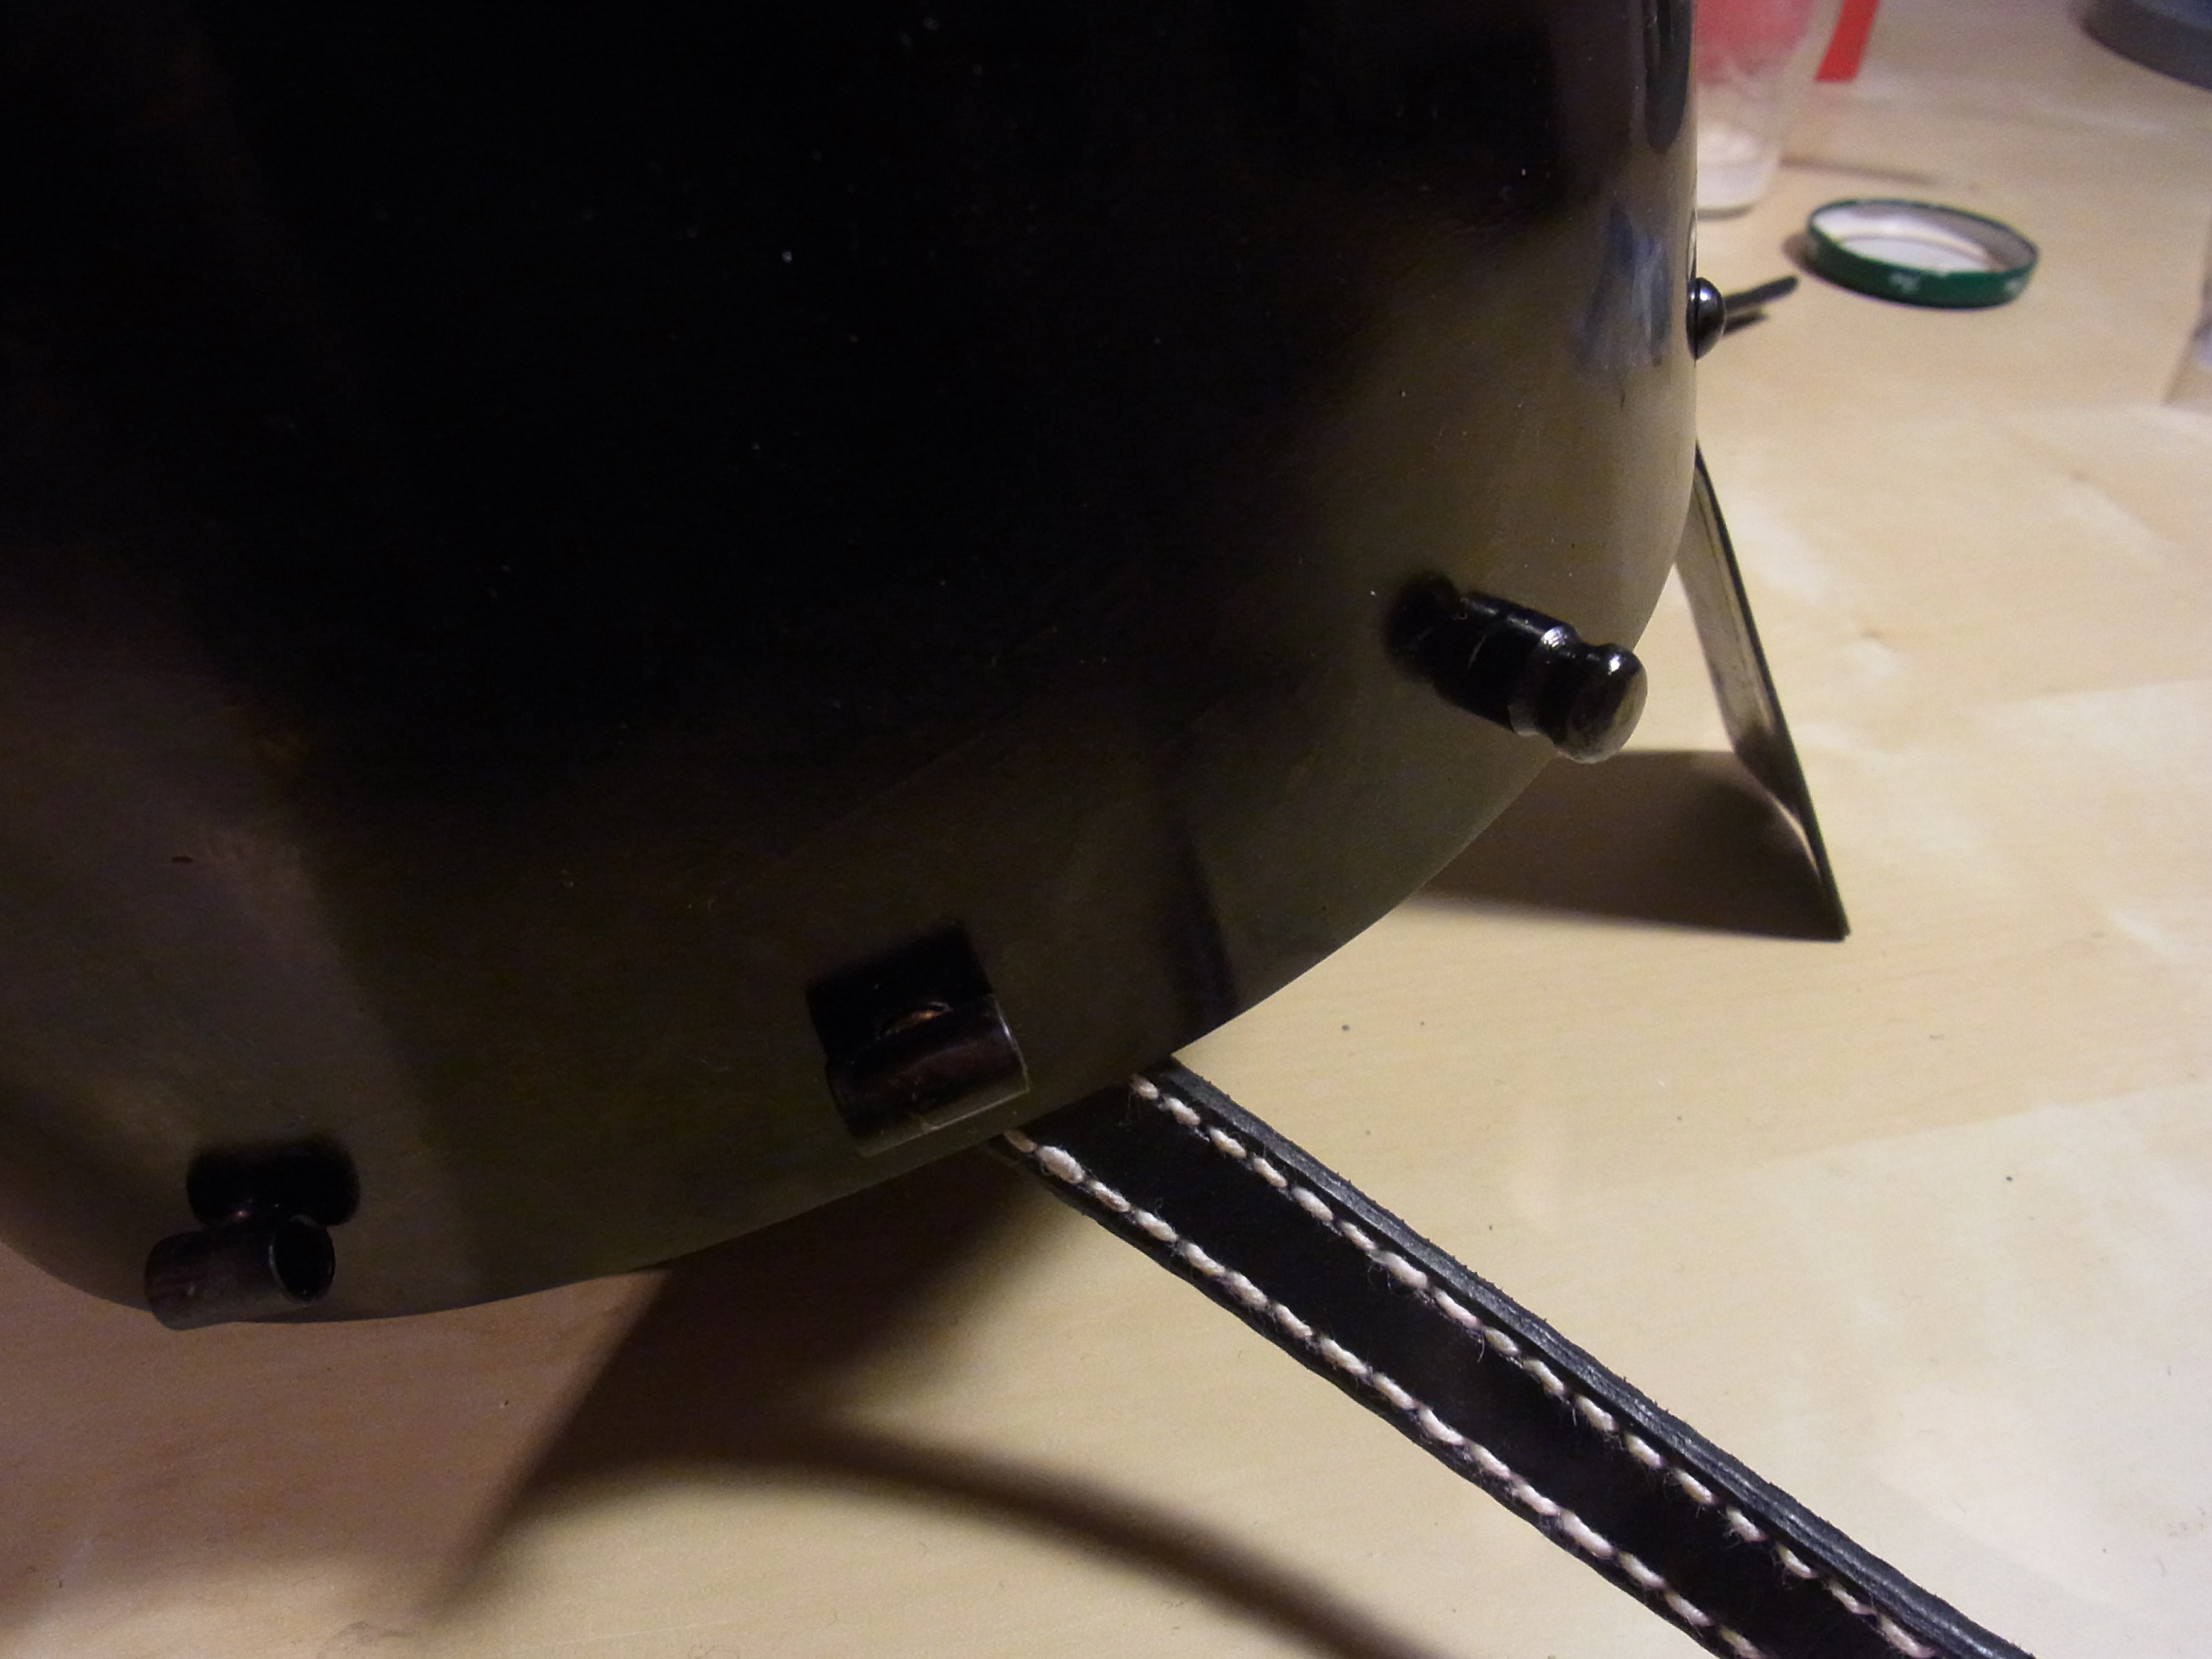
Lining in helmet
Aventail
I start with the aventail-band that will be put on the eyelets. The band will be made from 4mm leather.
I made a template with tape directly on my Kalotta. With this I prepare a straight leather strap. On the rear I mark the corners of the eyelet-holes and pierce them with an awl.

Marking the eyelet-holes
Then I punch all corners with a 6mm holepunch and cut out the squares with an Xacto knife.

Punching the corners

Cutting out the eyelet-holes
I use a keyfile and sandpaper to smoouth out the holes.
The band is than dyed with a darkbrown leatherdye.
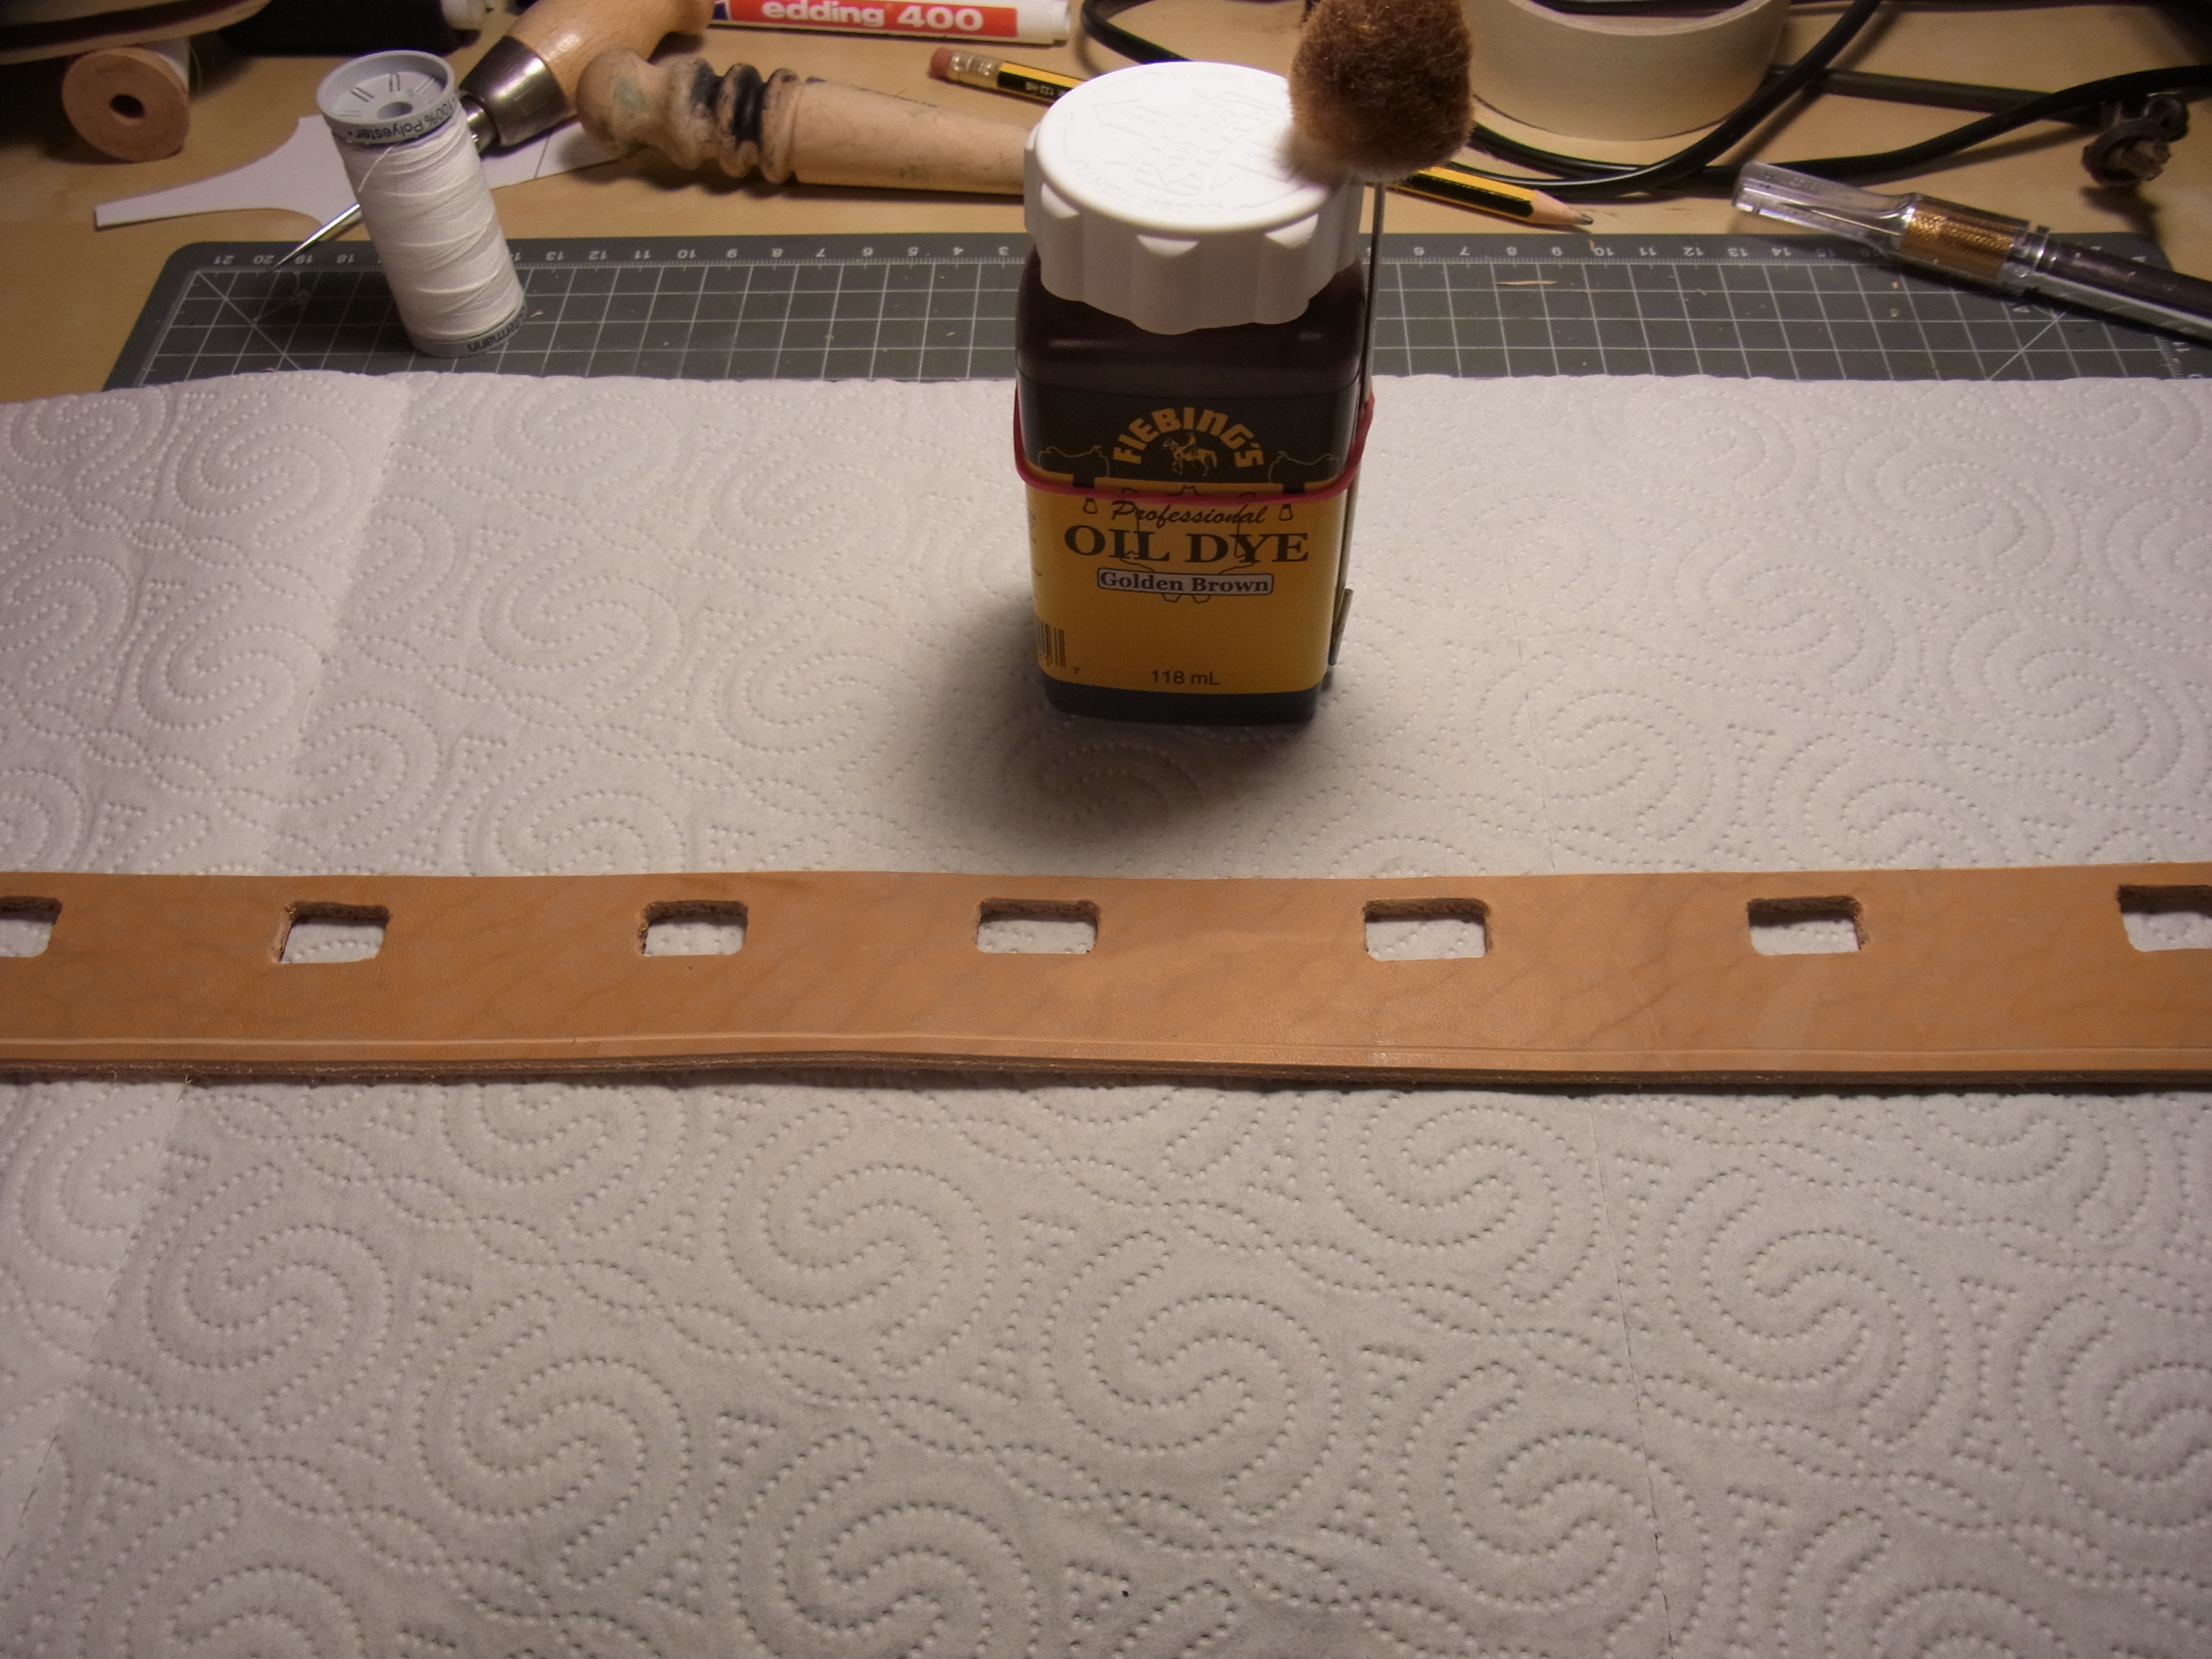
Preparation for dying
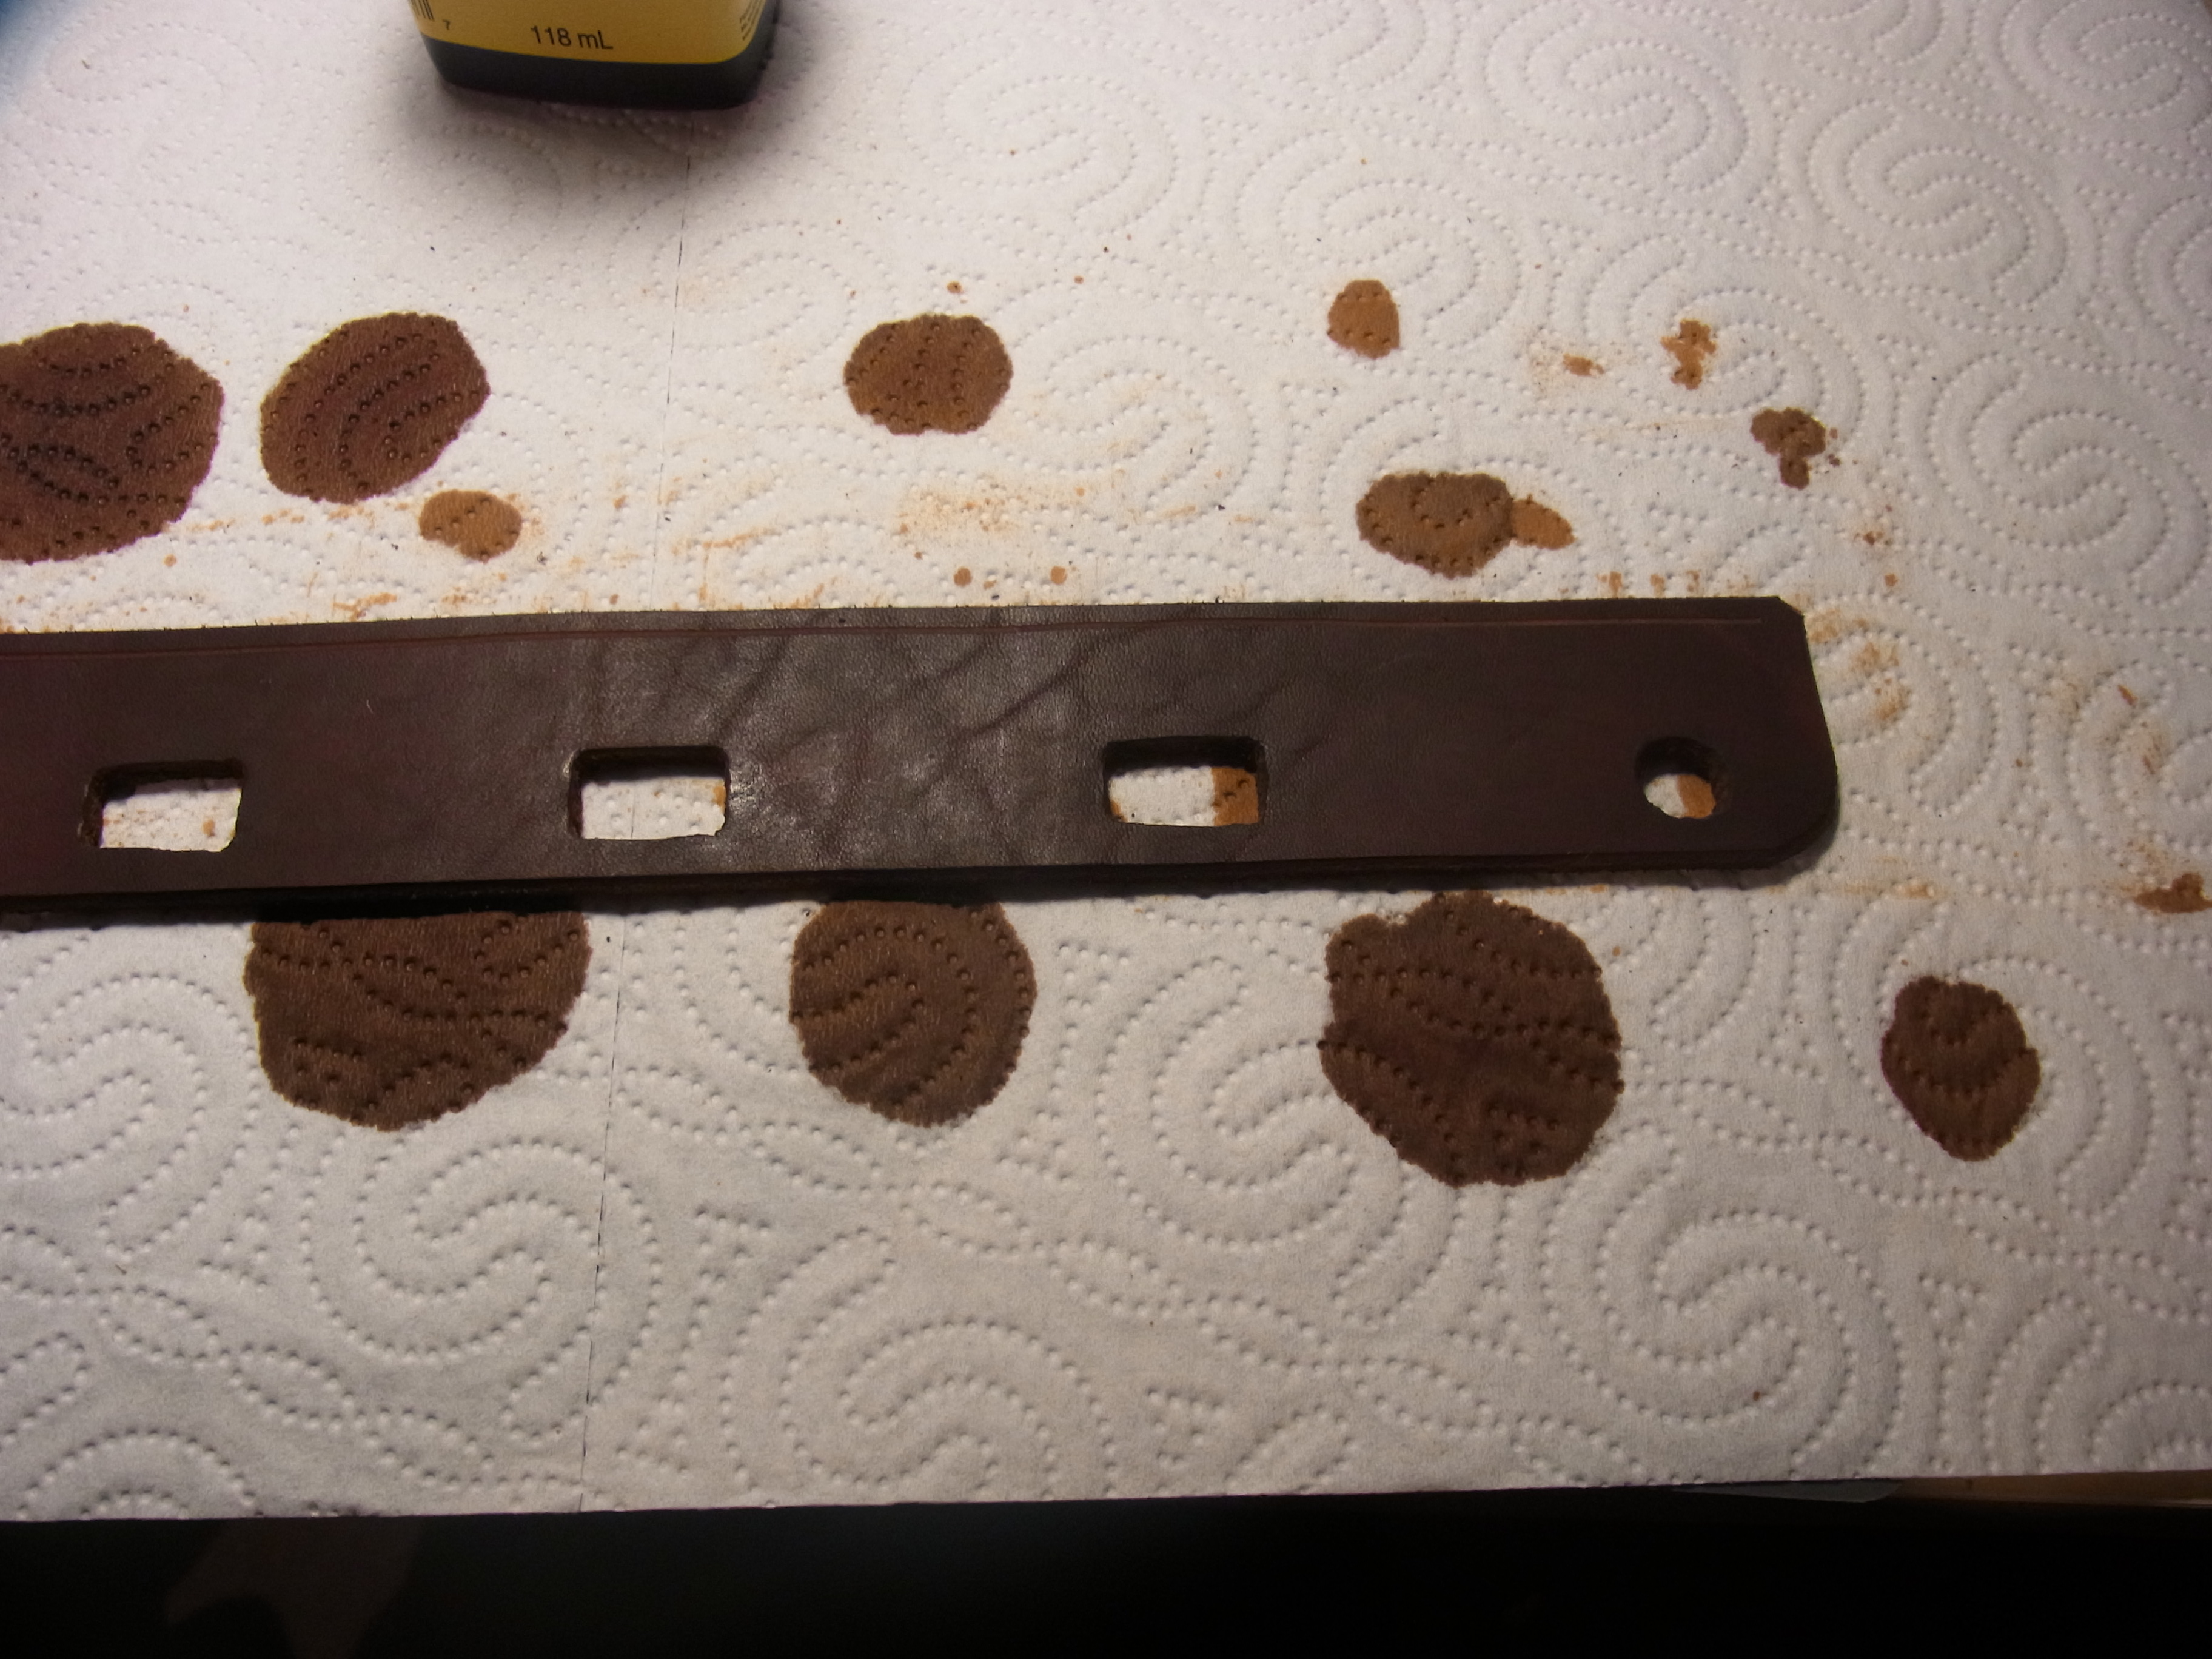
Finished dye
I add a groove for the later attachement of the aventail. After waxing and smoothing all edges with a slicker the band is ready.

Finished aventail band
The padding is made from for pieces (two for the frontside, two for the rear). The lower edge is longer than needed and will be cut back according the chain maille aventail.

Template for the aventail-padding
The padding has 4 layers. Each one layer of linen for the inside/outside, one thick layer of gray woolpadding and one layer of tentlinen to stabilize everything.
Layers of padding
The finished padding will be attached to the aventail band sandwiching the chainmail in between.
Aventail parts ready for assembly

Sewn on chainmaille
Then the loweredge is trimmed and the chainmaille is rapped around the lower corner and sewn into the inside of the padding.
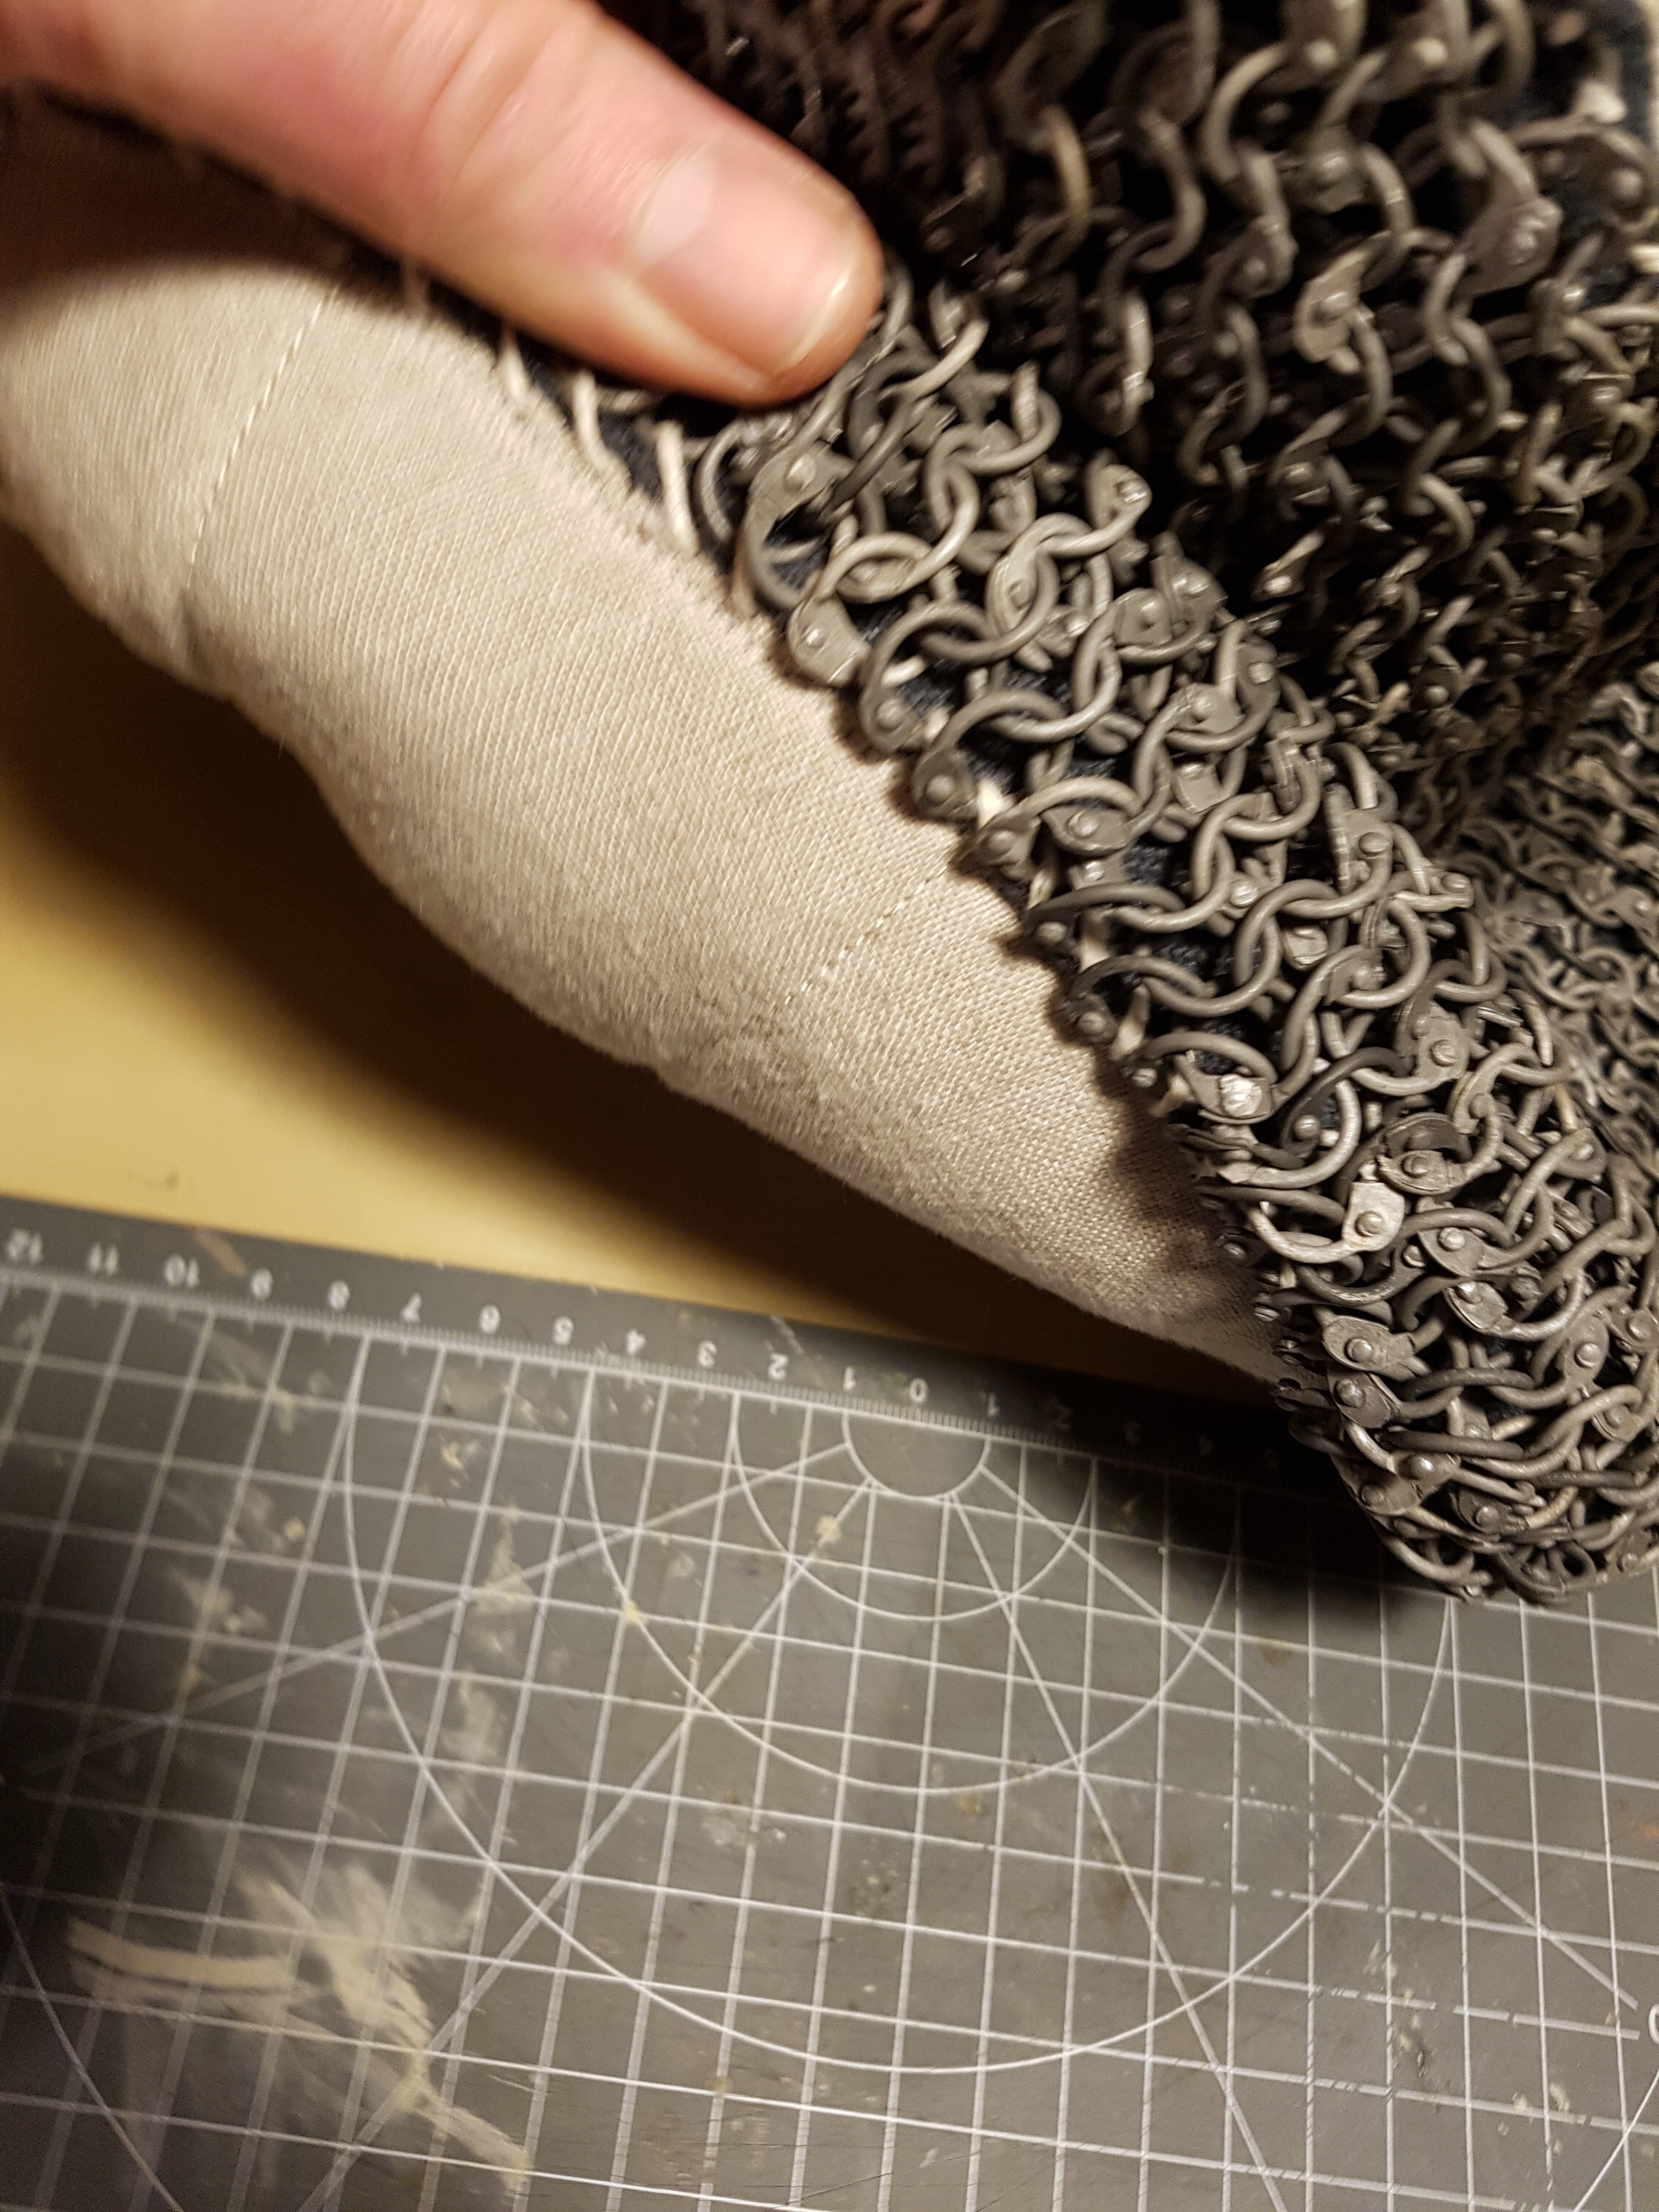
Inside view of the lower edge of the aventail
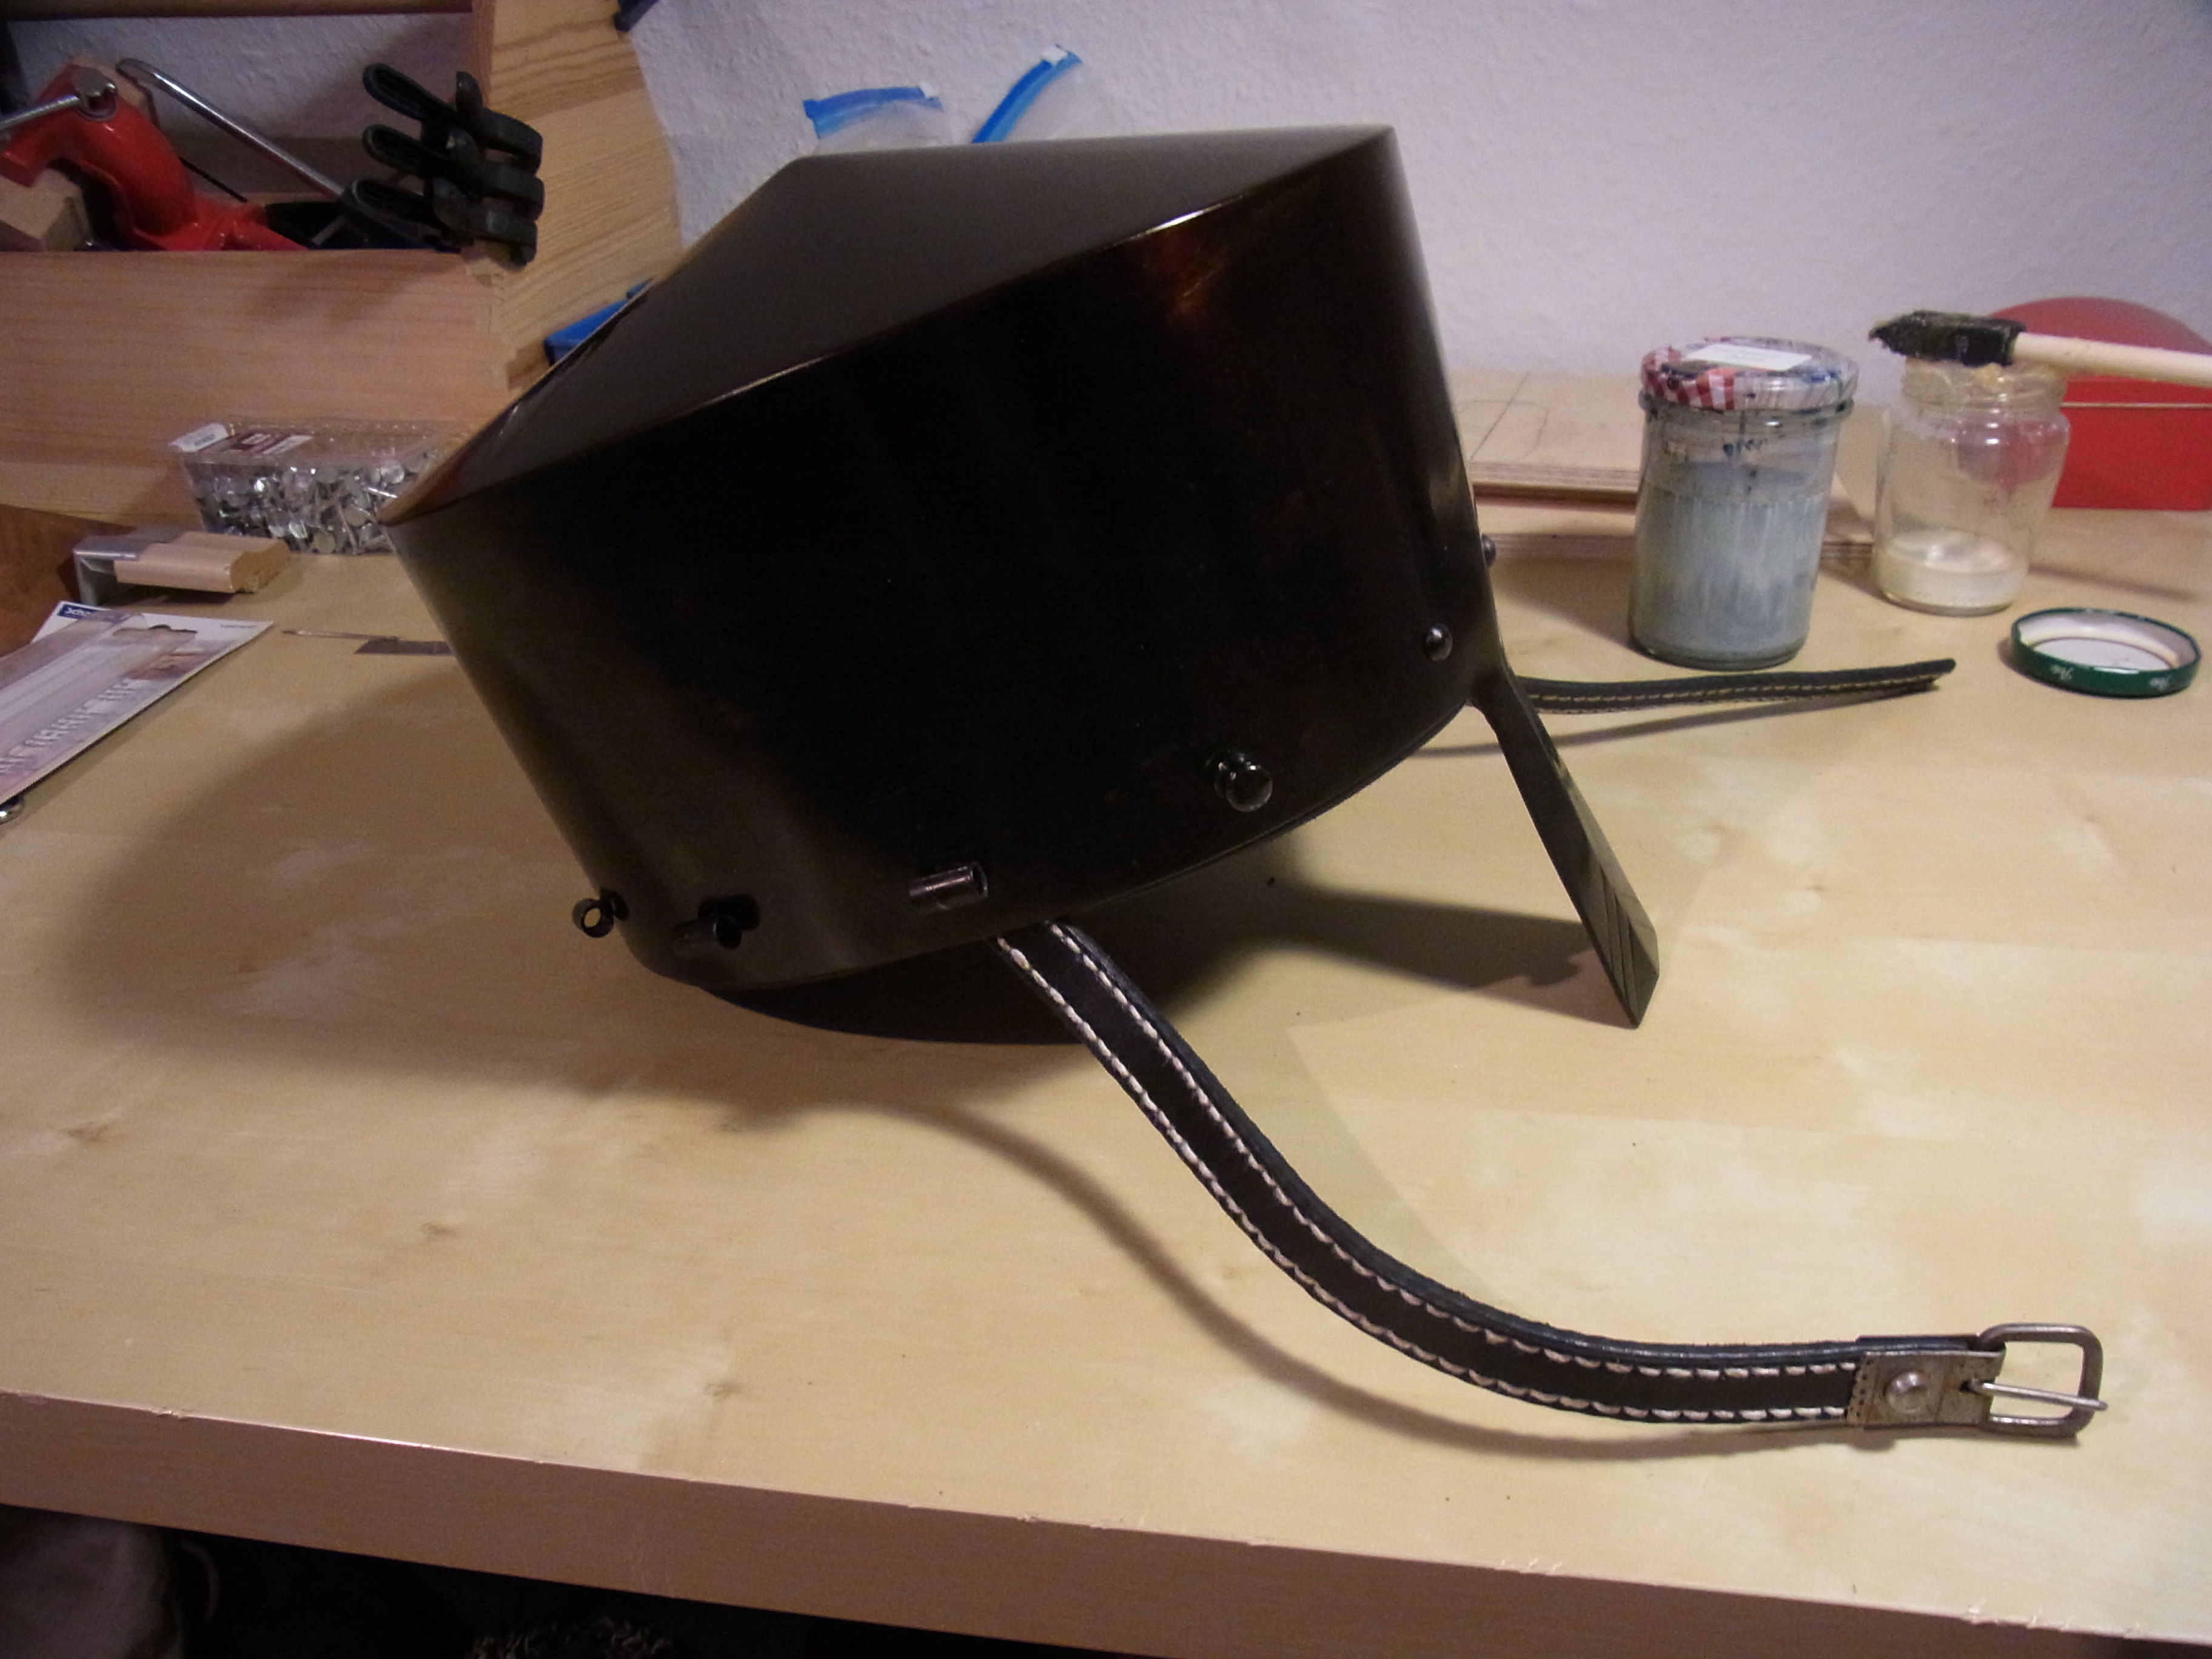
And the helmet is finished 🙂

Finished fantasy aventail Kalotta

Sieht gut aus.
Brünieren würde mich auch noch mal interessieren.
Stink das brünieren sehr?
Bastel gerade aber andere Projekte.
Helmbrünierung kommt aber gerade sehr für ein aktuelles Bastelprojekt in Frage-
https://traumschmiede.wordpress.com/2016/10/09/brigantine-voll-ruestung-idee-teil-1/
Hi, vielen Dank.
Ja es stinkt leider sehr. Bei normalen Sonnenblumenöl ist es ein starker Friteusen-Geruch. Bei dem hier verwendeten Leinöl-Schwefelmix ist es ein schlimmer Geruch nach altem Fisch aus der Hölle.