
Embossing pad
Often I had seen such embossing pad in DIY videos of armourers or bodyshop manufacturers.
Thies are leatherpads filled with sand, plastik- or metallballs into which you can emboss sheetmetal.
There are several embossing pads you can buy online but I wanted to do one by my own.
For sure the used leather is quite important. Most of the pads I saw where made of elk or deer leather that is quite tensile.
I wanted a more robust (and cheap) pad so I decided to make it out of thick hide (4mm)
The outer diameter will be 30cm and it will be filled with fine sand.
First step is that I cut out a circle with the right diameter and a second piece with approximately the right dimansion.
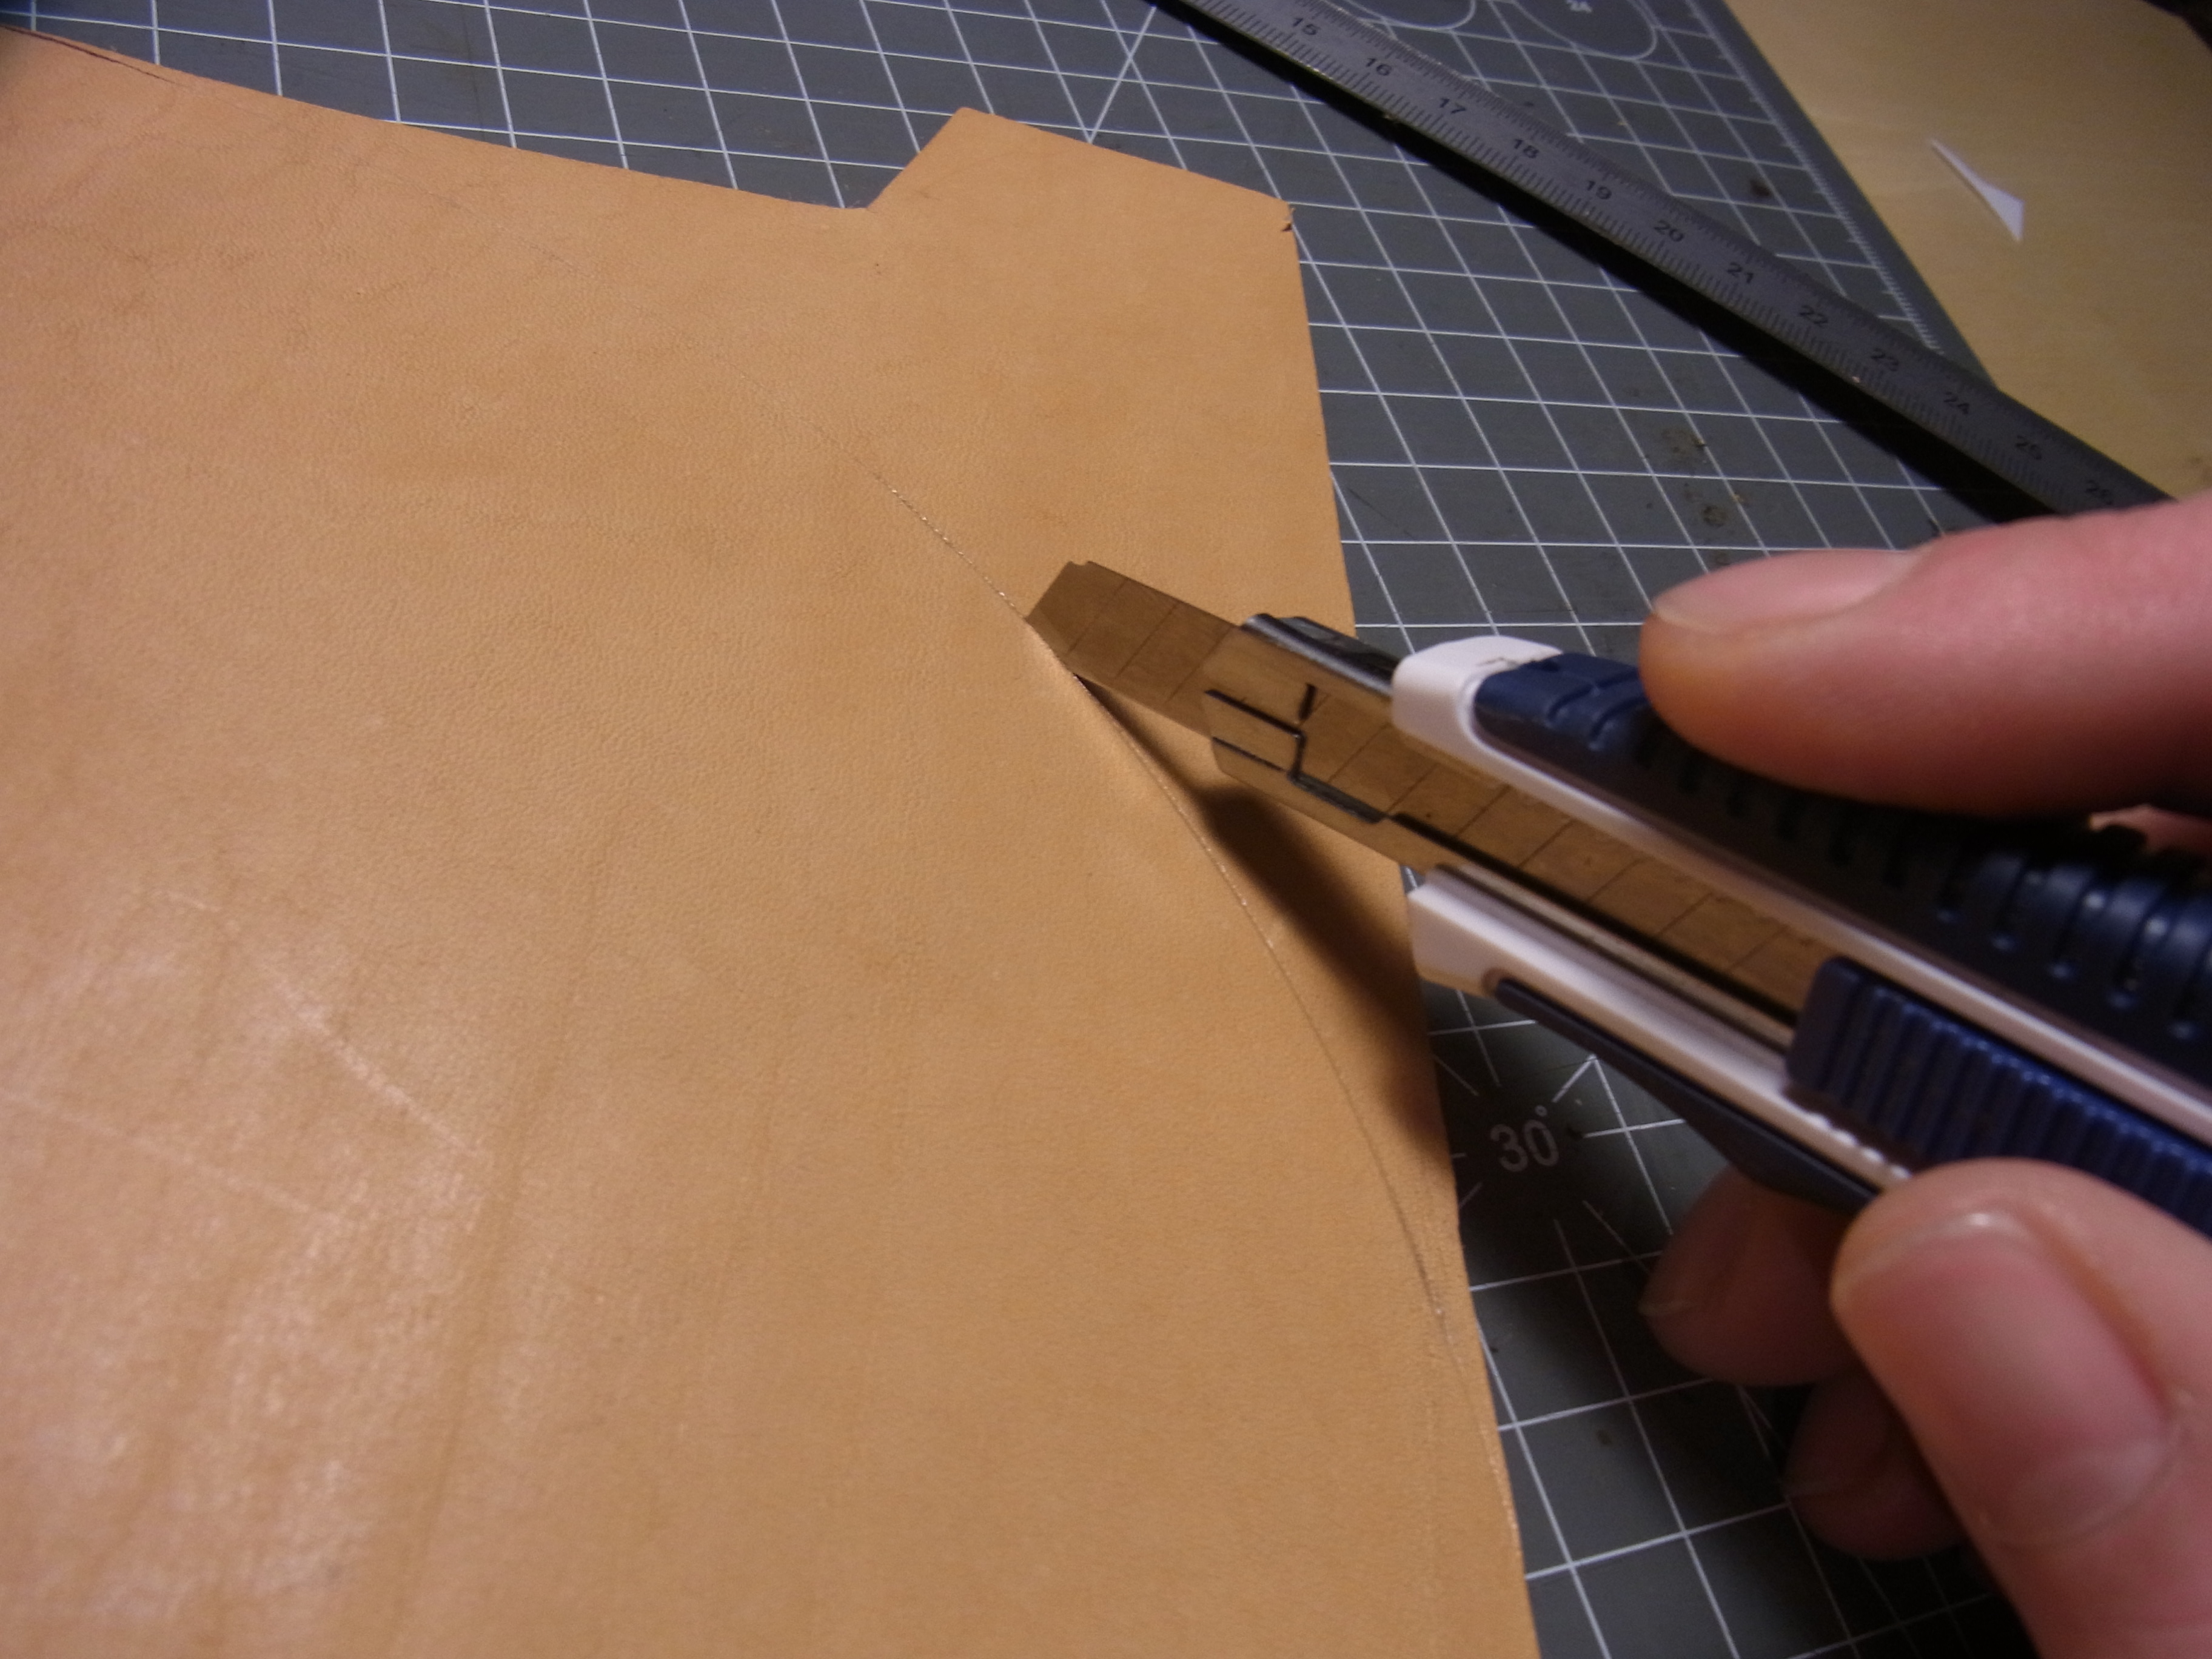
Cut out with a utility knife

both halves of the embossing pad ready to be glued
I glue the two halves together by applying glue (simple cement glue is enough) on the circle piece where the seam will be. For the later filling I let a gap open.

Circle half with applied glue

Glued embossing pad clamped together
After the glue is bond I cut the whole package to shape.
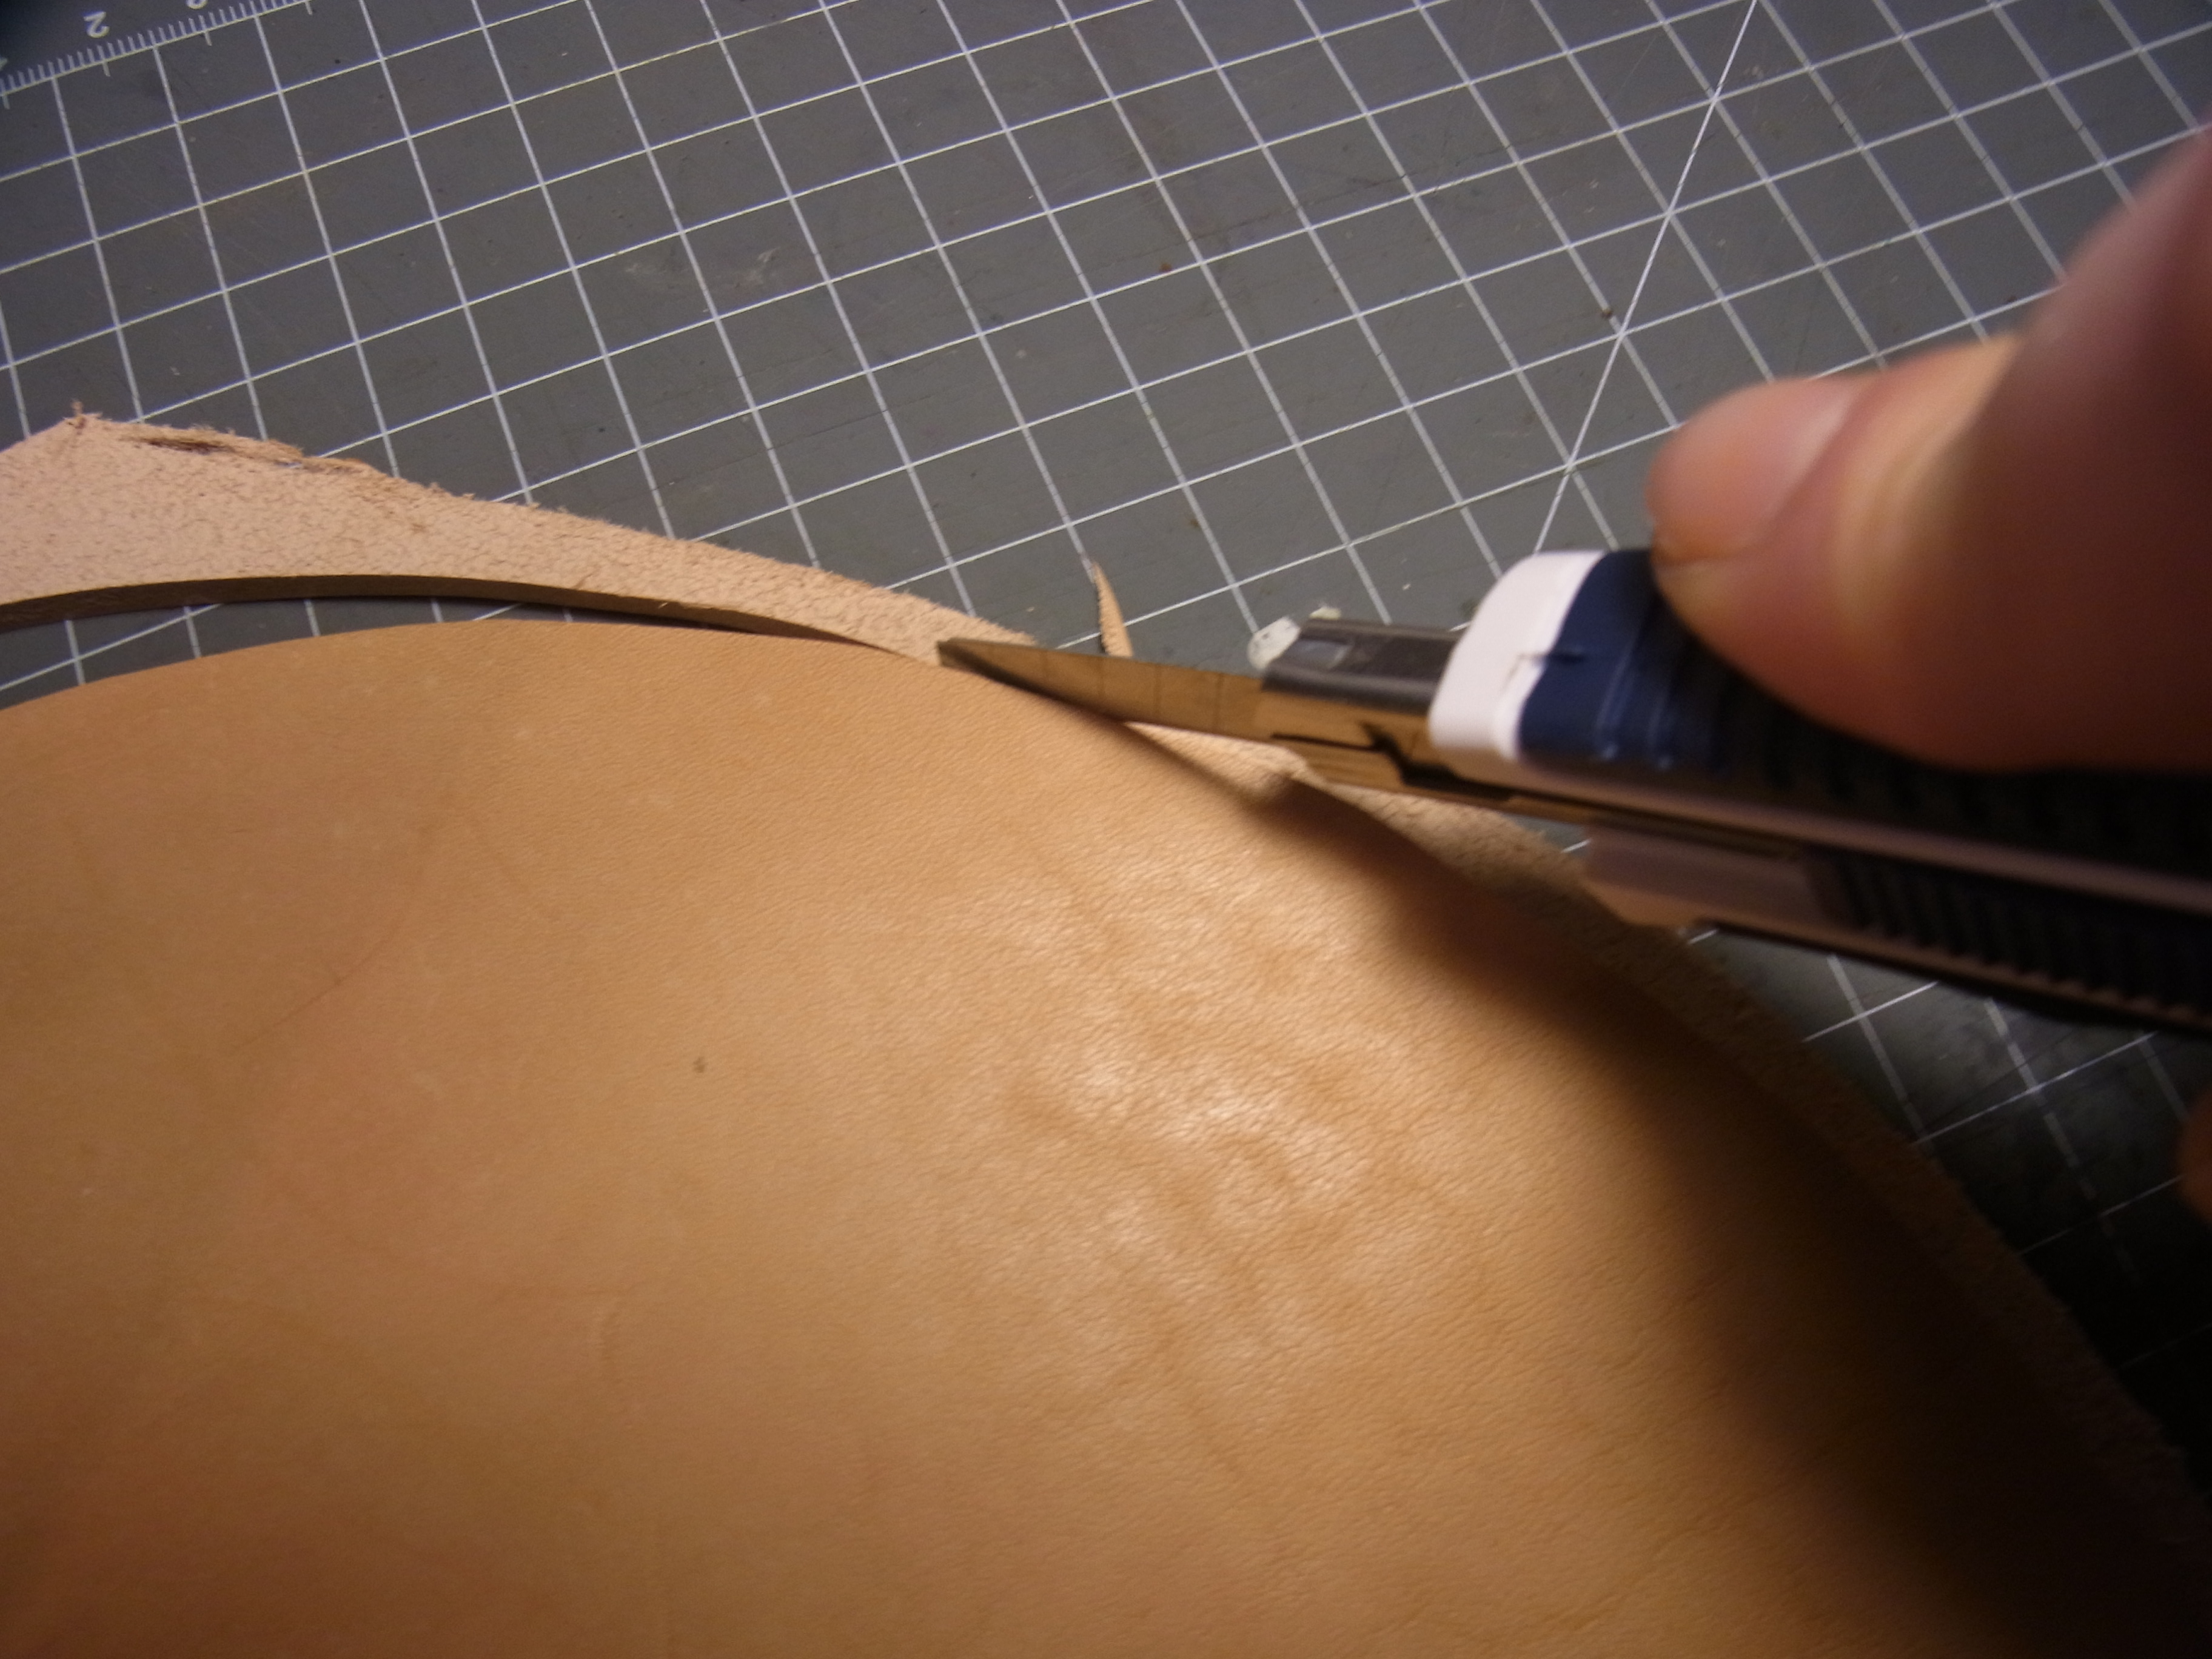
Cut the package to shape
Next will be the two row stitching.
I cut two grooves with the stitching groover.

Cutting the stitching grooves
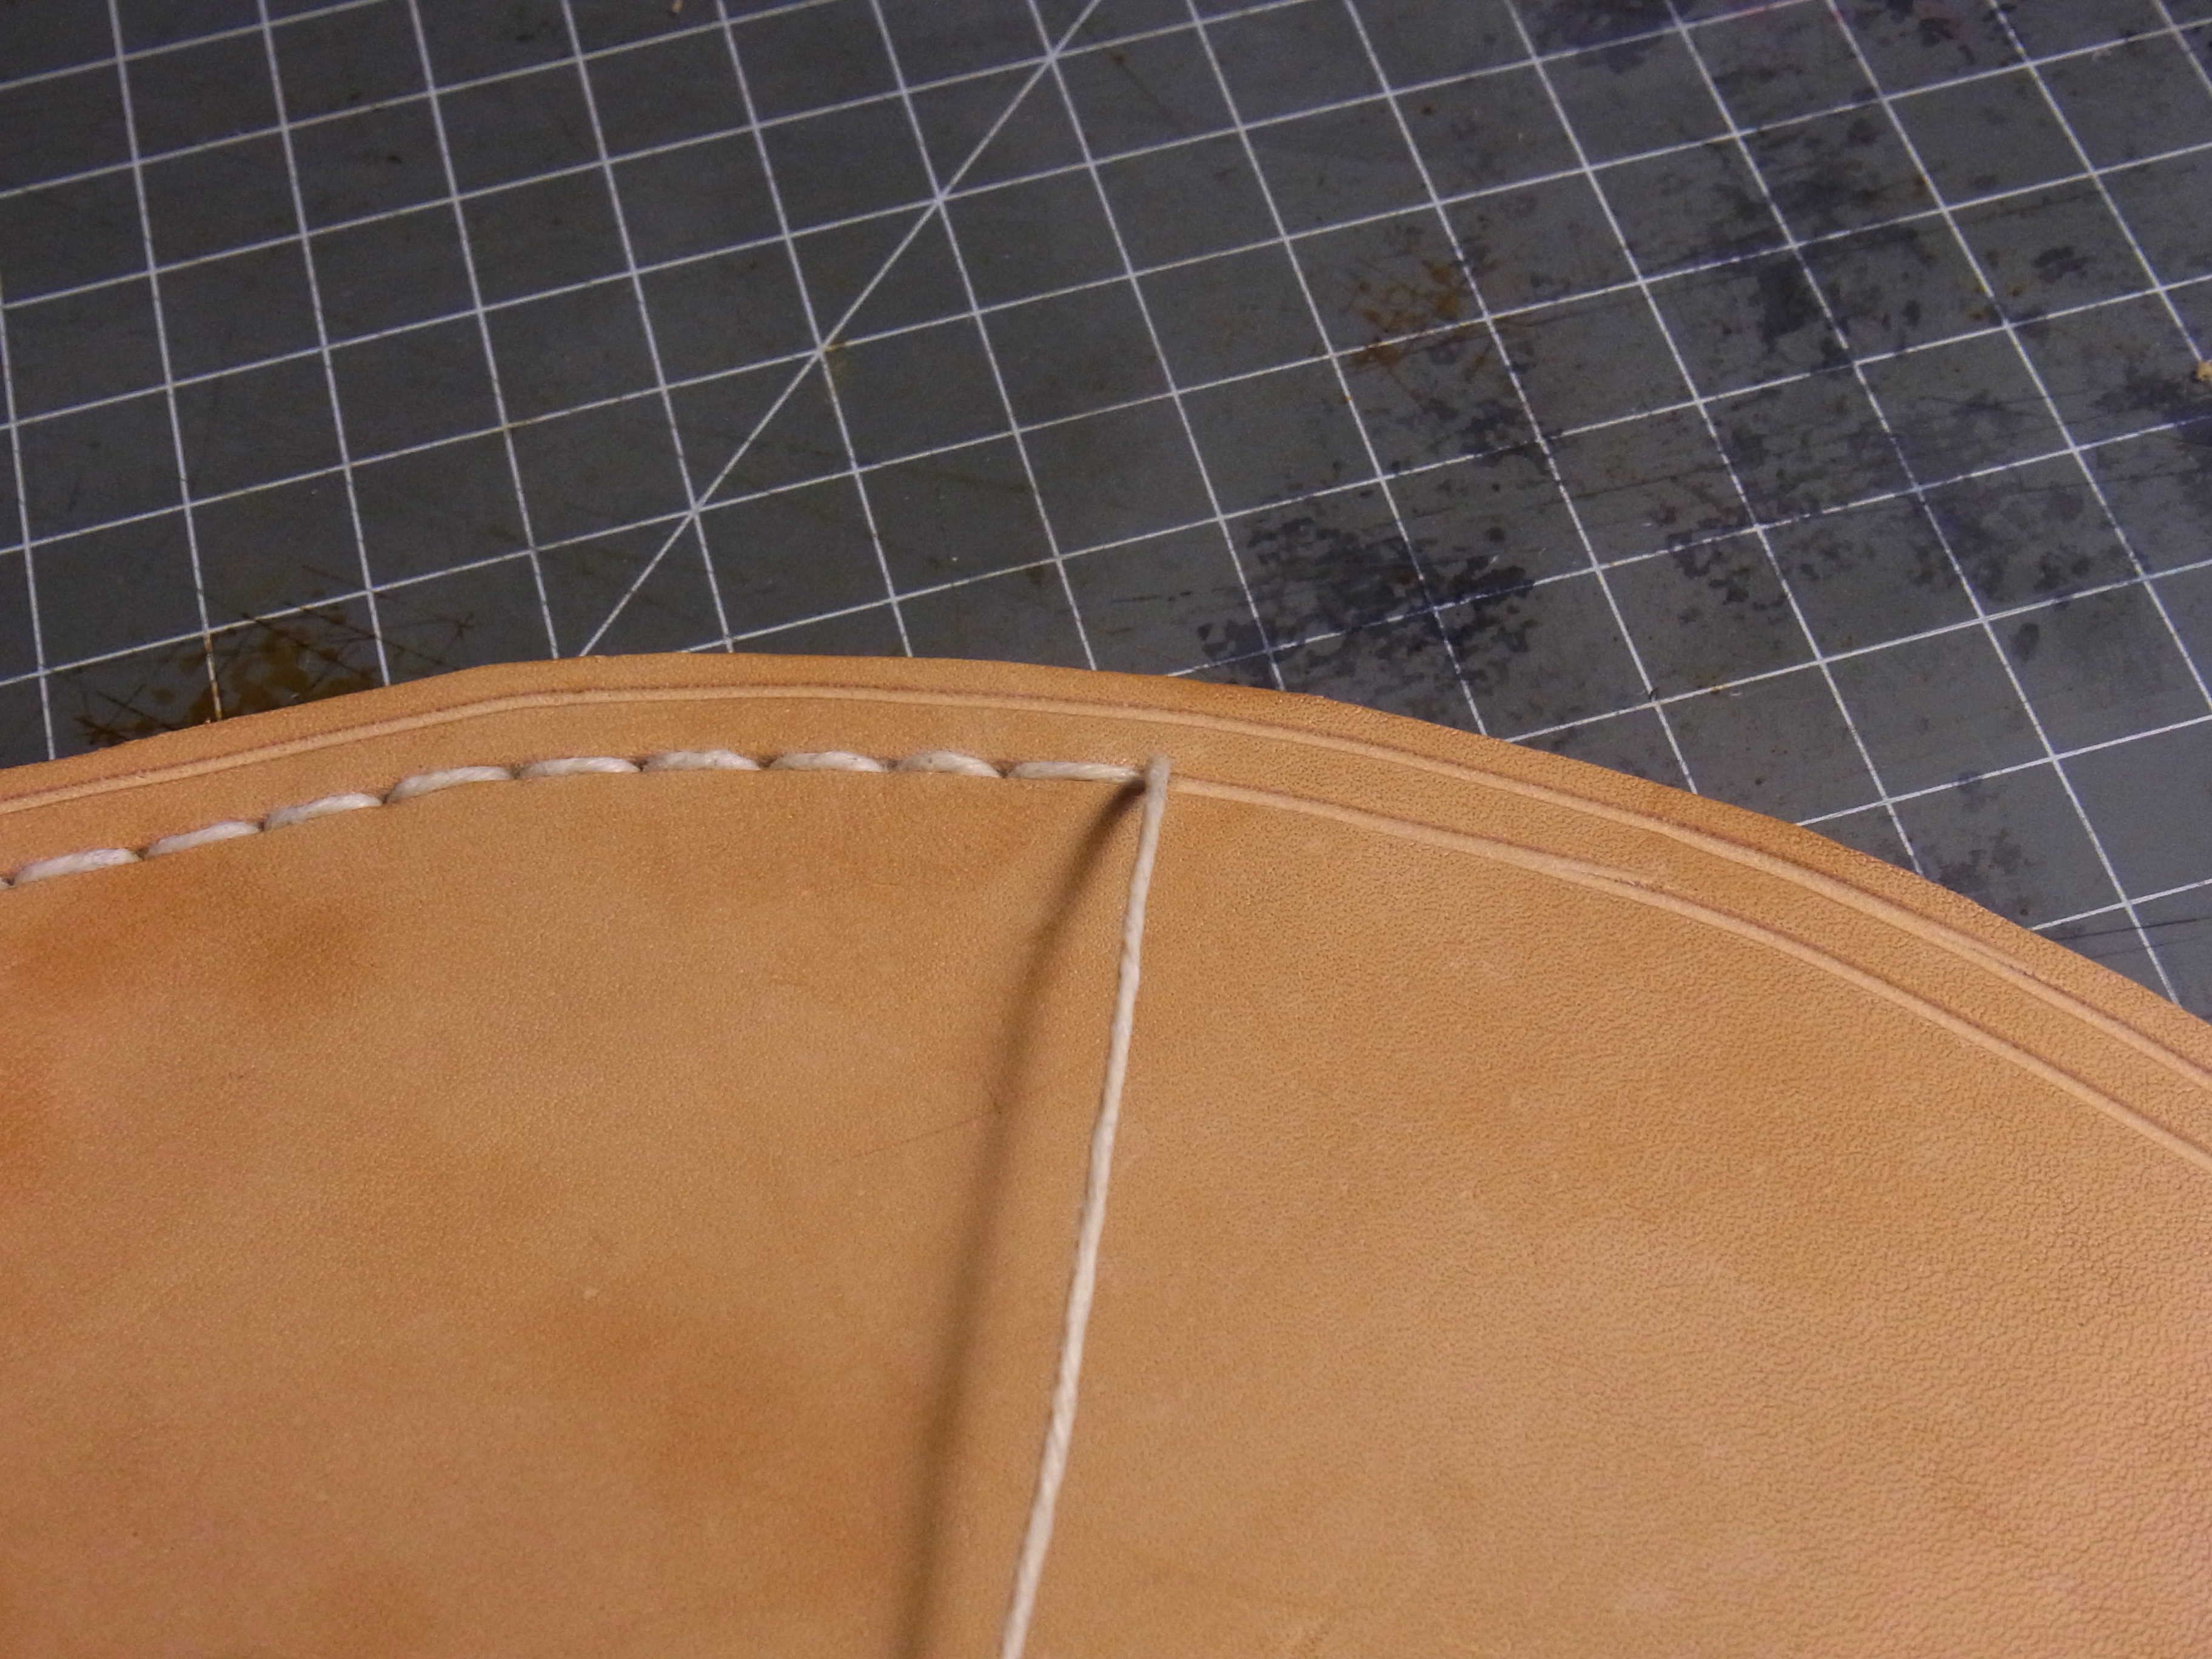
After this I stitch both grooves with a waxed linen thread approximatly with a 7mm pattern. I let the gap still open

Stitch with an awl
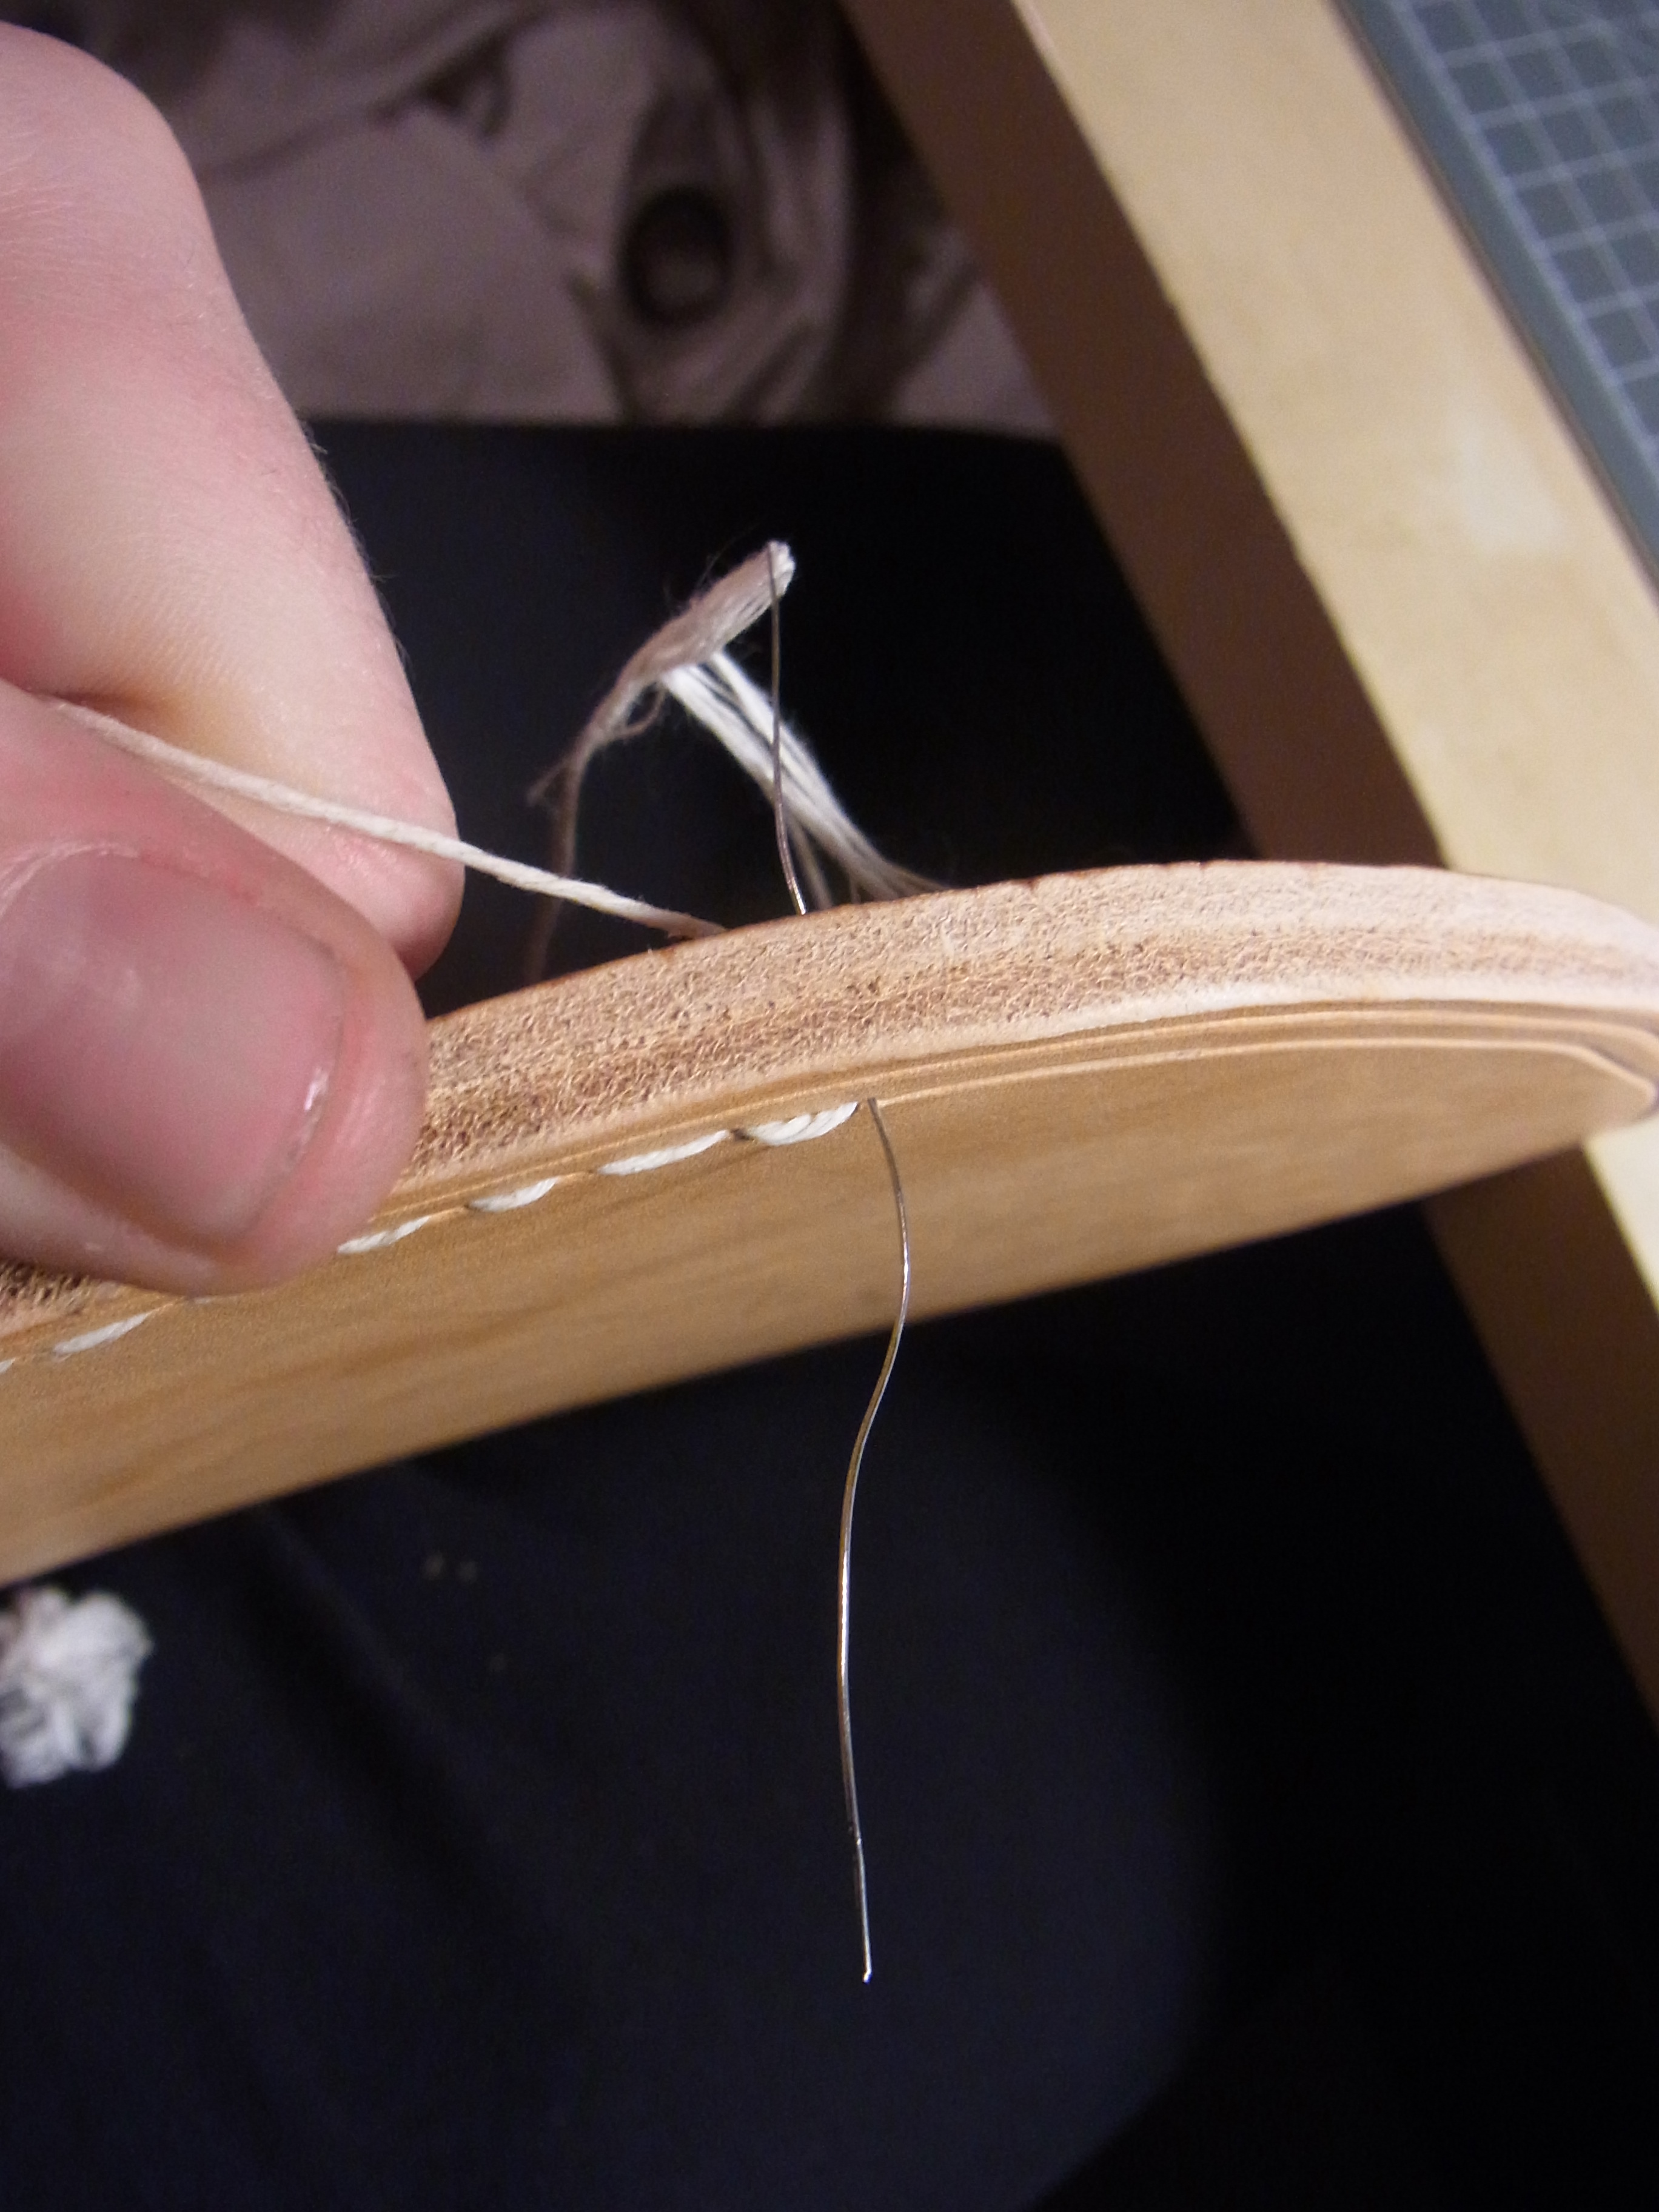
Flexible steel needles
Stitching

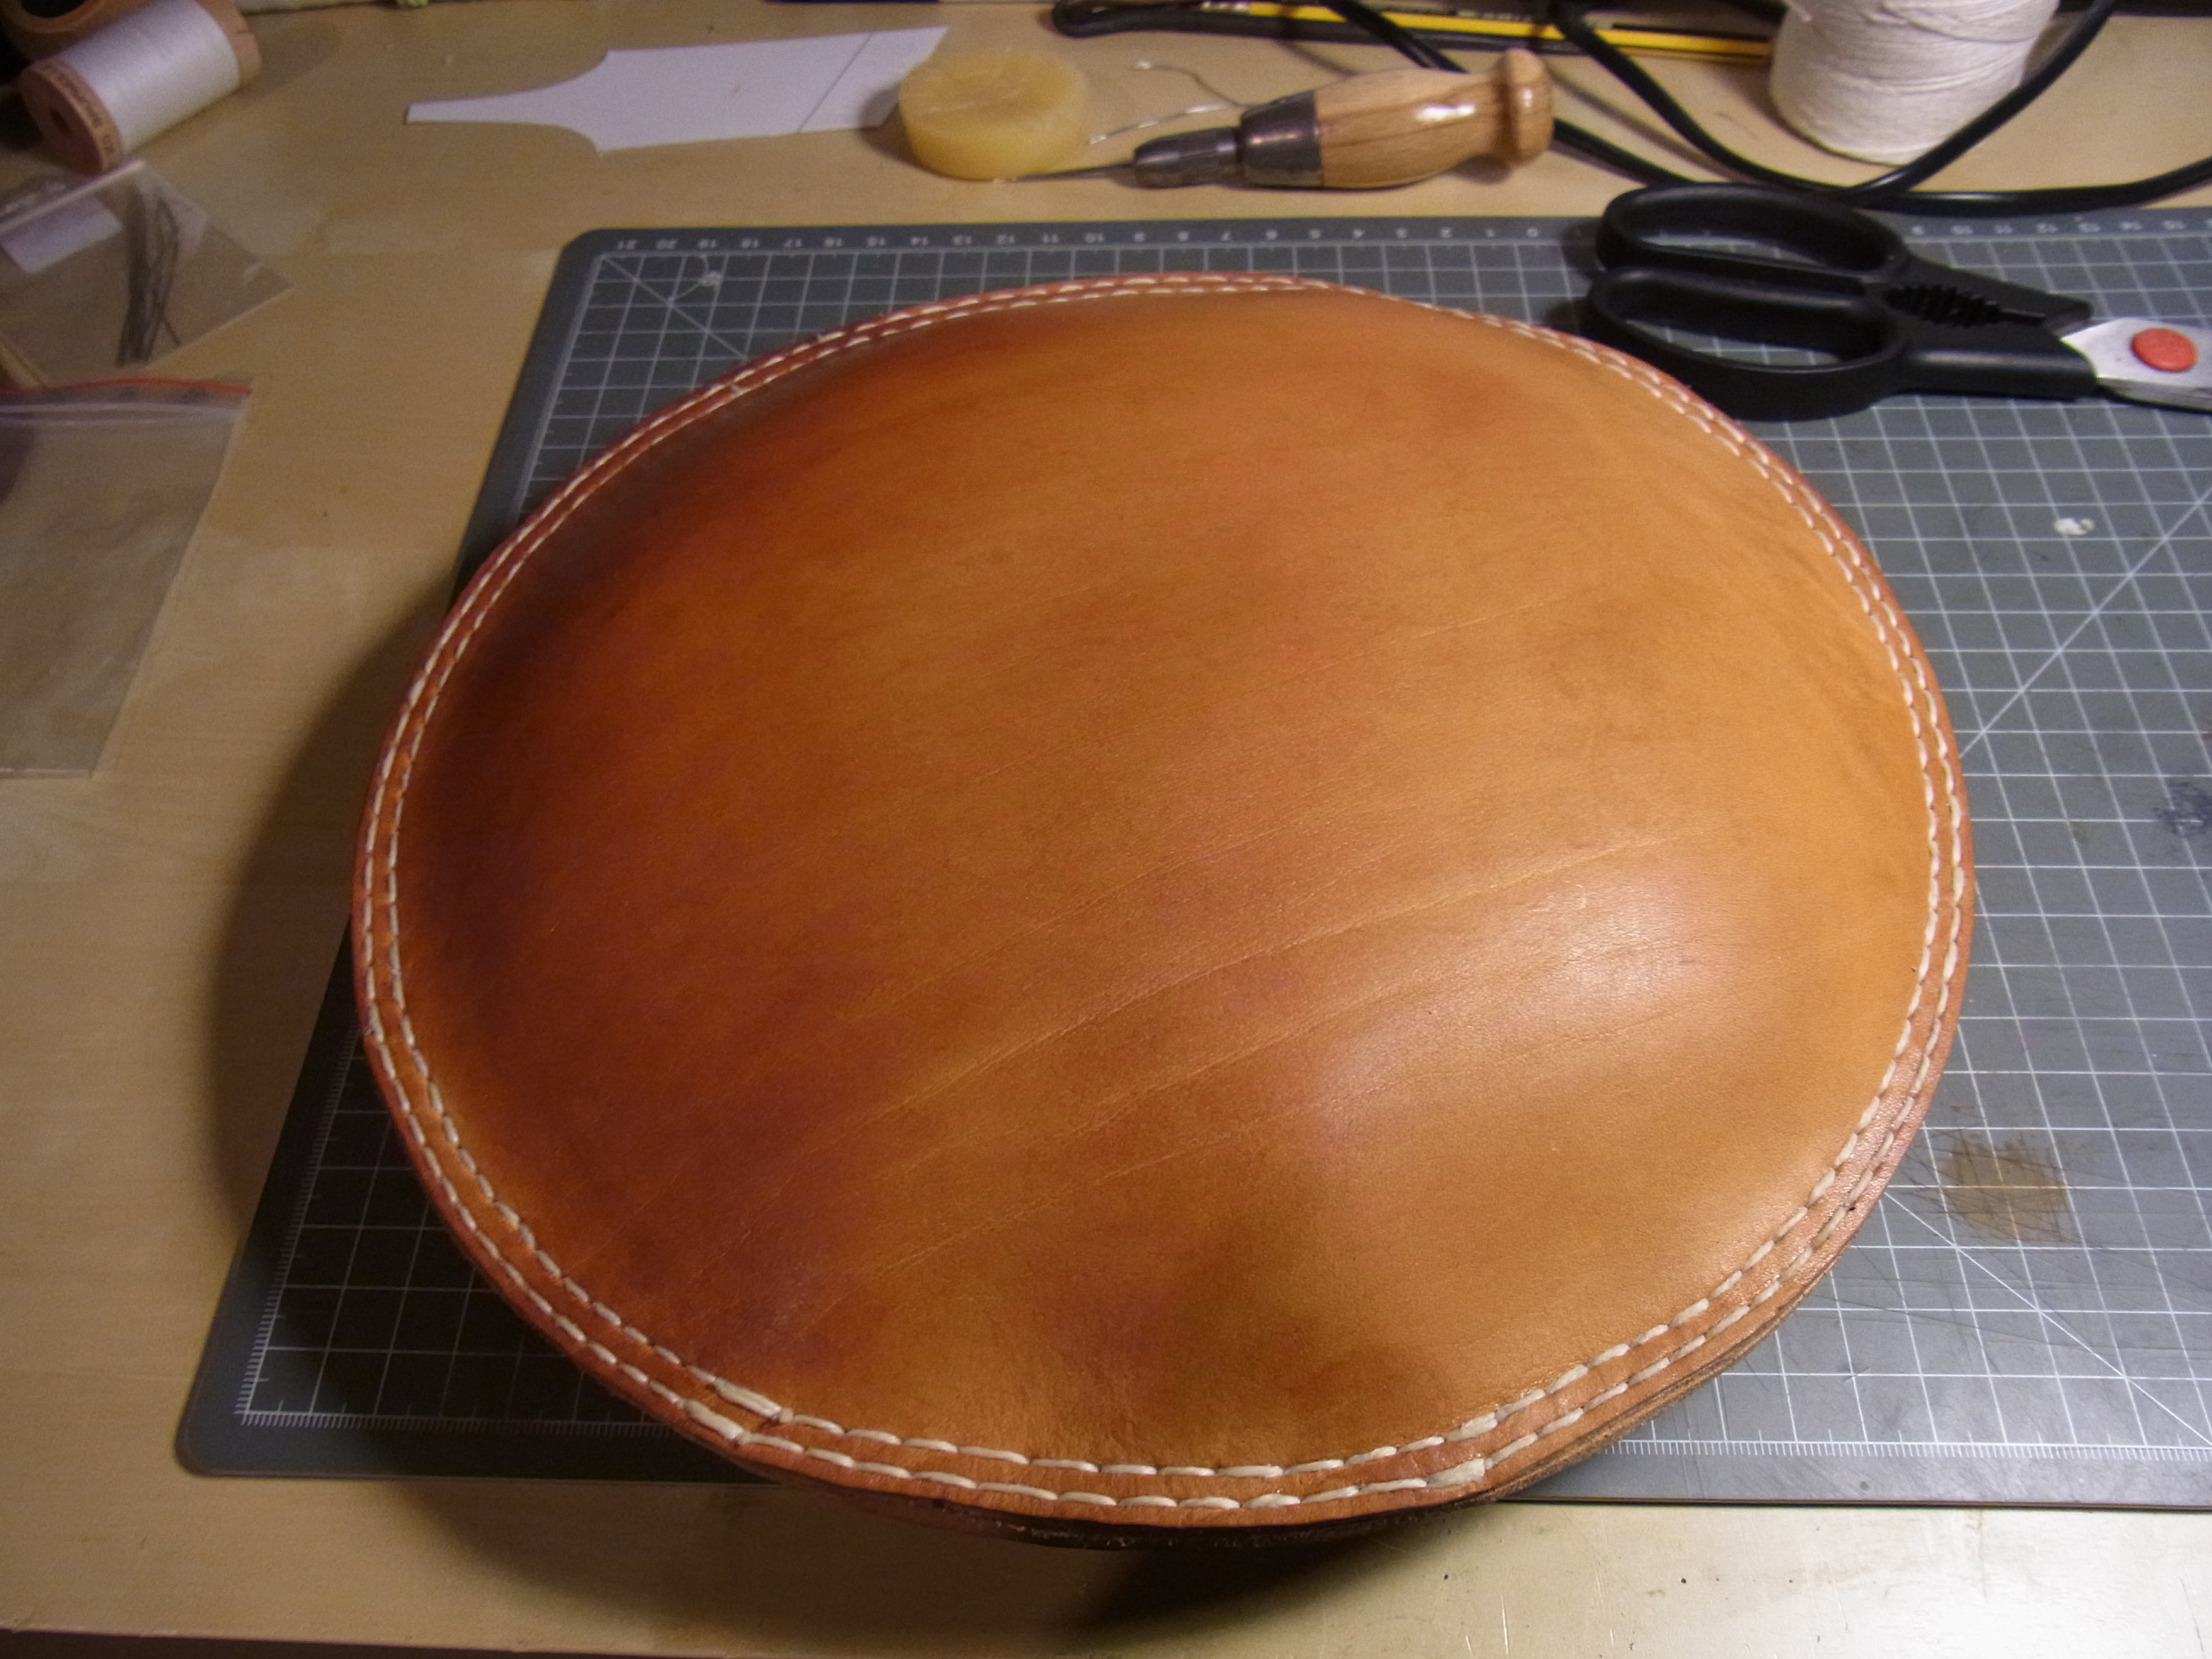
Stitched embossing pad
Before the pad is filled with the sand (fine birdsand) I dry it in the oven until it stops to form grains.

wet sand

dry sand
I die the leather with a warm mixture of vegetable oil and wax (50/50) and heat it up to 80°C in the oven. It become flexible and shapeable..
Then I push the sand into the pad (a lot of force is needed) until it is nicely rounded.

Filled embossing pad
After this the open gap must be closed according the rest of the stitching and we are finished.
In the workshop I maintain this pad by rubbing it with the same grease I use for my anvils.

Hey, what about your experience with this pad? Is it useful?
Hi, it worked quitw good. Because it’s made out of thick leather it produce a decent reactionforce what results in a smoother surface than working into a dishing stump.
This year I want to make a pair of demi greaves and will shiw the use of the pad on video.