
Aglet – Arming points
Additional tools we need for this:
- a Drift for the aglet
- a small woodblock with carved semicircular grooves
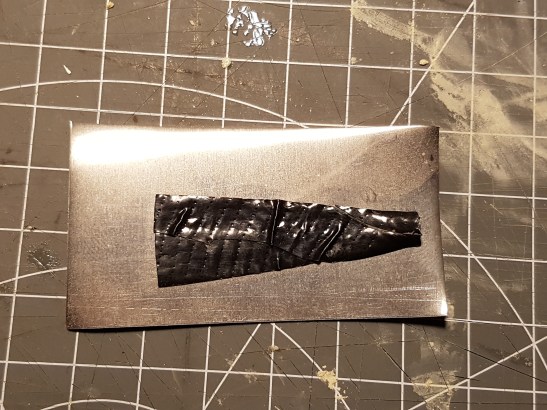
Template
I make the template directly on the drift by raping it in duct tape and cut the tape to size.

Template for agle
Afterwards I just have to transfer the tape to a small piece of sheet aluminium and cut it out.
Agle template transfered
Cutting the pieces

Transfering the template to sheet brass
With the template I mark the total amount of needed aglet on a 0,2mm rolled sheet of brass. For this I use a scraper.
Cutting out the pieces than works with a normal kitchen scissor (when you use brass!!). And for the holes (I want to use rivets…but you can also mount them by sewing the aglets through the holes) I use a dremel with a 1mm drillbit.
Before forming I anneal the brass pieces. For this I put the pieces on a firebrick and heated them up till a slight even orange glow and quench them in water.
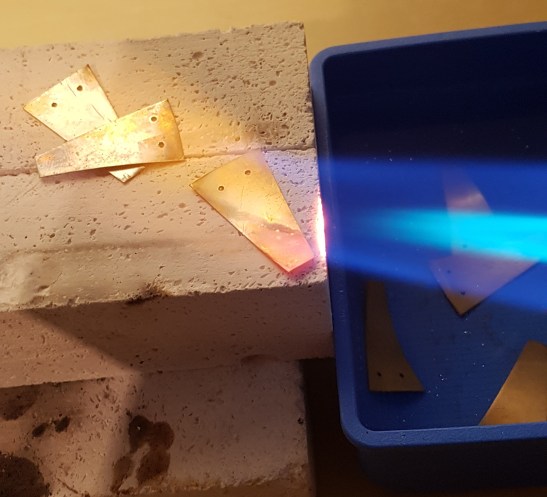
annealing the aglets
Bending
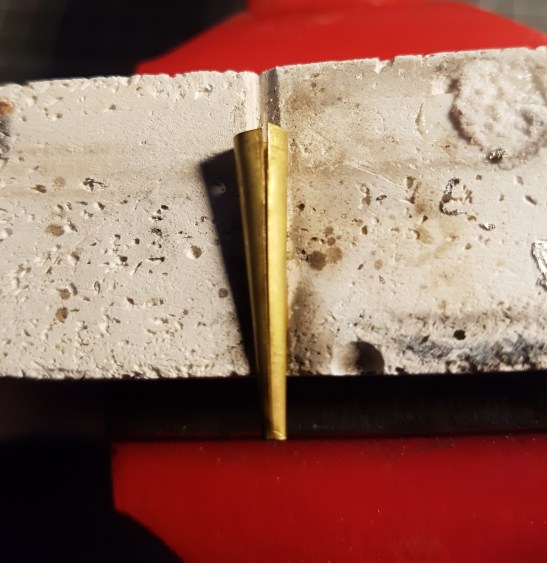
For Bending/Forming the aglets I use the drift and the woodblock. The first step is to push the brasspiece with the cylindrical portion of the drift in the biggest groove of the woodblock.
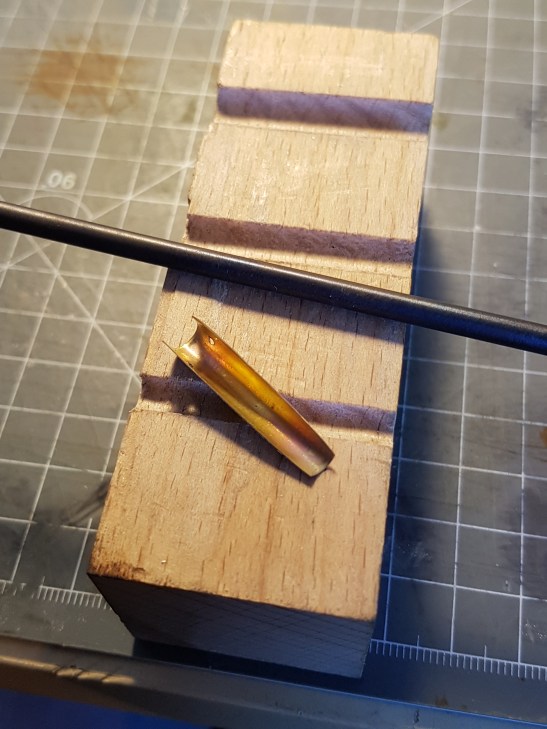
Initial aglet forming
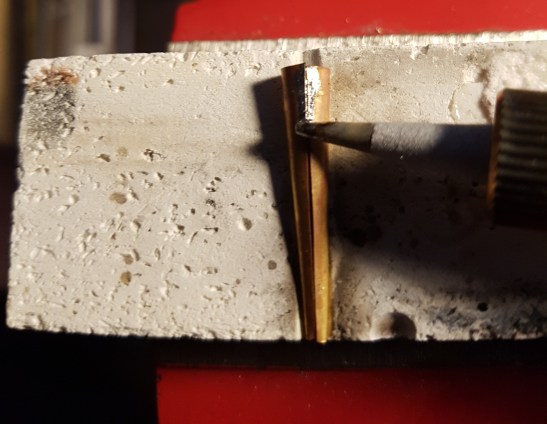
Afterwards I form the aglet closer around the tip of the drift. This works great by hammering the workpiece on the drift into the grooves with a mallet and using step by step the smaller grooves in the block.
At the end you fine tune the form by using the flat surface of the woodblock like an anvil.
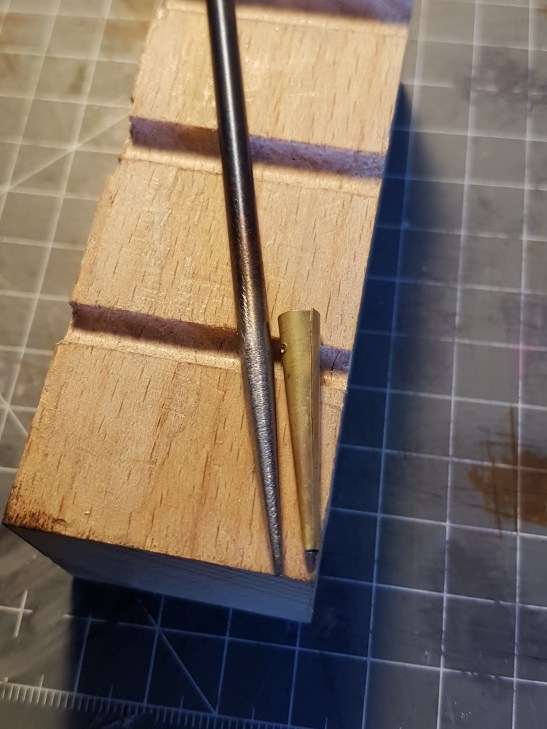
finished formed aglet
Soldering
I wanted to solder the aglets with soft solder. To get a good connection I clean of the oxydation by putting the aglets for some minutes into concentrated vinegar.
I will do the soldering on a fire brick (I saw in a small groove to holde the aglet) with a soldering iron. I apply soldering fluid on the seam. When the right temperature is arrived it will be activated and etch away the remaining oxydations.
Aglet prepared for soldering
Then I touch both sides of the seam with the soldering iron (adjusted to 375°C). When the right temperature is reached the soldering liqid starts to etch and change the color of the brass.
Now I smelt a small tip of solder on the iron and drag it down the seam.
Soldering the aglet
finished soldered aglets:
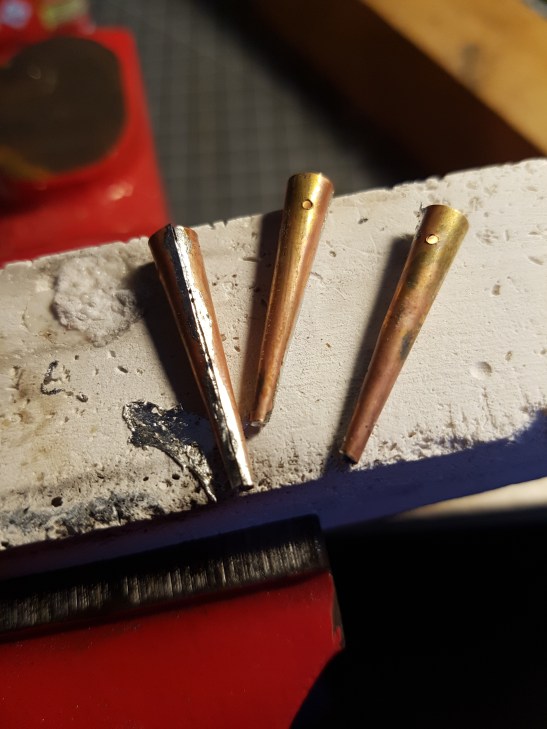
finished soldered aglets
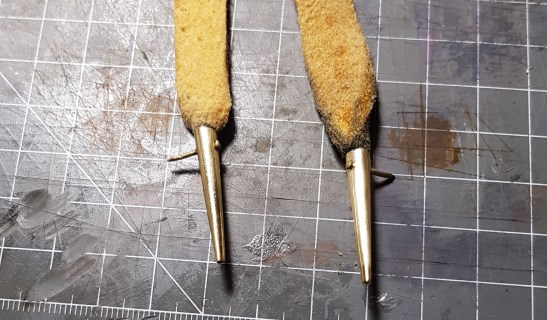
Grinding and polishing
With a 180 grit sandpaper I grind of the most part of the solder.
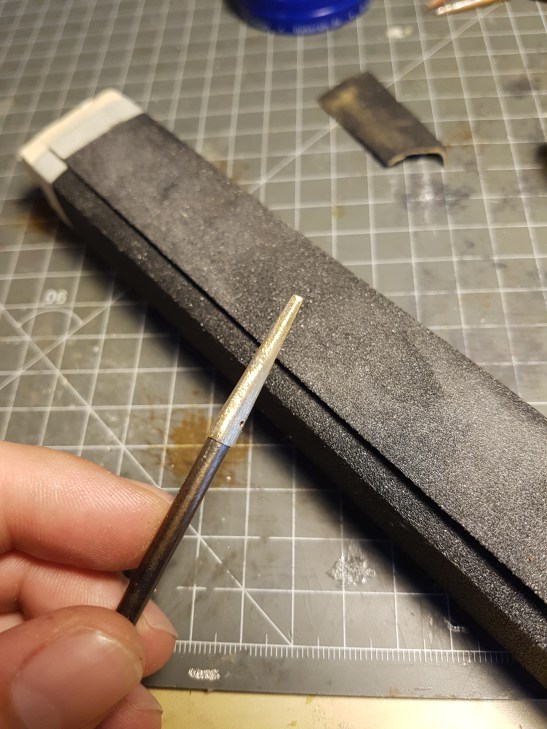
Grinding the aglet
Afterwards I just have to give it a quick buff on the polishing wheel.
Riveting
As rivets I use 1mm annealed brass nails.
to be honest I struggle a lot with riveting this small nails without bending them or the aglet.
Riveting the aglets
