
Chainmaille collar Standard
This collar will be made from riveted aluminium chainmaille in a 4in1 weave. I found this maille with 9mm inner diameter at “get dressed for battle” and loved it because of its dull dark grey color.
This collar is meant to be worn under a torso armour so it goes down to about the mid of the shoulder.
Unfortunately the I have done the most part of the weaving on business trips in hotel rooms…..so I lack of proper pictures of this process.

Standard in frontview
I´ve made the lining from 4 layers of linen. Each one layer for in./outside and two layers as a padding.

insideview of the collar
The lining was sewn directly to the maille

sewn on chainmaille
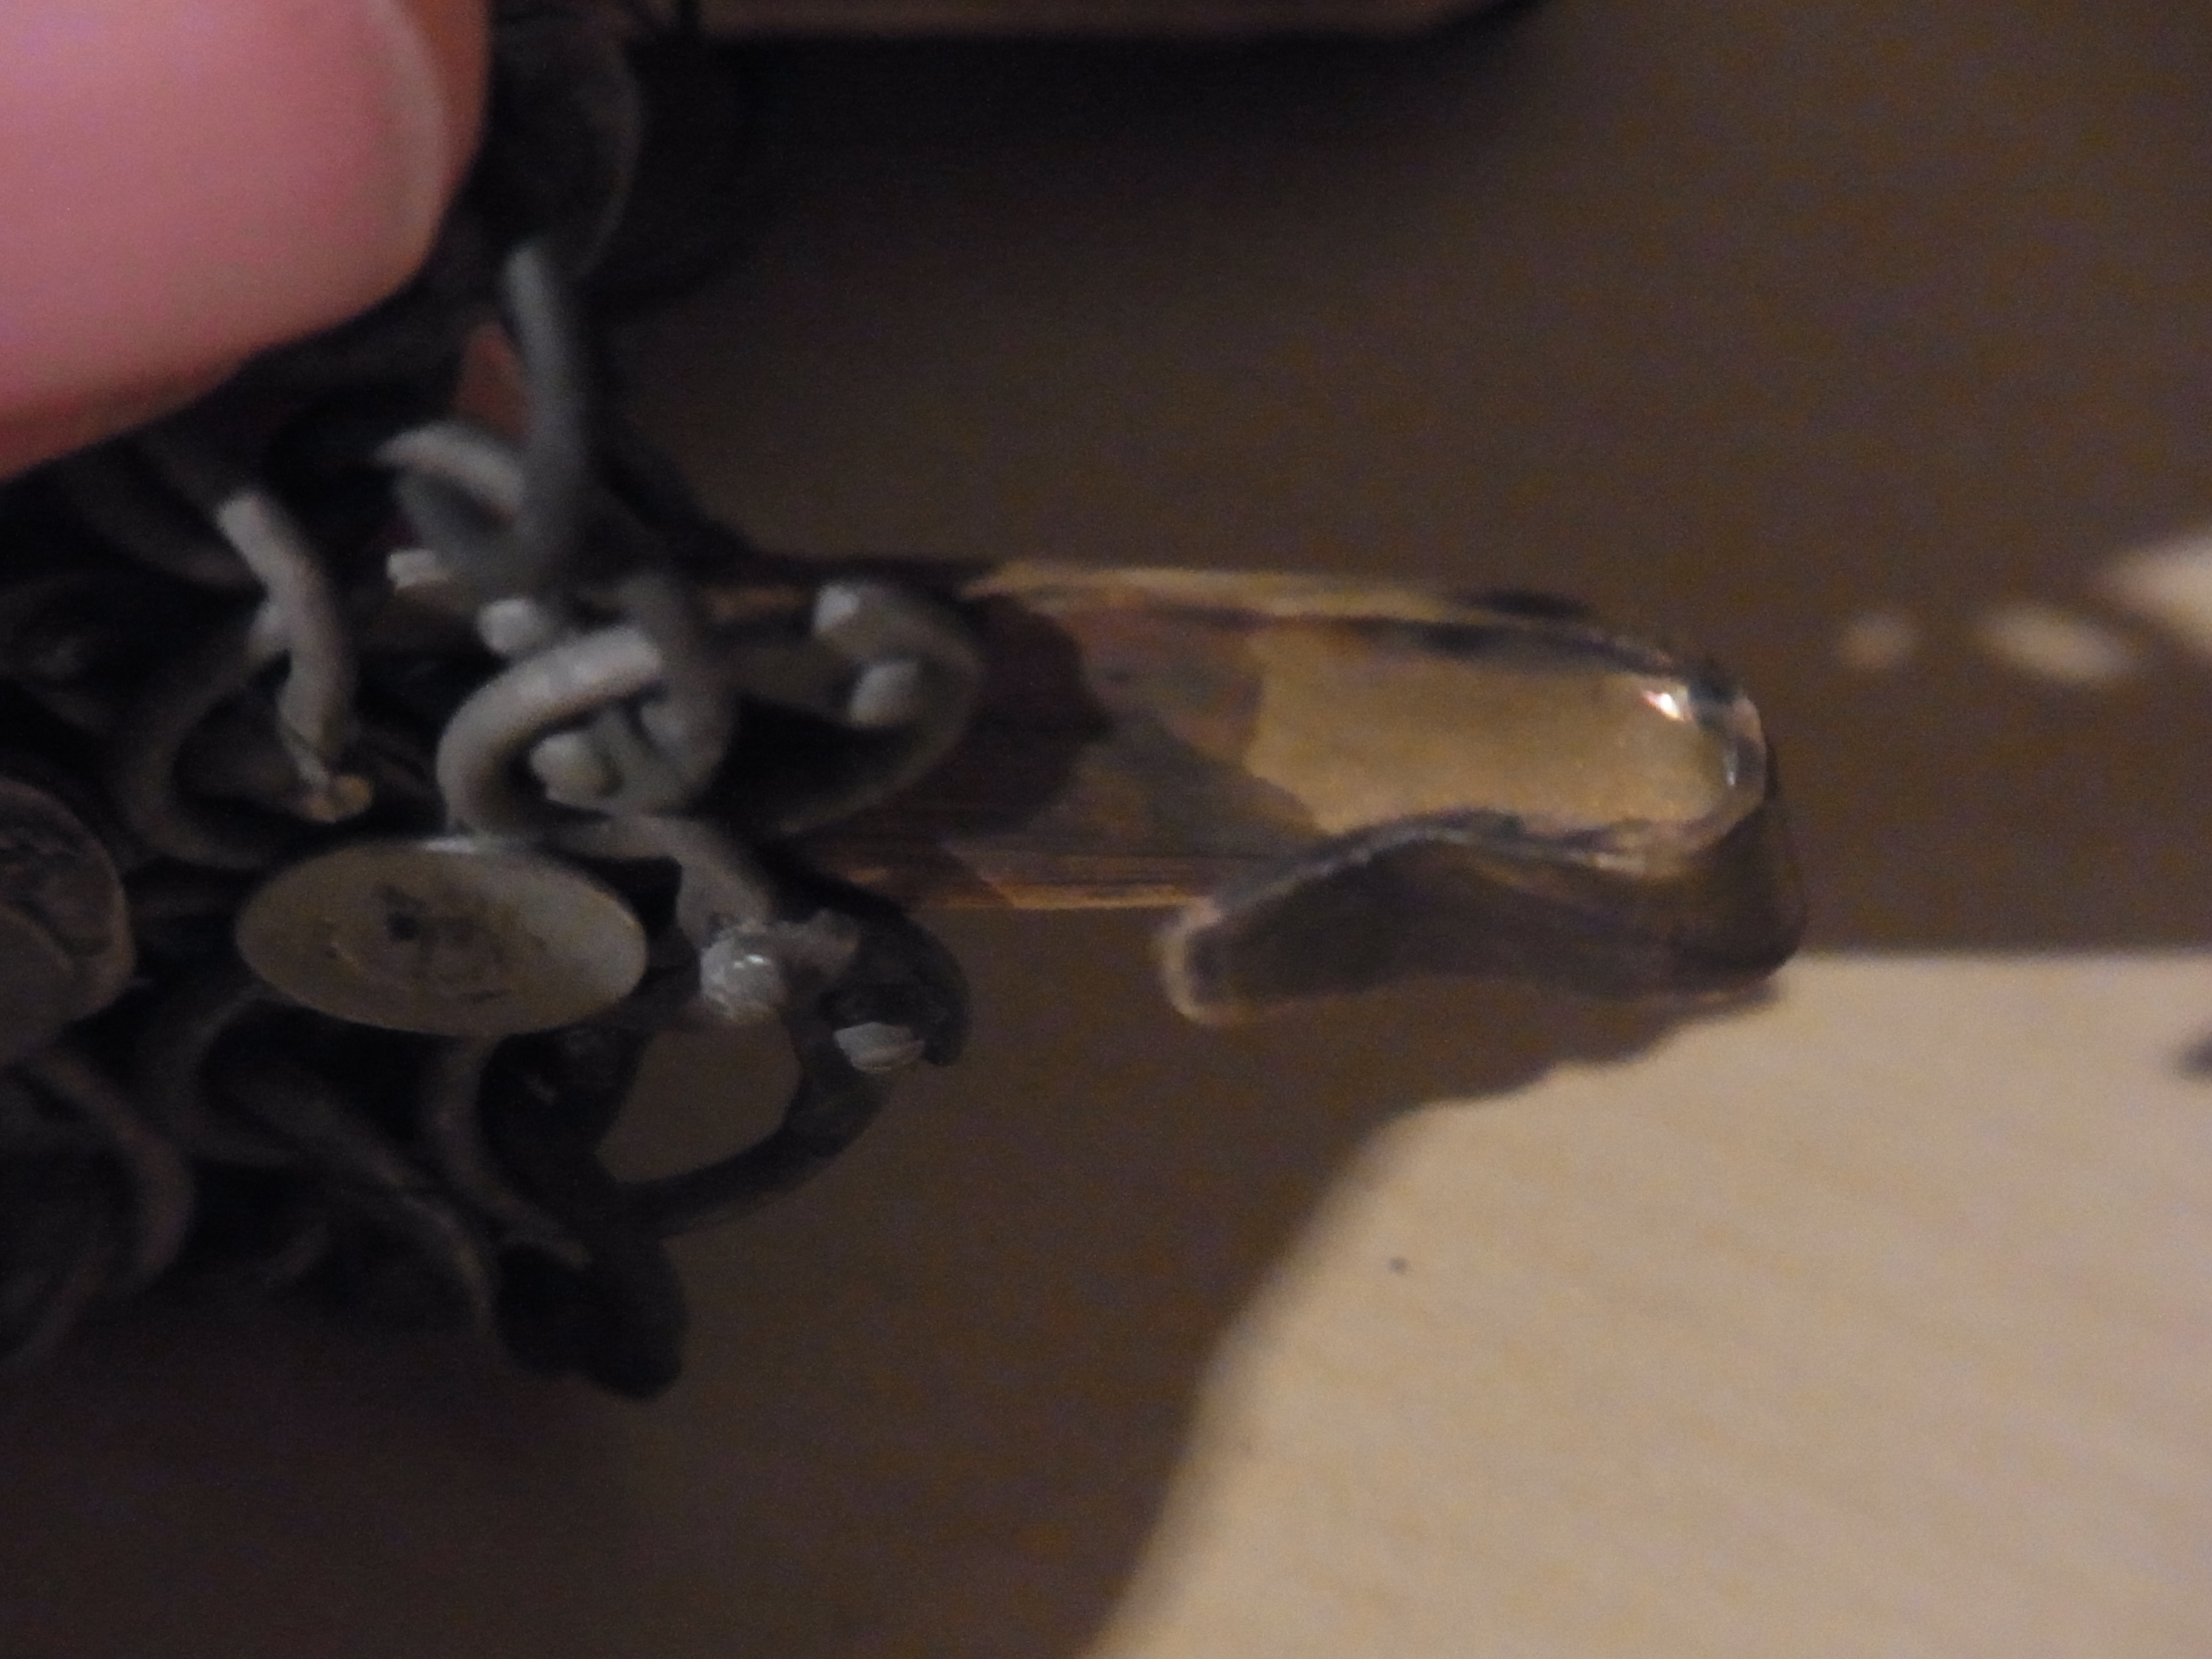
The collar will be closed at the neck with three brass hooks. They are riveted to an overlapping part of the chainmaille collar.
I have made this hooks from 1,5mm thick sheet brass. First I cut out 3 stripes and glued them together. Then I was able to file the package in form and all three pieces will have the same contour. To break the bond again I heated the package till the glue had burned entirely.
I filled in some decorative lines with a square keyfile. Then I chemically blackend the peaces and polished them up again with 240 grid sandpaper.

Collar hooks
Detail of the hook
As rivets I used nails with a wide head and riveted the hooks directly to the chainmaille.

Standard collar from the front
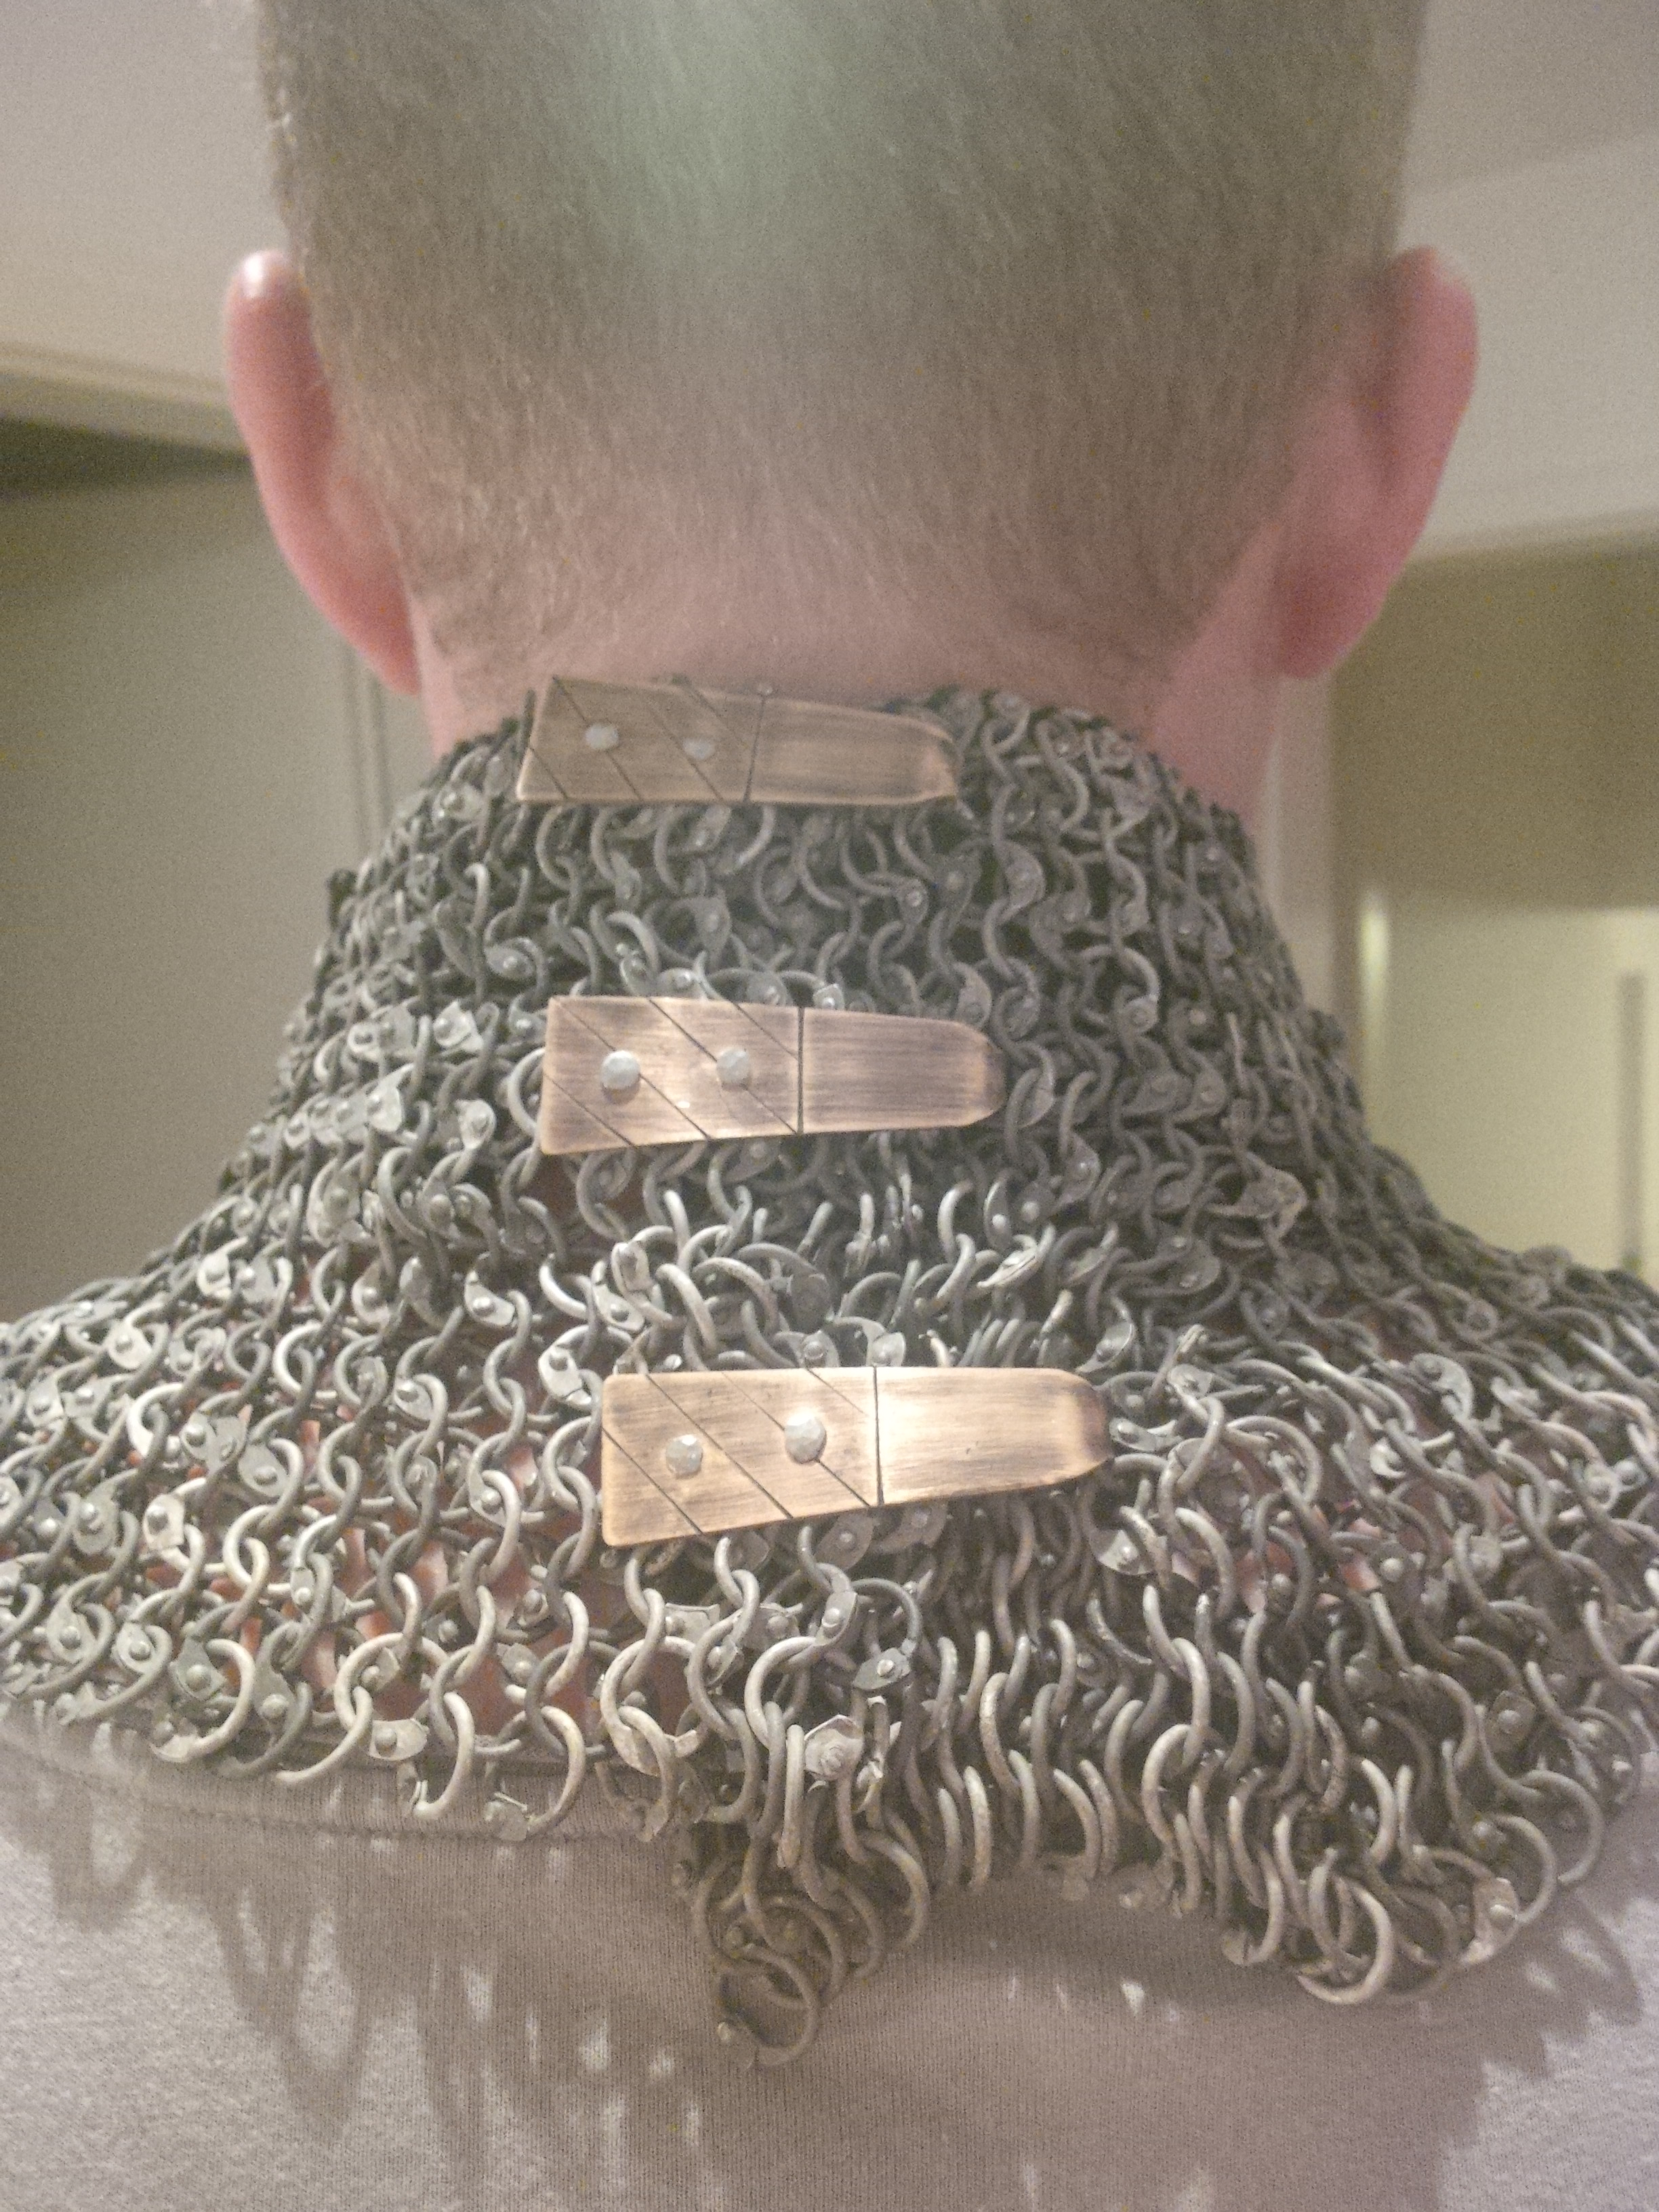
View on the hooks

those brass hooks look awesome!
Do you have any tips for making a padding for the mail collar?
Hi,
thanks a lot.
For the padding of a collar I think two things are important:
1) a thight fit round the neck will stabilize the collar so it will not collaps in itself and slip down
2) the padding stitch should go round the neck instead of up/down. This allows the padding to flex with the neck
Hope it helps
Nils